
Search history
Clear allSearch by image
XDrag and drop an image here or upload an image
Max 5MB per image
UploadSign In | Join

Search history
Clear allSearch by image
XDrag and drop an image here or upload an image
Max 5MB per image
UploadSign In | Join
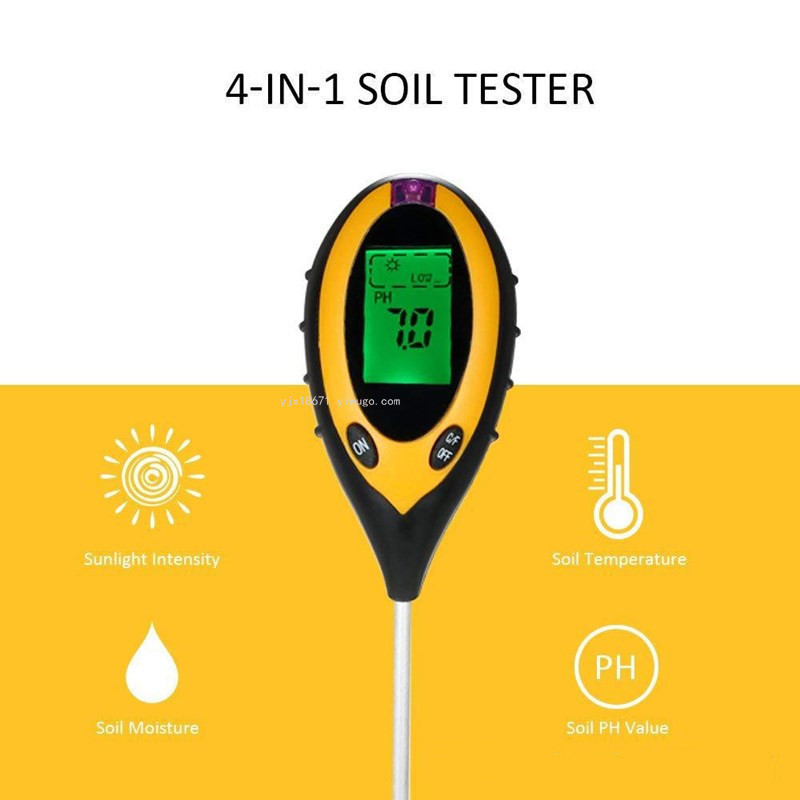
Four-in-One Gardening Detector (without battery)
Functional features:
1. Measure the light intensity of the current environment
LOW-, LOW, LOW+, NOR-, NOR, NOR+, HGH-, HGH, HGH+
2. Measure the moisture content of the soil
DRY+, DRY, NOR, WET, WET+
3. Measure the soil temperature; temperature measurement range: -9~+50℃ (16~122℉), (accuracy: 1℃/1℉)
4. Measure the soil pH; pH range: 3.5–9.0
Working temperature: +5℃~+40℃
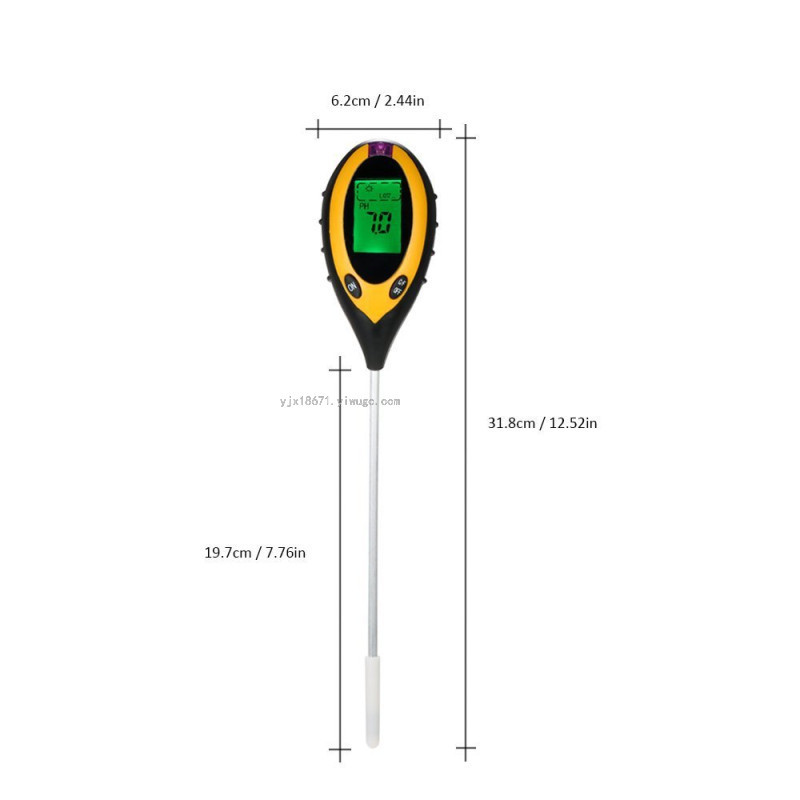
Size: 1.22 mm * 6.3 mm * 3.6 mm
Weight: 180g (including packaging)
Large-screen LCD user interface
LED backlight auxiliary lighting, convenient for reading measurements
Temperature Imperial to Metric Conversion Function
Battery level low alert function
Power-saving auto-shutdown function: Shuts down automatically after 5 minutes without any operation
Easy to use and portable
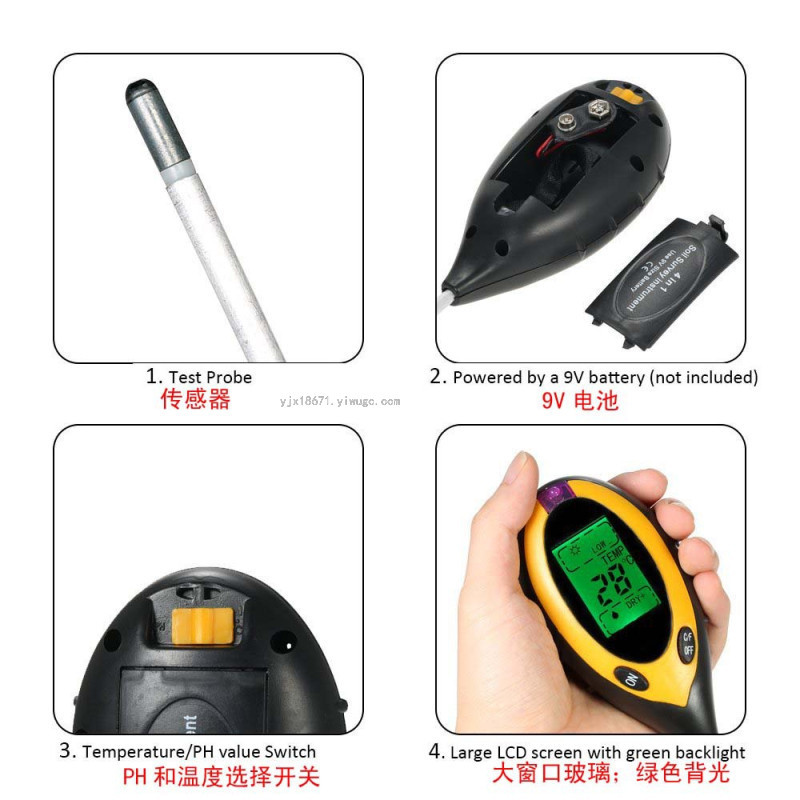
Power Supply: 9V battery (not included)
Usage Instructions
Please install the battery before use, and remove the probe protective cover.
1, Lighting measurement;
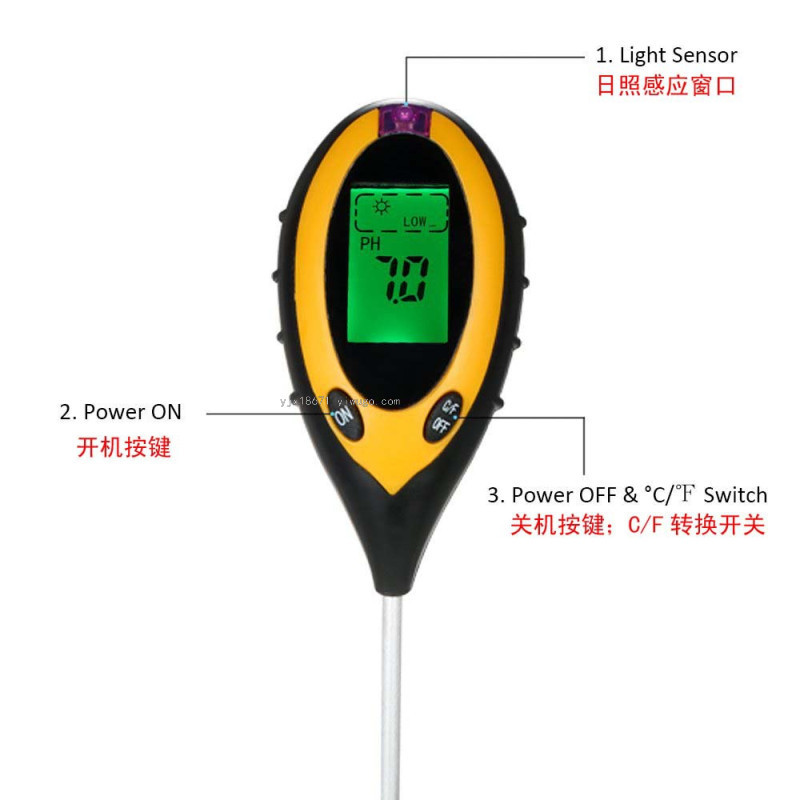
A. PressONThe button turns on the instrument
B. Align with the light sensor window of the highest point light source.
C. The intensity of the light currently being emitted will be displayed on the liquid crystal display.
Tips: Avoid blocking light or creating shadows for the light sensor
2, PHRange measurement
A. Press [PH/TEMP】Button is on the backPHValue Position
B. Insert the probe vertically into the soil, and testing should be conducted as soon as possible. Do not insert it too deep, as this may damage the plant roots.
C. Press [ON】Click the button to start the measurement.
D. testedPHThe value will be displayed on the LCD screen
E. Measure several times to obtain the required exact value.
Tips;1.Insert the probe vertically at the edge of the plant stem in the middle.
2.Please gently push it into the soil survey to avoid damaging the probe.
3.If the measured soil is too dry or too fertile, accurate measurements cannot be obtained.PHValue: The user can add some water, and measure again after half an hour.
3, Water content measurement
APress [PH/TEMP】Button is on the backTEMP
BInsert it as vertically as possible into the soil. Do not insert the probe too deep, as this may damage the plant roots.
CPressNOMeasurement starts with the key
DThe soil moisture values measured during the test will be displayed on the LCD screen.
EMeasure several times to obtain the required exact value.
4.Temperature measurement;
AWhile measuring the humidity, the soil humidity value will also be displayed on the LCD screen.
BPress [℃]/℉ OFF】The humidity display setting for the button is in ℃ or ℉.

Update time:


TOP


