
Search history
Clear allSearch by image
XDrag and drop an image here or upload an image
Max 5MB per image
UploadSign In | Join
Search history
Clear allSearch by image
XDrag and drop an image here or upload an image
Max 5MB per image
UploadSign In | Join
X Email Mobile
| Number | Unit-price | Total | |||
| I want to buy: | × | 17.0 | = | 0 |
A new item has been added to your Shopping Cart. You now have items in your Shopping Cart.
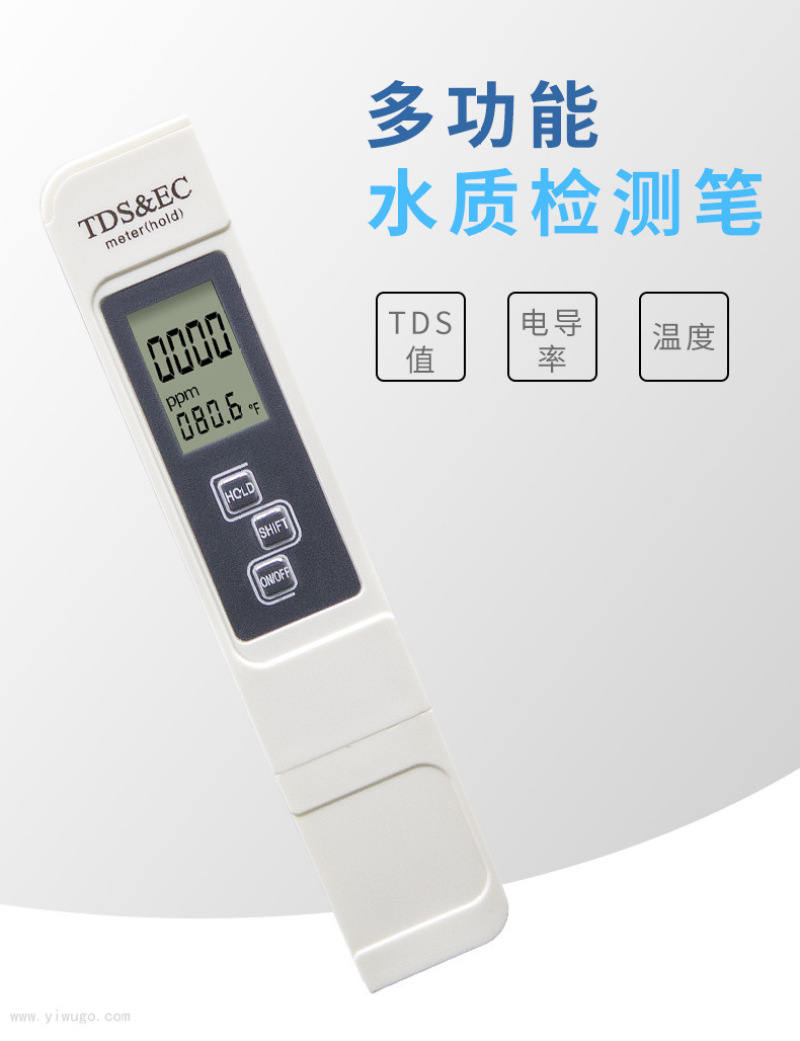
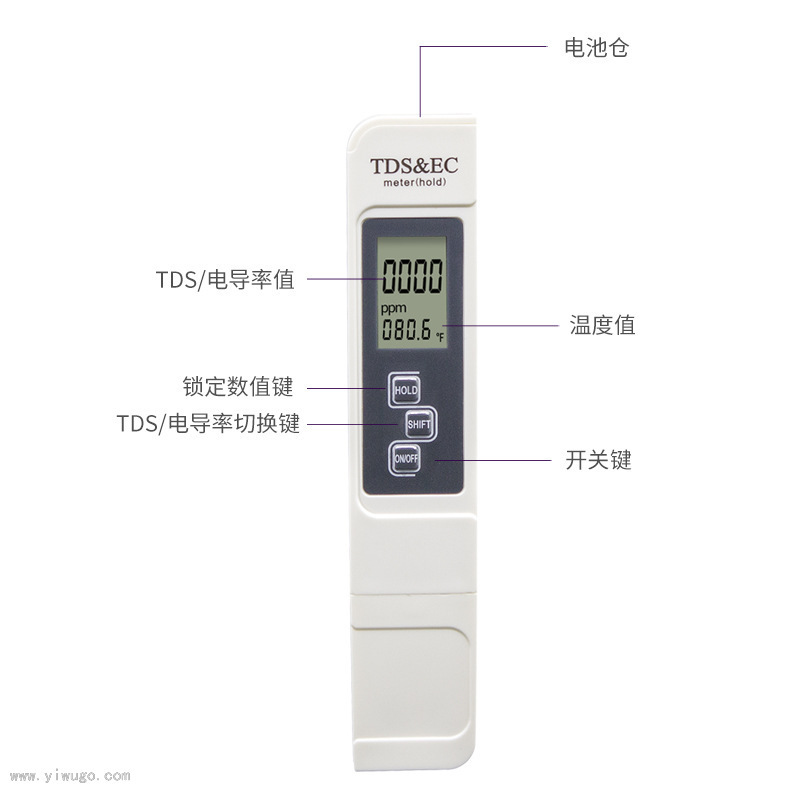
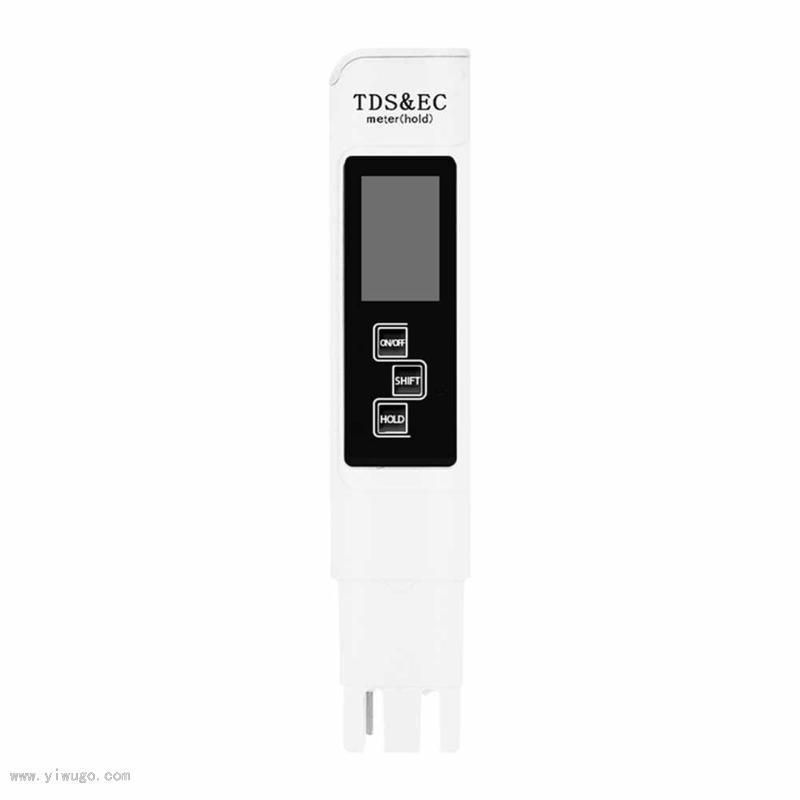
1. Instrument Features
Lock function
Convenient for reading and recording, the instrument will lock the reading.
5-minute automatic shutdown feature, no battery drain
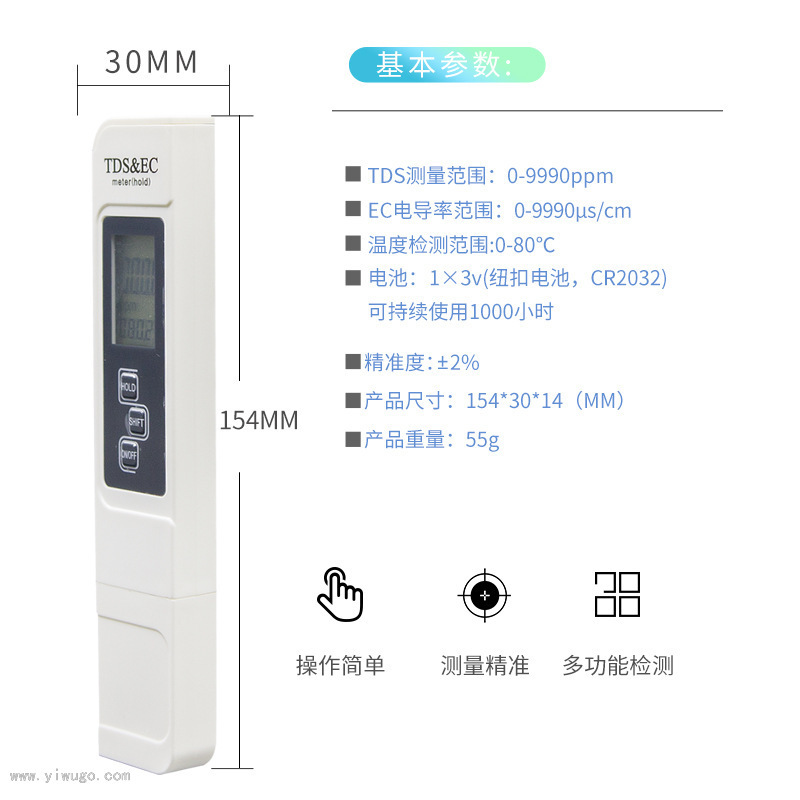
Measurement Range
Conductivity: 0—9990us/cm
TDS: 0-9999 ppm
Celsius: 0.1—80.0℃
Fahrenheit: 32.0—176.0°F
Accuracy: ±2%
Net weight: 55g
Size: 154×30×14 (mm)
Step 2: Usage Procedure
Before use, please remove the electrode protection cover.
Press the power button and insert the electrode into the solution to be tested.
Wait for the value to stabilize, then press the HOLD button to retrieve the reading.
After reading the number, press the power button, wipe the electrode clean, and then put the electrode protection cover on.
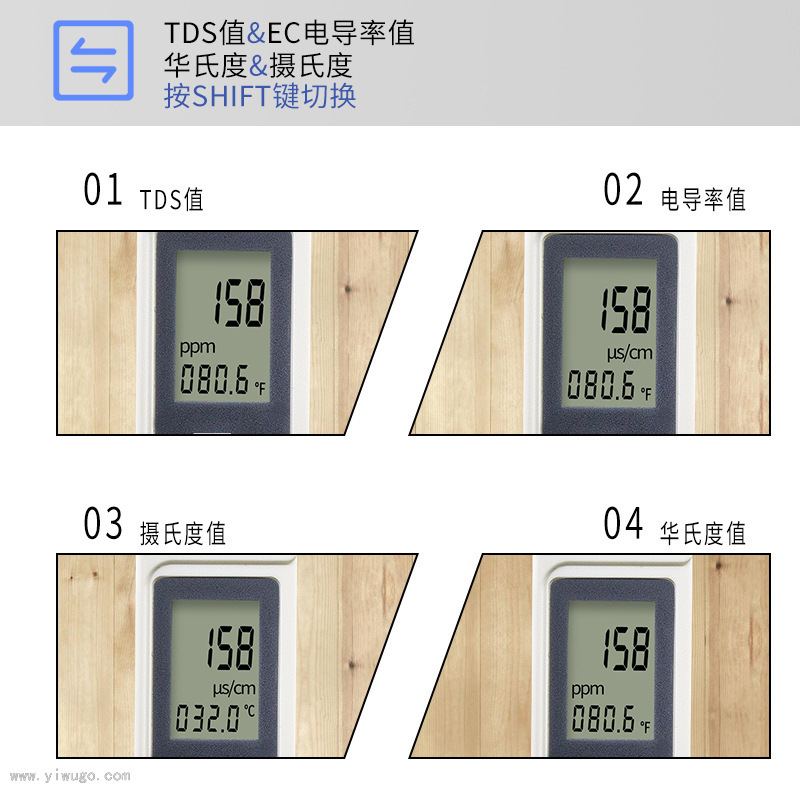
III. Usage Instructions:
TDS and Conductivity Switch
The instrument displays the TDS value at the factory. To measure the conductivity of the solution, please gently press the SHIFT key, and the instrument will automatically switch.
Temperature Auto Compensation
The instrument has an automatic temperature compensation function in the measurement mode.
Temperature Switch
Double tap SHIFT to switch between Celsius and Fahrenheit, the default temperature unit on the instrument is Celsius.
Section 4: Maintenance and Care:
Keep the electrode clean, cover the electrode protection cover, if not used for a long time, please remove the battery.
Correction Method:
(New pens do not need correction within 5 years)
1. Preparing the tools: A solution with known values, a craft knife or a small screwdriver.
2. Peel off the black rubber panel (you can use a craft knife or a small screwdriver to gently pry it away from the corners at the bottom of the button).
3. Press the first ON/OFF switch button to turn on the power;
4. Remove the electrode protection cover;
5. Place the electrode into a solution with known values and gently stir the solution to displace bubbles around the electrode.
6. On the left of the middle button, there is a small calibration screw. Insert a small screwdriver or a tool that can be extended into it, rotate it left and right to adjust the known solution value, and the calibration is completed.
Update time:


TOP


