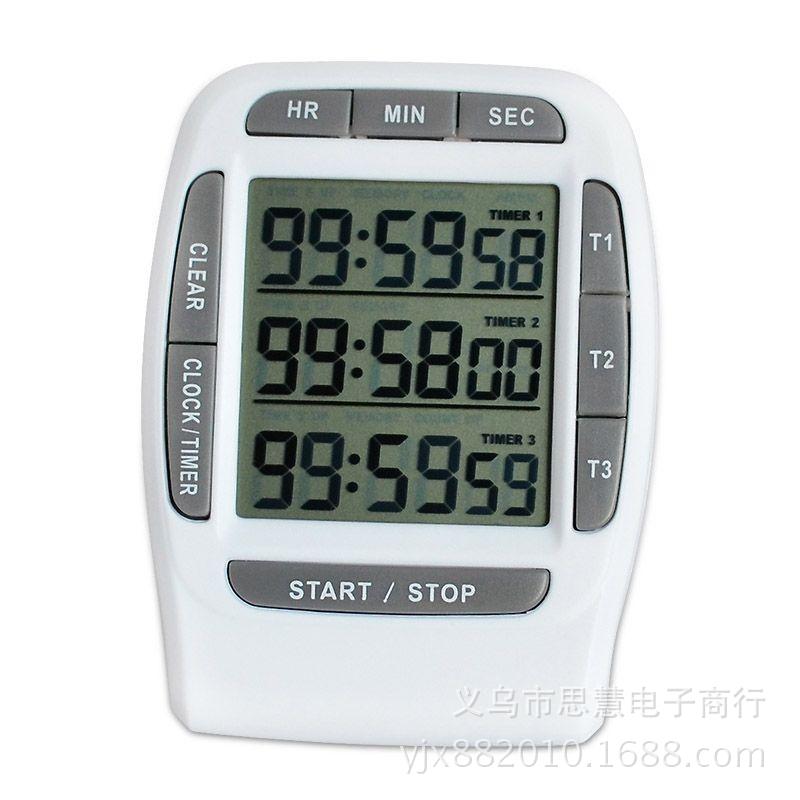
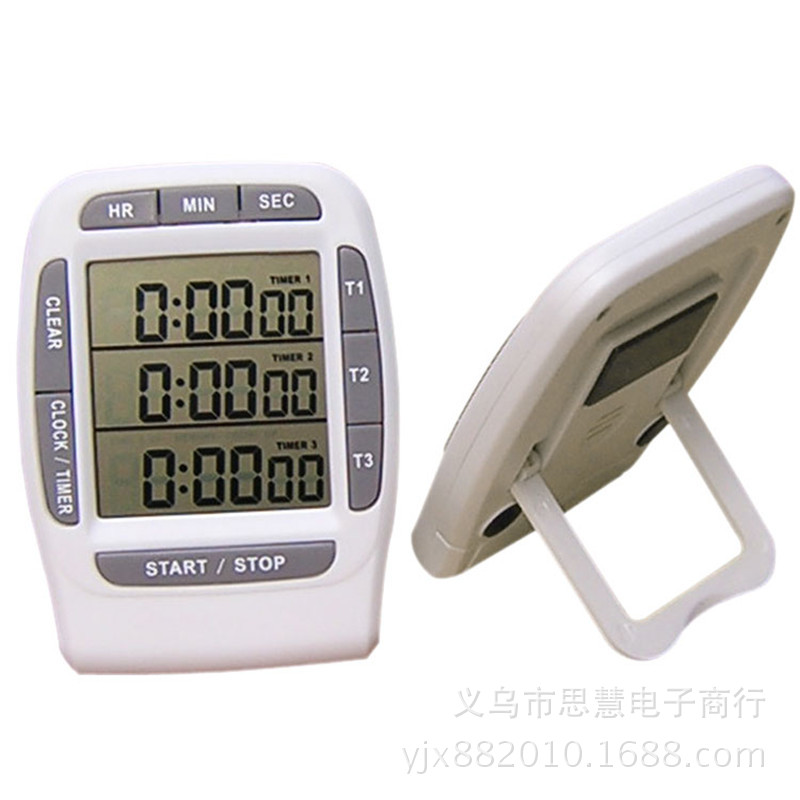
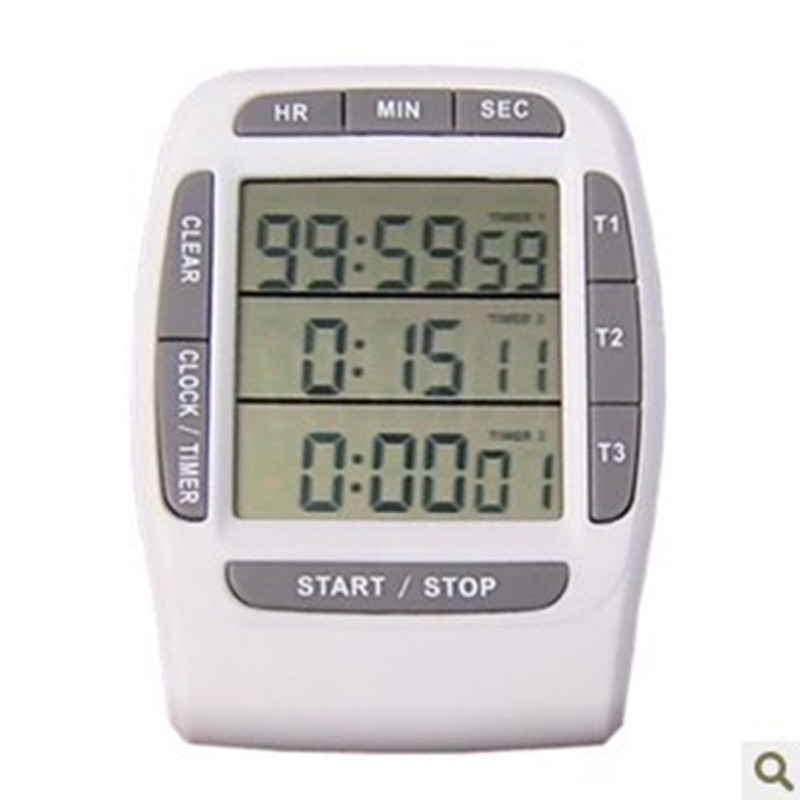
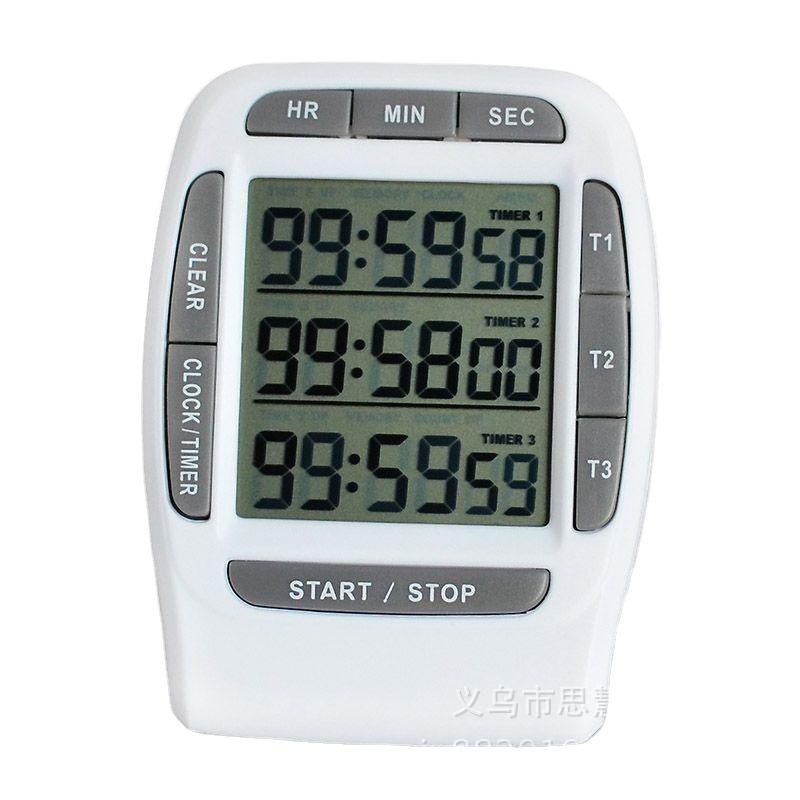
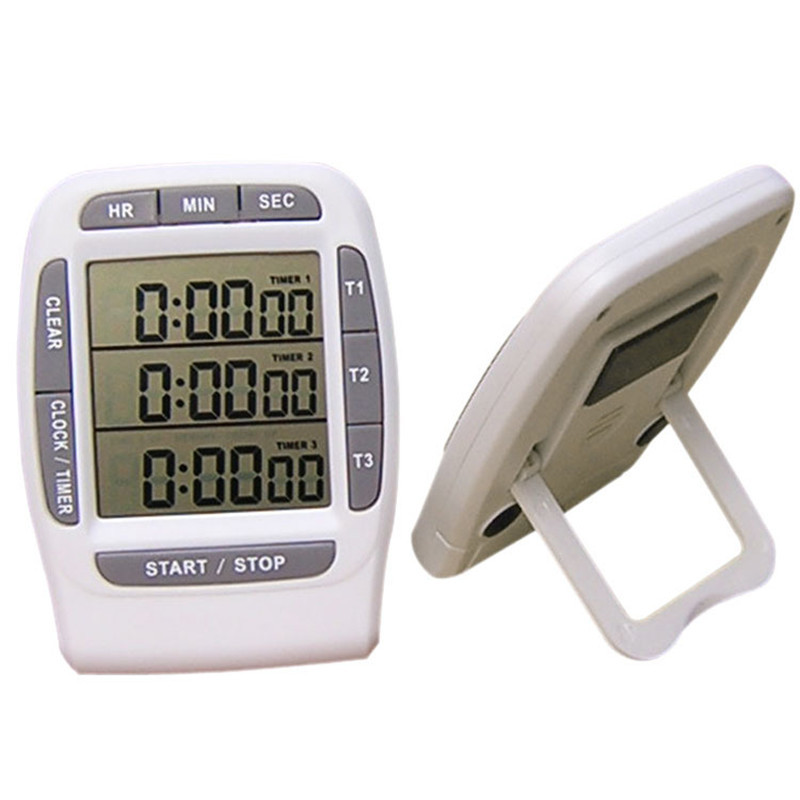
Name: Three-Channel Electronic Timer
Model Number: 3.70
Dimensions: Physical dimensions 66x88x13 mm, screen size 40x44 mm
Weight: Total weight 73g (including 55g net weight for the white paper box packaging)
Color: White, gray, white and black, etc. (can be noted)
Battery: 2 cells, 1.5V lithium battery (L1 15 4)
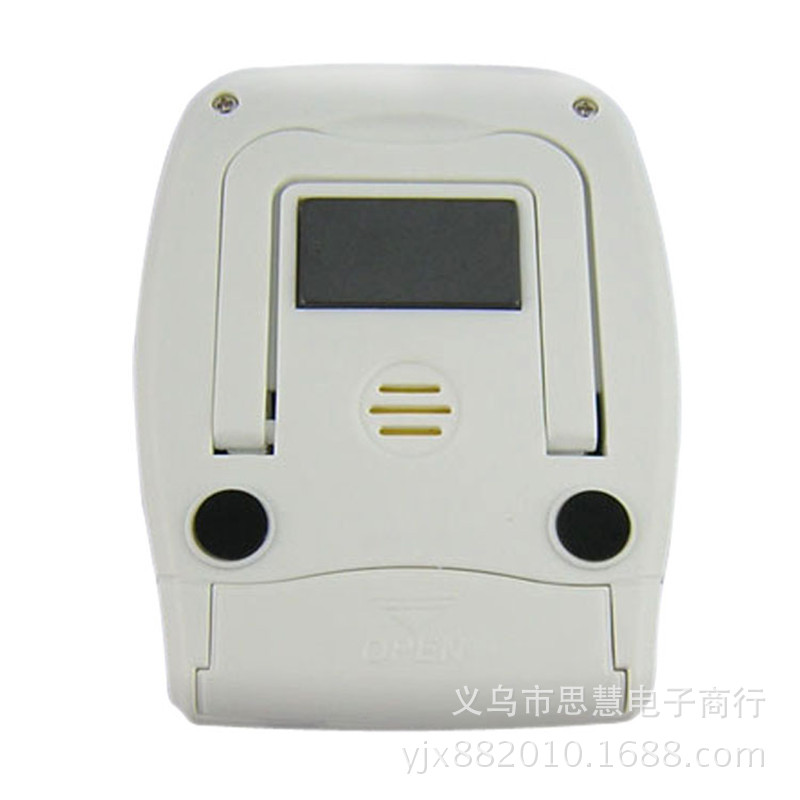
Sound: A "beep beep" sound, using a buzzer as the source; the volume is low, making it suitable for use in quiet environments;
Product patent number: 200830252269.4
Product features and functional overview:
○Structural features: extra-large window, three-row display; comes with a stand and magnet, can be placed upright or attached to metal surfaces.
○Clock features: display of hours, minutes, seconds, AM/PM, and 12-hour format;
○ Timer/Real-time Timing Function: Tracks time in increments of one hundredth of a second. The maximum real-time timing duration is 99 hours, 59 minutes, and 59 seconds. Real-time timing cannot be preset, and there is no alarm function; it can be paused.
○ Countdown function:
1. It can operate independently for 1–3 countdown groups, or simultaneously start three countdown sequences with different durations. After the countdown ends, there is a 1-minute audio alert, and the countdown can be paused.
2. Once the countdown ends, the time after the countdown for each channel is calculated based on the actual timing;
3. It has a memory function; the preset countdown time for each channel will not disappear until the time is reset, making it convenient for repeated use;
4. Each of the three channels can have a different countdown duration, and the countdown can start simultaneously or individually;
5. The countdown and timing (stopwatch) functions can be used simultaneously;
6. Countdown time range: 1 second – 9,99 hours,59 minutes,59 seconds.
Below is a brief explanation of how to use the timer and countdown function:
(For other functions, please refer to the manual or study and master them on your own)
1. Instructions for using the timer (stopwatch) function:
1. Under the clock interface, the second and third rows are positive timing (stopwatch) displays. The second row shows 0.** seconds, and the third row shows hours, minutes, and seconds;
2. Press the START/STOP key to start the continuous timer, then press it again to pause, and press it once more to resume the continuous timer; after the continuous timer ends or a pause is made, press the CLEAR key to reset the continuous timer time, but the CLEAR key will not function while the timer is in operation.
3. During the active timing process, press the CLOCK/TIMER key to enter the countdown interface for operation; on the active timing (stopwatch) interface, you can view the status of the channels that are in progress and those whose countdown has completed.
2. How to use the countdown function:
1. Press the CLOCK/TIMER key to switch to the countdown interface;
2. If only a single countdown is required, press the T1 key (or T2 or T3 keys, same below) for two seconds. The “0:0:0” display on the first row will flash. Press the HR, MIN, and SEC keys above to set the hours, minutes, and seconds respectively. Press the T1 key to confirm, then press T1 again to start the countdown for that channel. Press T1 once more to pause it (the CLEAR key cannot be pressed during the paused state, otherwise the counted time will be cleared). After the countdown ends, the channel will flash, and the time elapsed since the actual start time will be displayed via audio alert for one minute. Press T1 to stop the alarm sound and the real-time counting; at this point, the screen will show the elapsed time and flash. Press the CLEAR key to return the channel to the initial 0:0:0 state. If you want to repeat the countdown, press the T1 key once—the preset countdown time will be displayed, and pressing T1 again will initiate another countdown.......
3. If you wish to start two or three countdown sequences simultaneously, follow the above setup method to set the countdown times for T1, T2, and T3 channels respectively. Press the START/STOP button, and each channel will begin its countdown at the same time. After each channel completes its countdown, the time after the countdown ends will be displayed. After the countdown stops, press the CLEAR button to reset each channel individually. Then, pressing the START/STOP button again will restore the preset countdown times for each channel. Pressing the buttons for each channel (T1, T2, T3) will initiate the countdown for that specific channel.
4. If 2 or 3 sets of time countdown are required, and the start times are not simultaneous, you can set them separately. Then, operate each channel individually by pressing its corresponding key—the channels do not affect each other.
Key Instructions:
T1, T2, T3: Channel keys
HR, MIN, SEC: Time setting button
CLEAR: Clear Key
START/STOP: Start/Stop button, controls 1-3 channels
CLOCK/TINER: Mode Key