Search history
Clear allSearch by image
XDrag and drop an image here or upload an image
Max 5MB per image
UploadSign In | Join
Search history
Clear allSearch by image
XDrag and drop an image here or upload an image
Max 5MB per image
UploadSign In | Join
X Email Mobile
| Number | Unit-price | Total | |||
| I want to buy: | × | 2000.0 | = | 0 |
A new item has been added to your Shopping Cart. You now have items in your Shopping Cart.
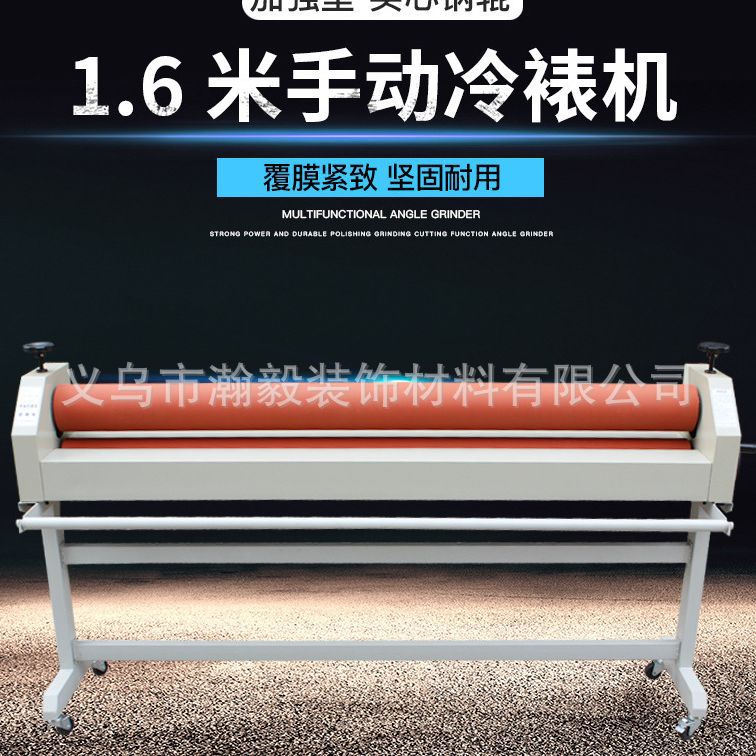
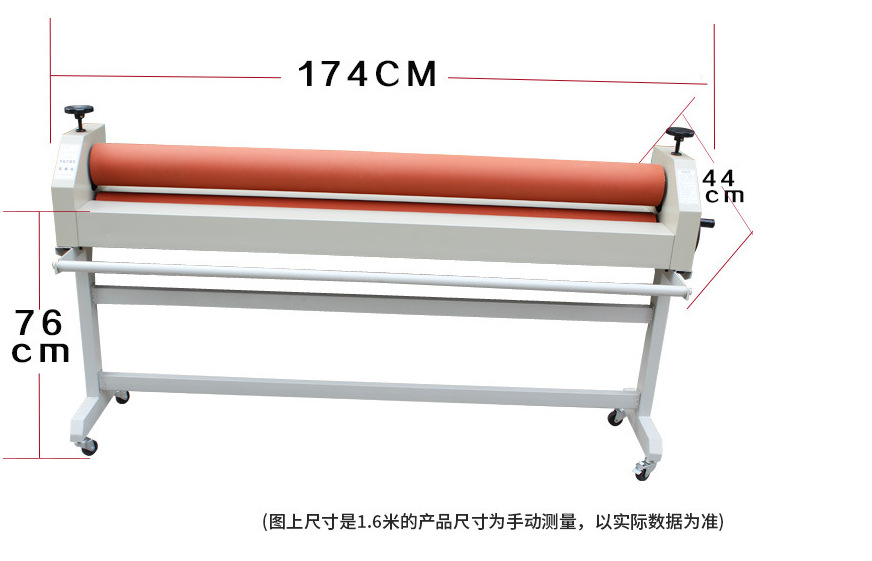
Machine-generated logistics for self-collection. Product features:
The machine has a pneumatic rear interface, and we do not provide air pumps; you need to configure them yourself.
Compared to ordinary cold laminating machines, this model uses pneumatic switch control to synchronously raise and lower the adhesive roller. The pressure can be freely adjusted according to different lamination products, which makes it easier to operate and significantly improves the lamination efficiency.
1. Working Characteristics:
The cold mounting machine employs a cold pressing process to mount cold mounting film on the surface of the picture, thereby giving the picture anti-corrosion, water-resistant, and sun-resistant properties, ensuring that it remains fresh, does not fade, does not yellow, and can create a strong sense of three-dimensionality, enhancing the artistic appeal of the picture. It is widely used in the mounting work of modern wedding dresses, artistic photography, computer-generated spraying, as well as calligraphy and painting, posters, advertising images, and document materials. Cold mounting is a post-processing technique for picture production, and the cold mounting machine is an appropriate tool for completing this process.
Section Two: Specifications for Use
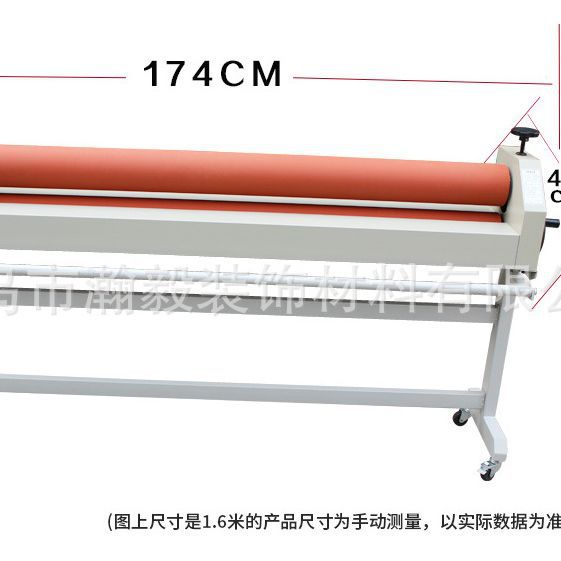
◆ Mounting length: Unlimited
Mounting thickness: 20mm
This machine is an electrically powered pneumatic cold mounting device.
III. Pressure Adjustment for Mounting:
◆This machine can adjust the mounting pressure at both ends separately, with equal pressure on both sides of the adhesive roller. First, separate the upper and lower adhesive rollers, then place the cold mounting film on the roller, turn the knob, and ensure that the upper and lower rollers are parallel and touch each other. Then slightly apply pressure. The pressure should not be too heavy to avoid air bubbles during the mounting process.
Attention: The pressure adjustment knobs on both sides must be set to the empty travel position! If the knob on one side is lowered, it must be re-adjusted after the knob on the other side is lowered! Turn the knob clockwise to increase pressure; turn it counterclockwise to reduce pressure.
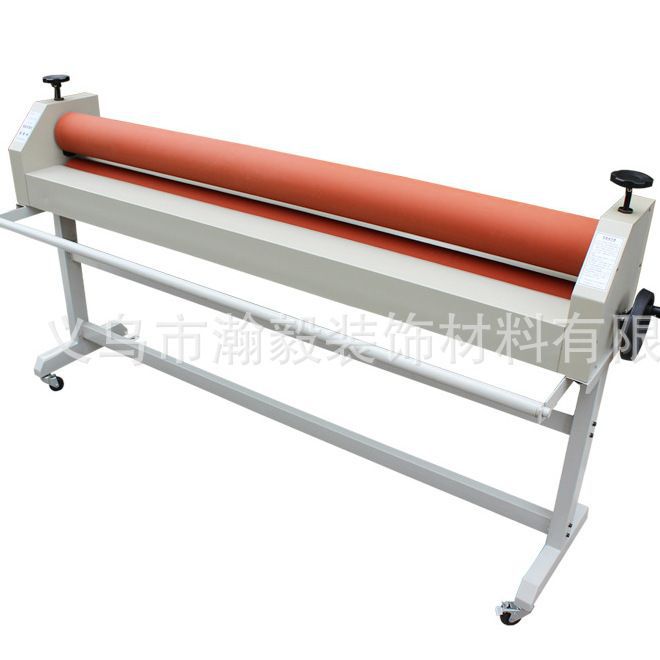
Parts Structure:
Adjustable support (left, right);
◆Operating Tabletop (Front and Back);
◆ Shake the wheel and the table board support feet;
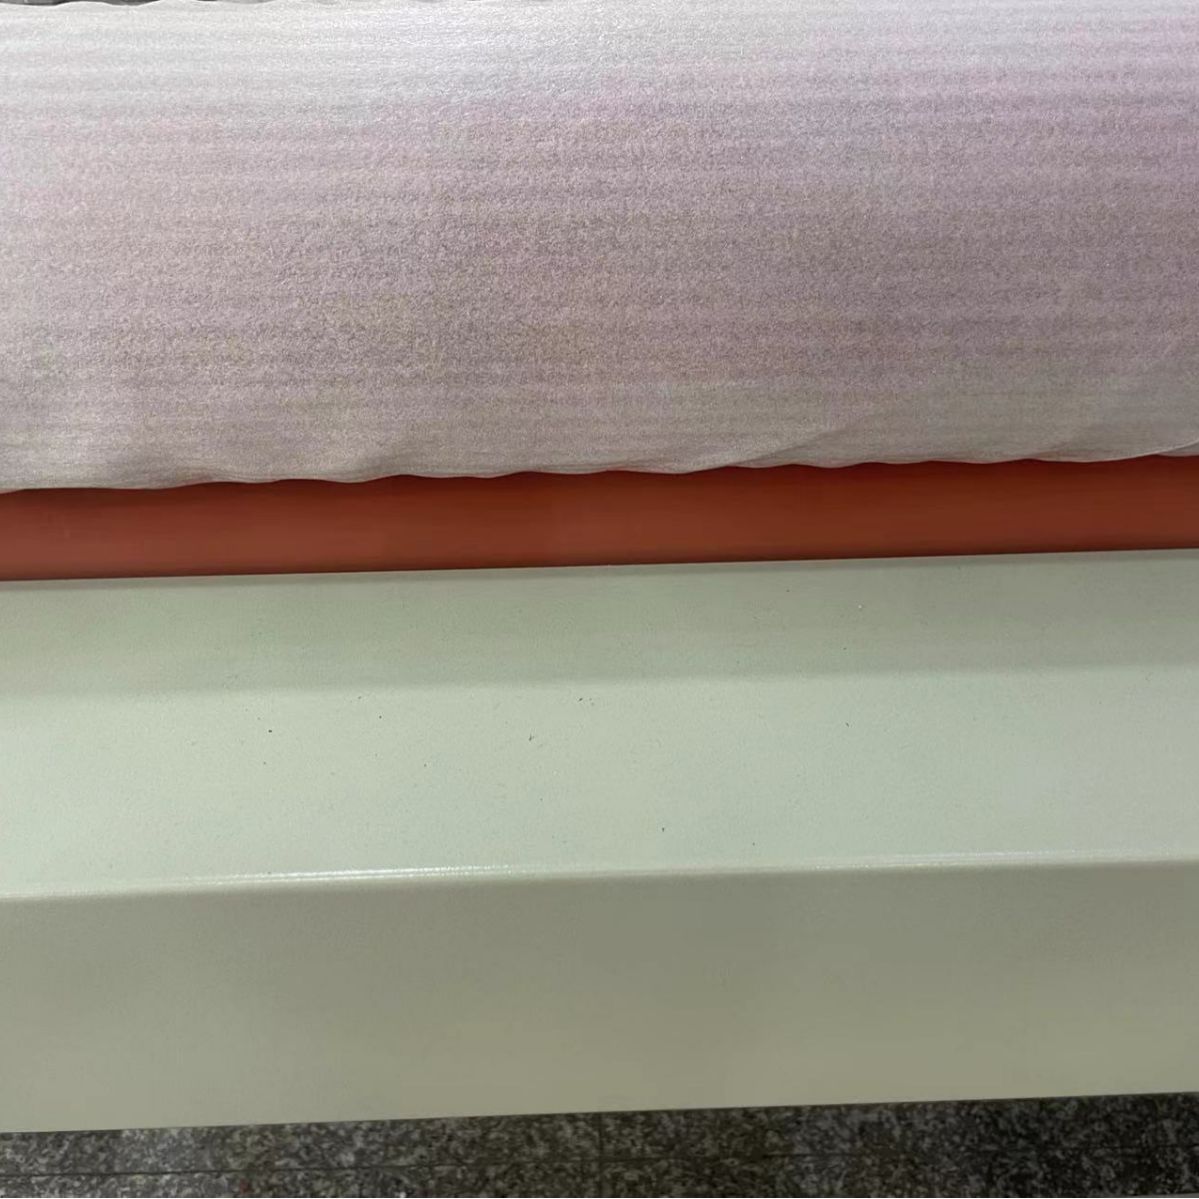
◆ Rubber roller (upper and lower).


Update time:


TOP