
Search history
Clear allSearch by image
XDrag and drop an image here or upload an image
Max 5MB per image
UploadSign In | Join
Search history
Clear allSearch by image
XDrag and drop an image here or upload an image
Max 5MB per image
UploadSign In | Join
X Email Mobile
|
|
¥7.01 | 1962 set available |
|
|
|
¥7.01 | 7818 set available |
|
|
|
¥7.01 | 7338 set available |
|
|
|
¥7.01 | 8538 set available |
|
|
|
¥3.8 | 4427 set available |
|
|
|
¥3.8 | 8665 set available |
|
|
|
¥3.8 | 9333 set available |
|
|
|
¥7.01 | 2320 set available |
|
|
|
¥7.01 | 7951 set available |
|
|
|
¥7.01 | 8131 set available |
|
|
|
¥7.01 | 9454 set available |
|
A new item has been added to your Shopping Cart. You now have items in your Shopping Cart.
| Must-have products upon entering the store - Recommended products | ||
| Crazy Sale Anniversary Day | ||

|

|

|
||

|

|

|
||

|

|

|
||
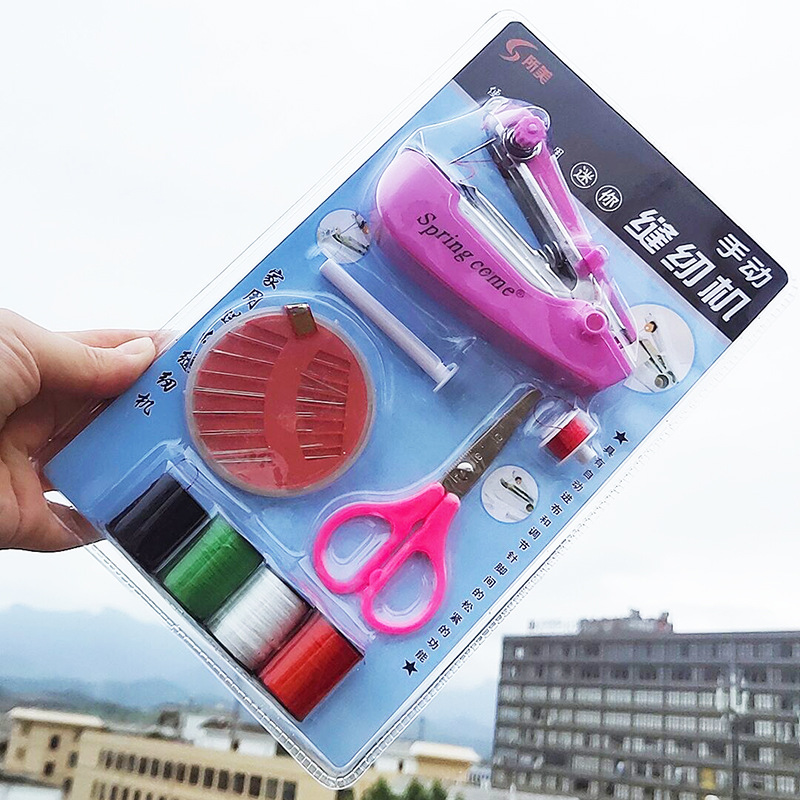
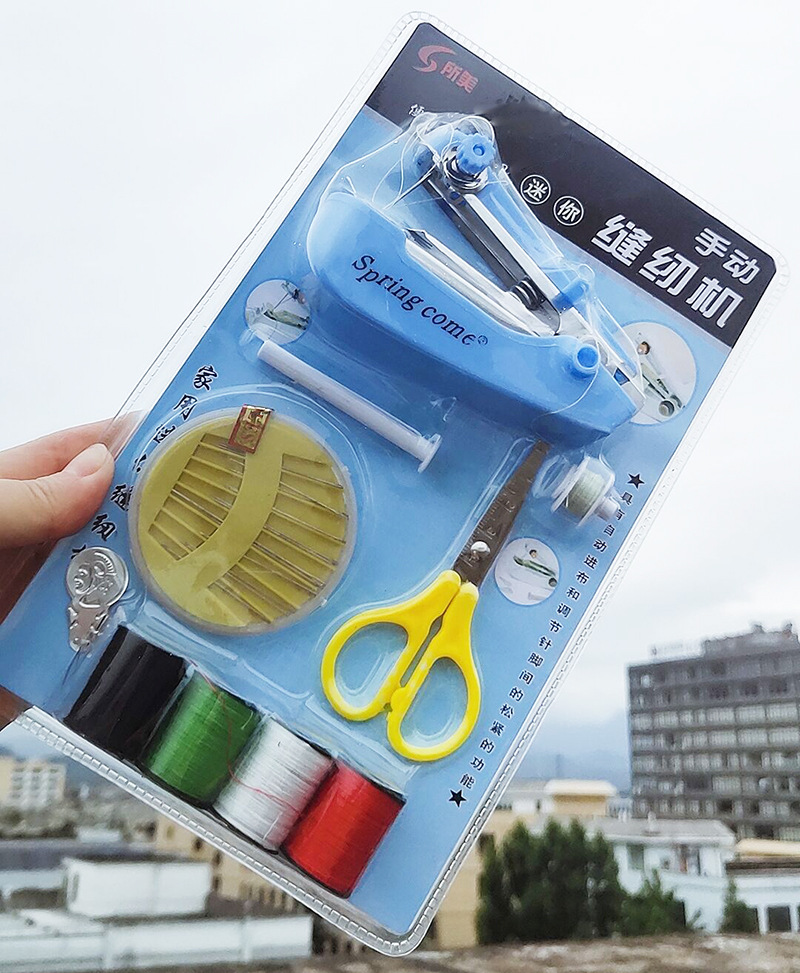
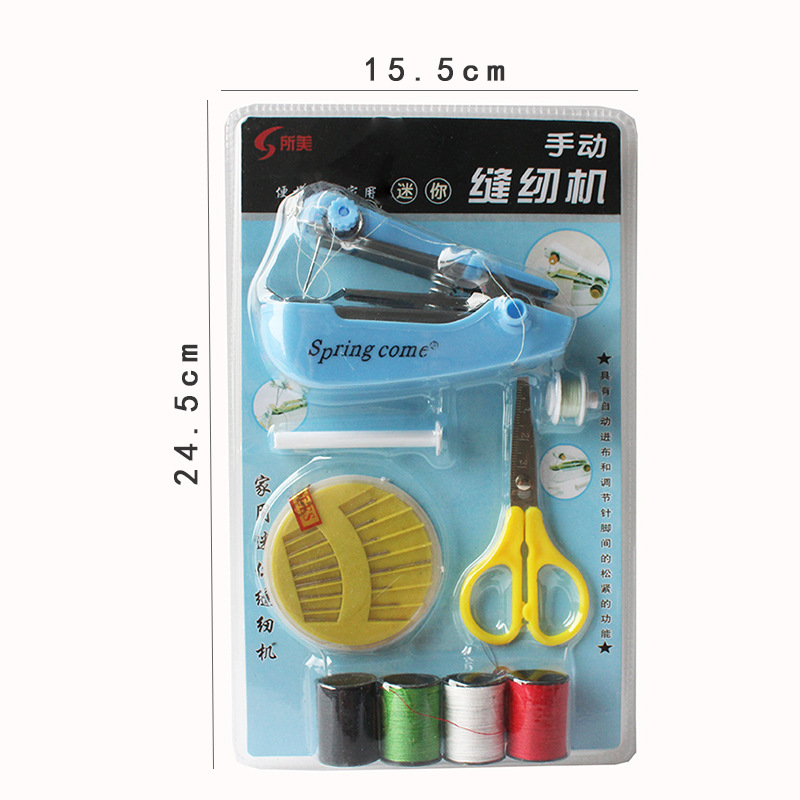
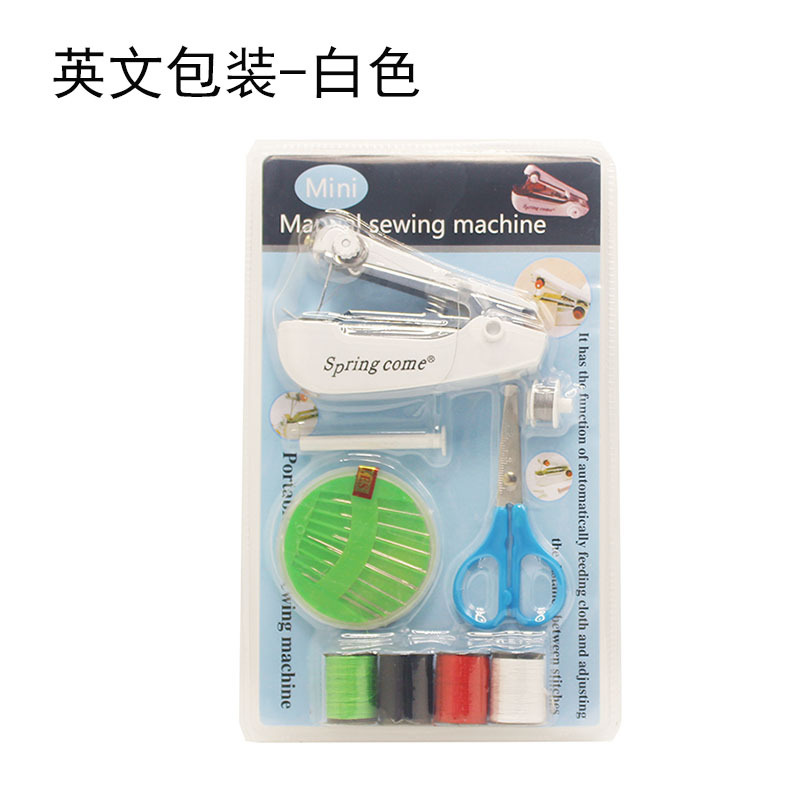
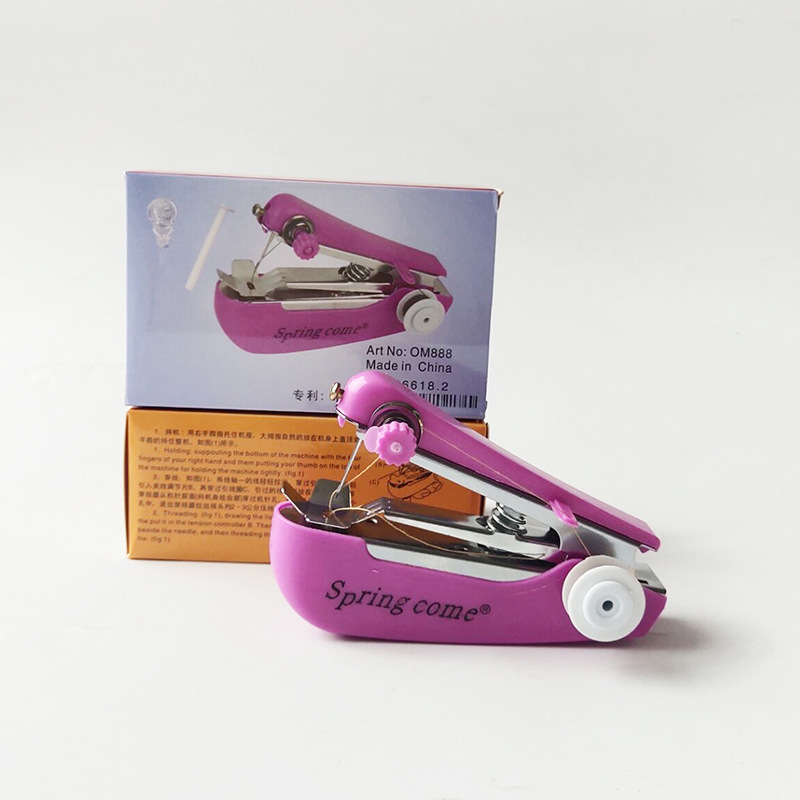
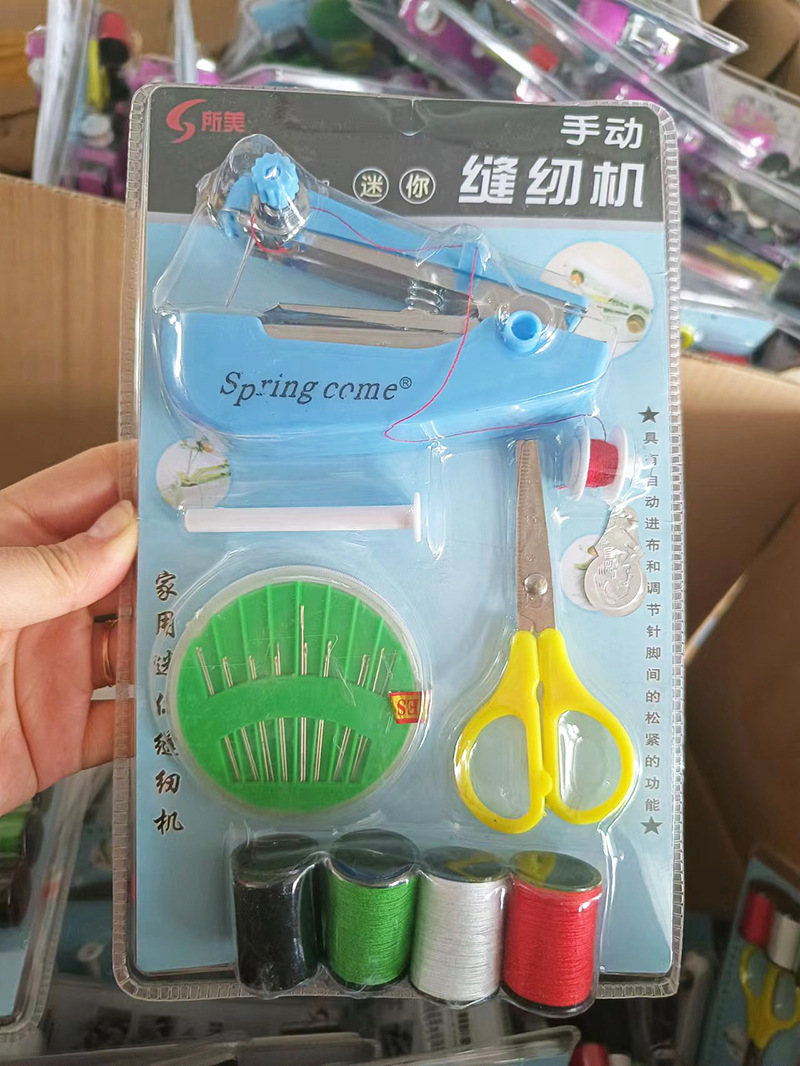
Product Introduction:
Cross-border parcel one-time dispatch packaging size and weight
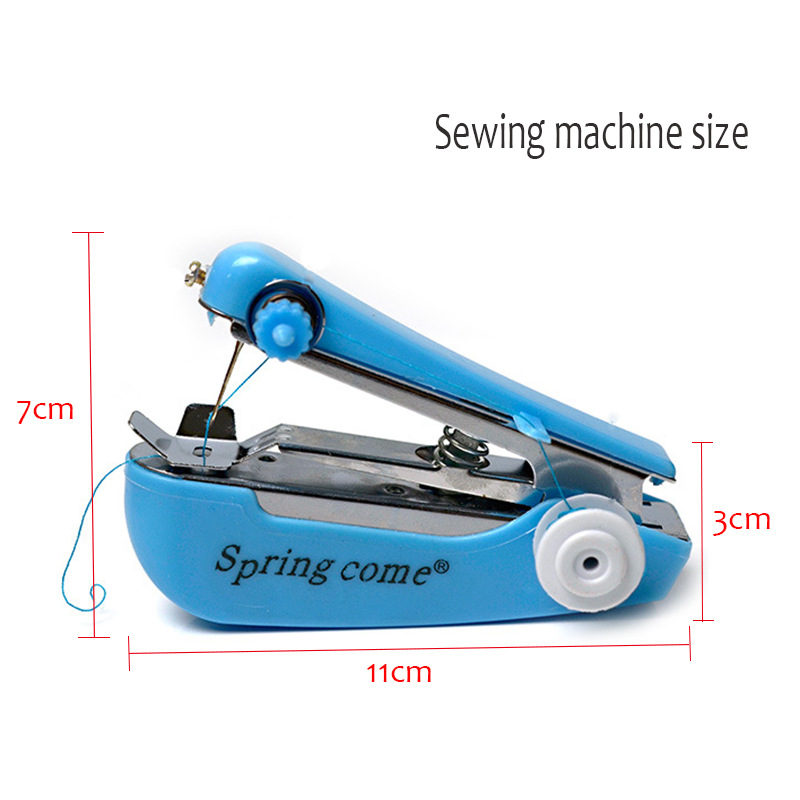
Set: 23*12.5*15.5cm, 217g
Sewing machine: 13*7.7*8.5cm, 124g
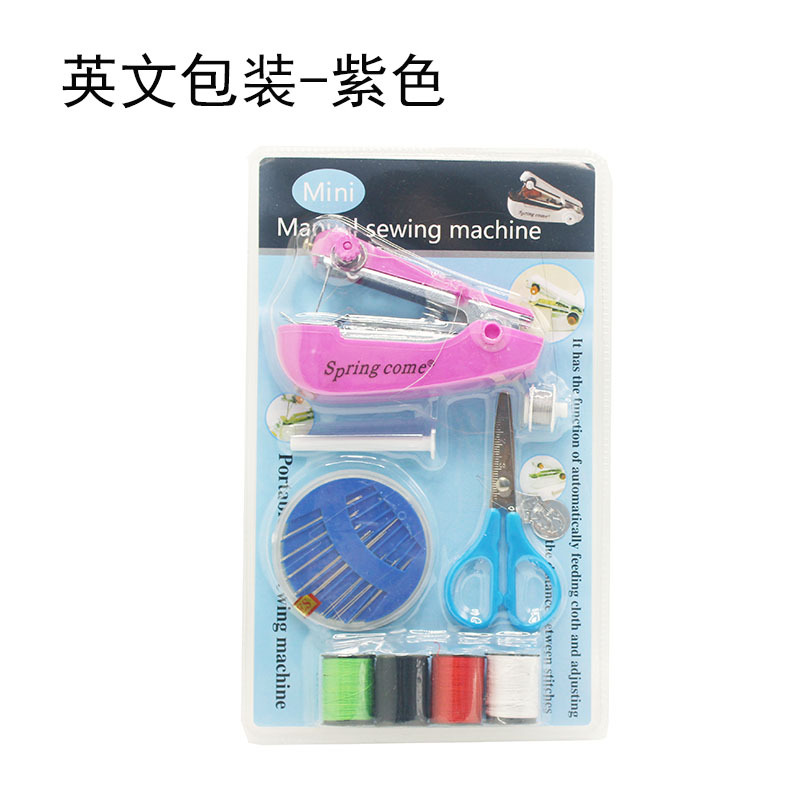
Note: The product color is based on the color of the small sewing machine, and the color of the accessories is random -- the scissors and needle plate will generally have blue, yellow, red, green, and these colors at random, and the thread spool colors are black, green, white, and red, which are fixed.
| 产Product Name: | Mini Sewing Machine |
| Product Material: | Plastic Stainless Steel |
| Product Size: | 25*15.5*3.5cm (one set size)Sewing Machine Box Size: 11*7*4.2cm |
| Product net weight: | Includes packaging, set weight 147g, individual sewing machine weight 101g |
| Product Packaging: | Paper Card Packaging |
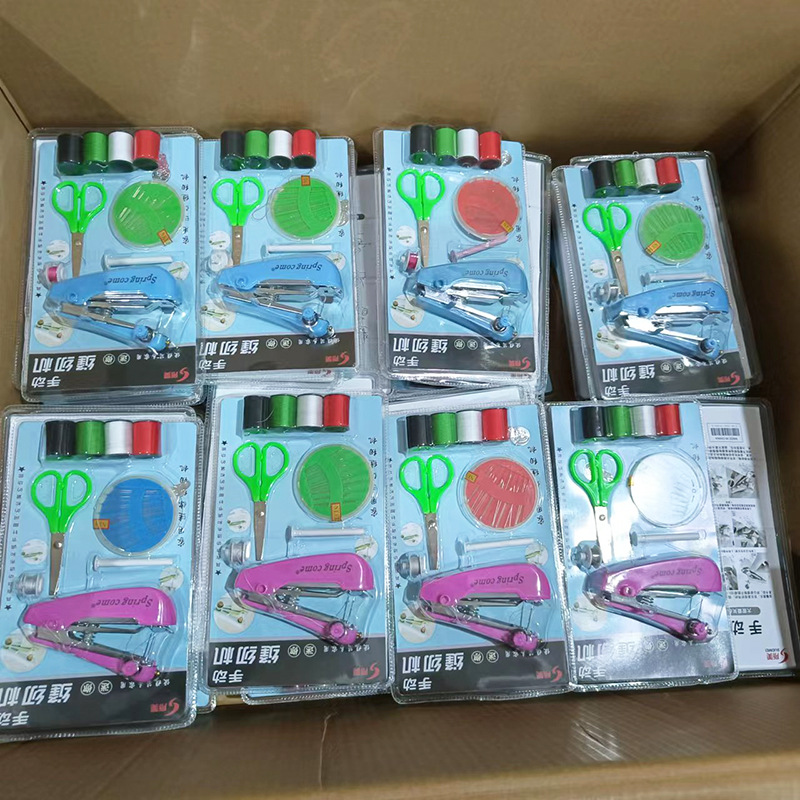
| Packing Quantity: | 128 sets/piece, outer box size: 71*54*31cm, net weight/gross weight: 19.2/21kg |
Sewing machines: 160 pieces/case
Gross Weight / Net Weight: 19/18kg
Packing Size: 48.5*31*47cm
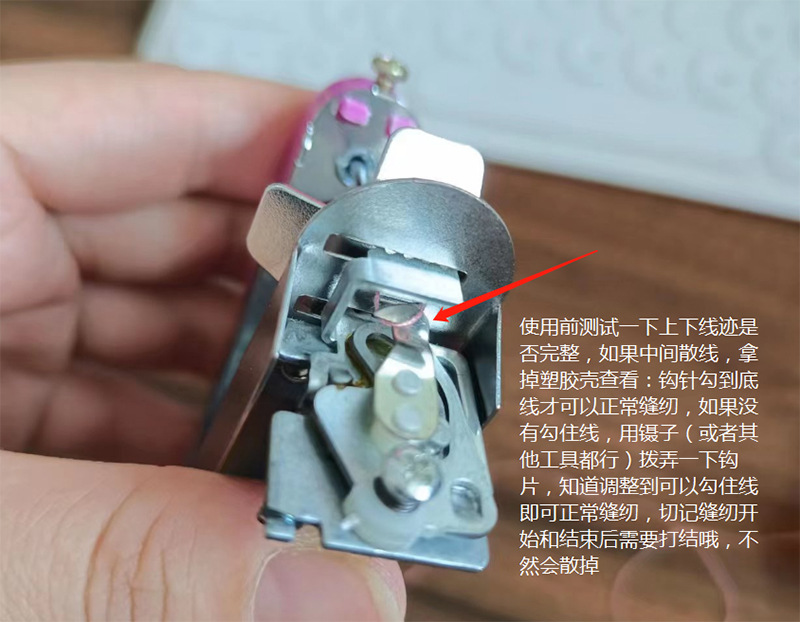
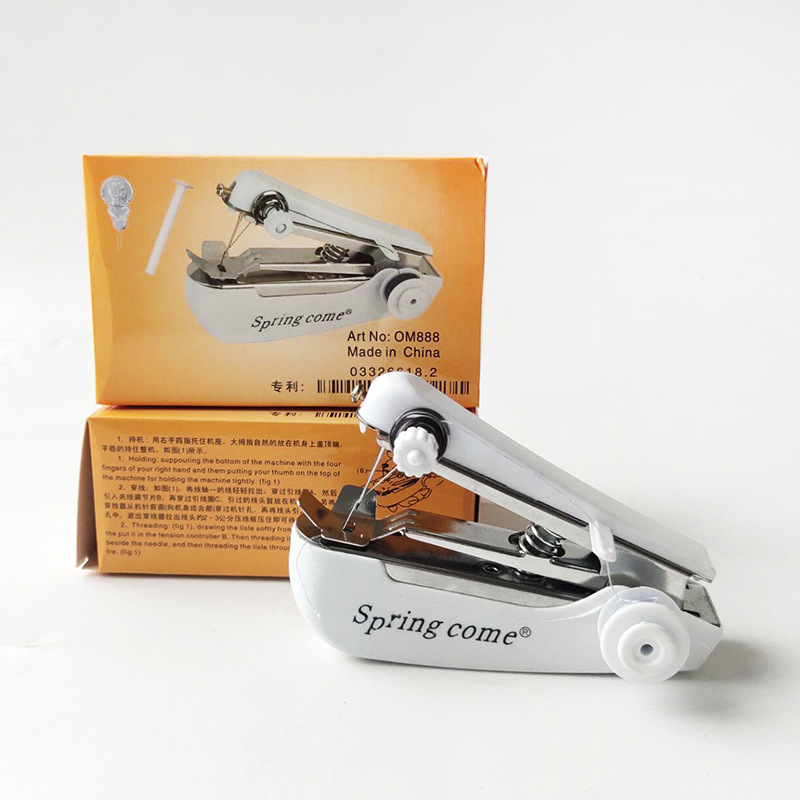
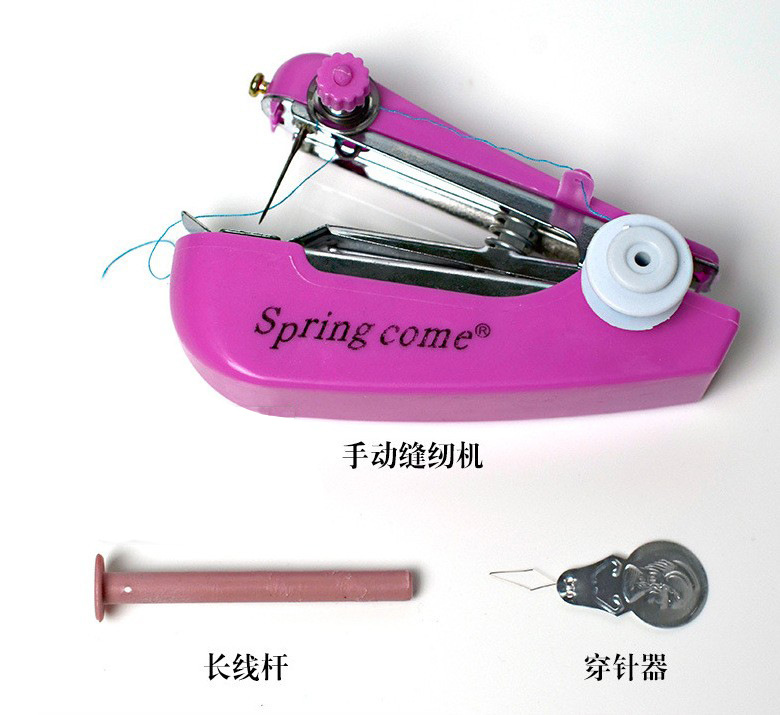
Let's talk about the method of using a needle threader:
First, insert the needle guide through the needle hole, then thread the thread through the needle guide. Pull the needle guide back, and the thread will be pulled through, isn't that simple?
1. First, pull a thread from the spool through the plastic hole from bottom to top, and then clamp the thread in the spring adjustment piece, adjusting the clamping thread piece to the desired position.
2. Then thread the thread through the circular iron ring at the lower end of the machine. Holding the thread that has passed through the ring, you can now begin to thread the needle. The technique for threading the needle has been explained; it is mainly important to note that the thread should be threaded from right to left.
After passing the thread through the needle hole, the next step is to lift the pressing board, and then pass the thread through the hole in the pressing board.
Next, let's start sewing. Lift the presser foot, place the fabric under the presser foot. Press the pillow down on the fabric with your thumb, maintain a steady speed, and apply even pressure. After sewing is complete, cut a section of the thread and pull it out with a pair of scissors, so you don't have to thread the needle each time you use it.
After removing the machine, the thread head went to the back, and tying a knot was fine.
Real-image display: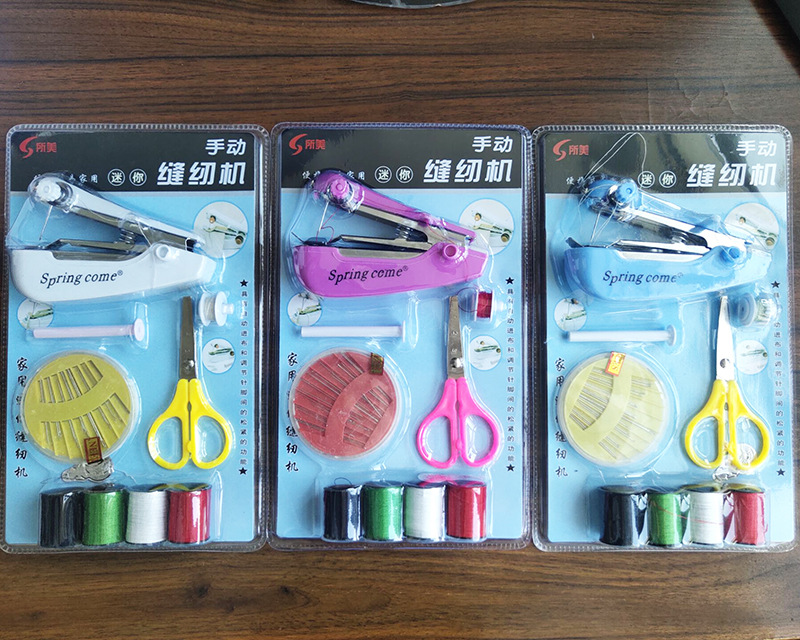
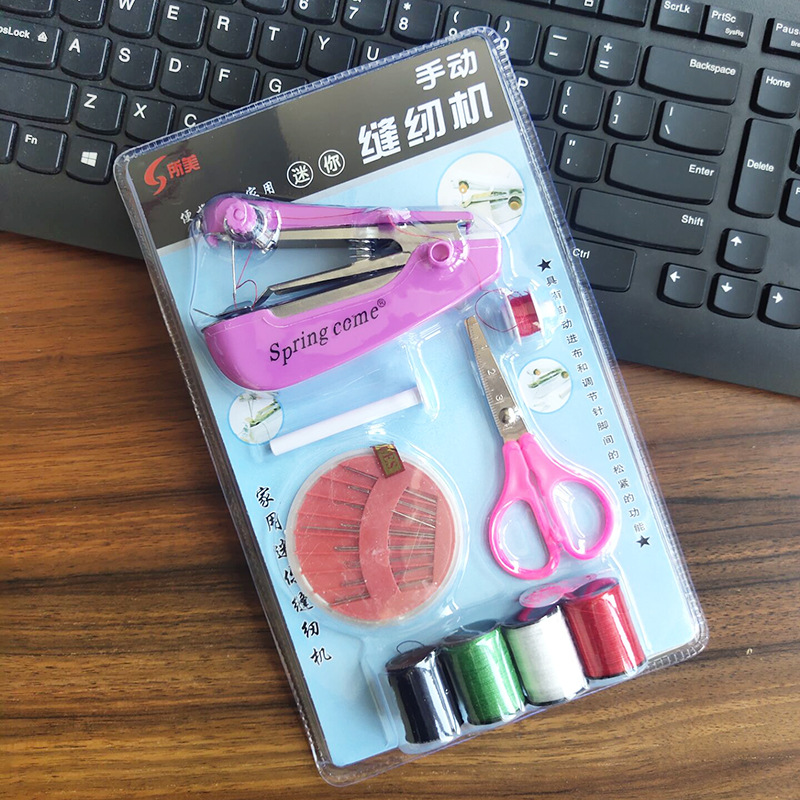
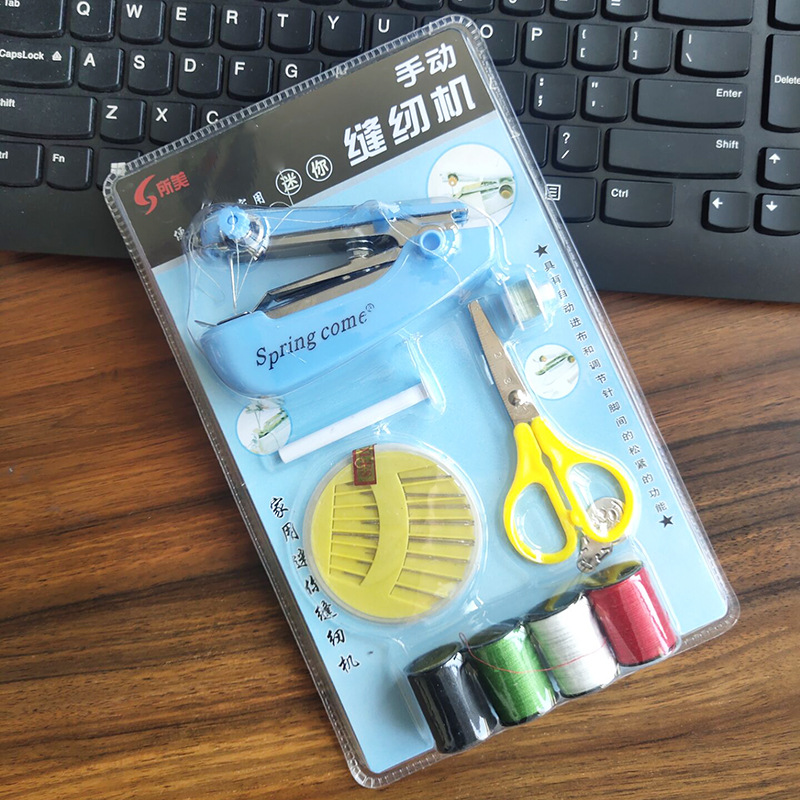
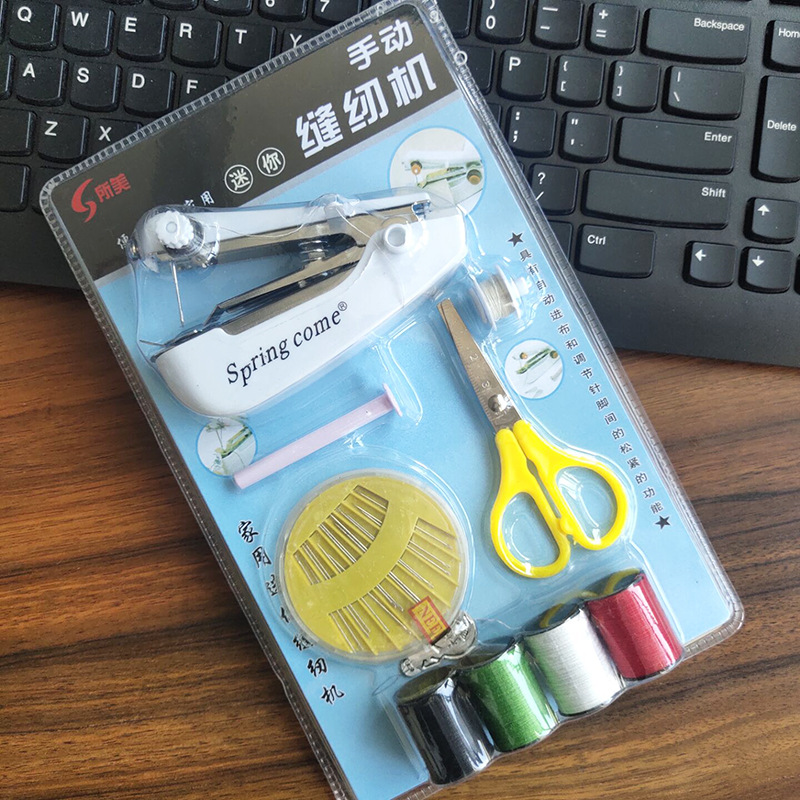


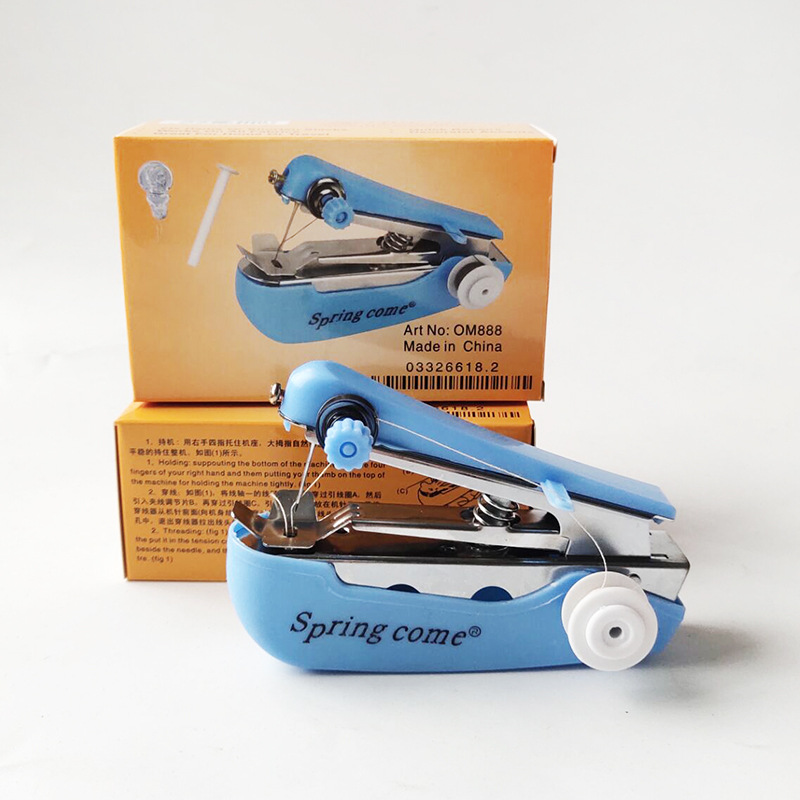
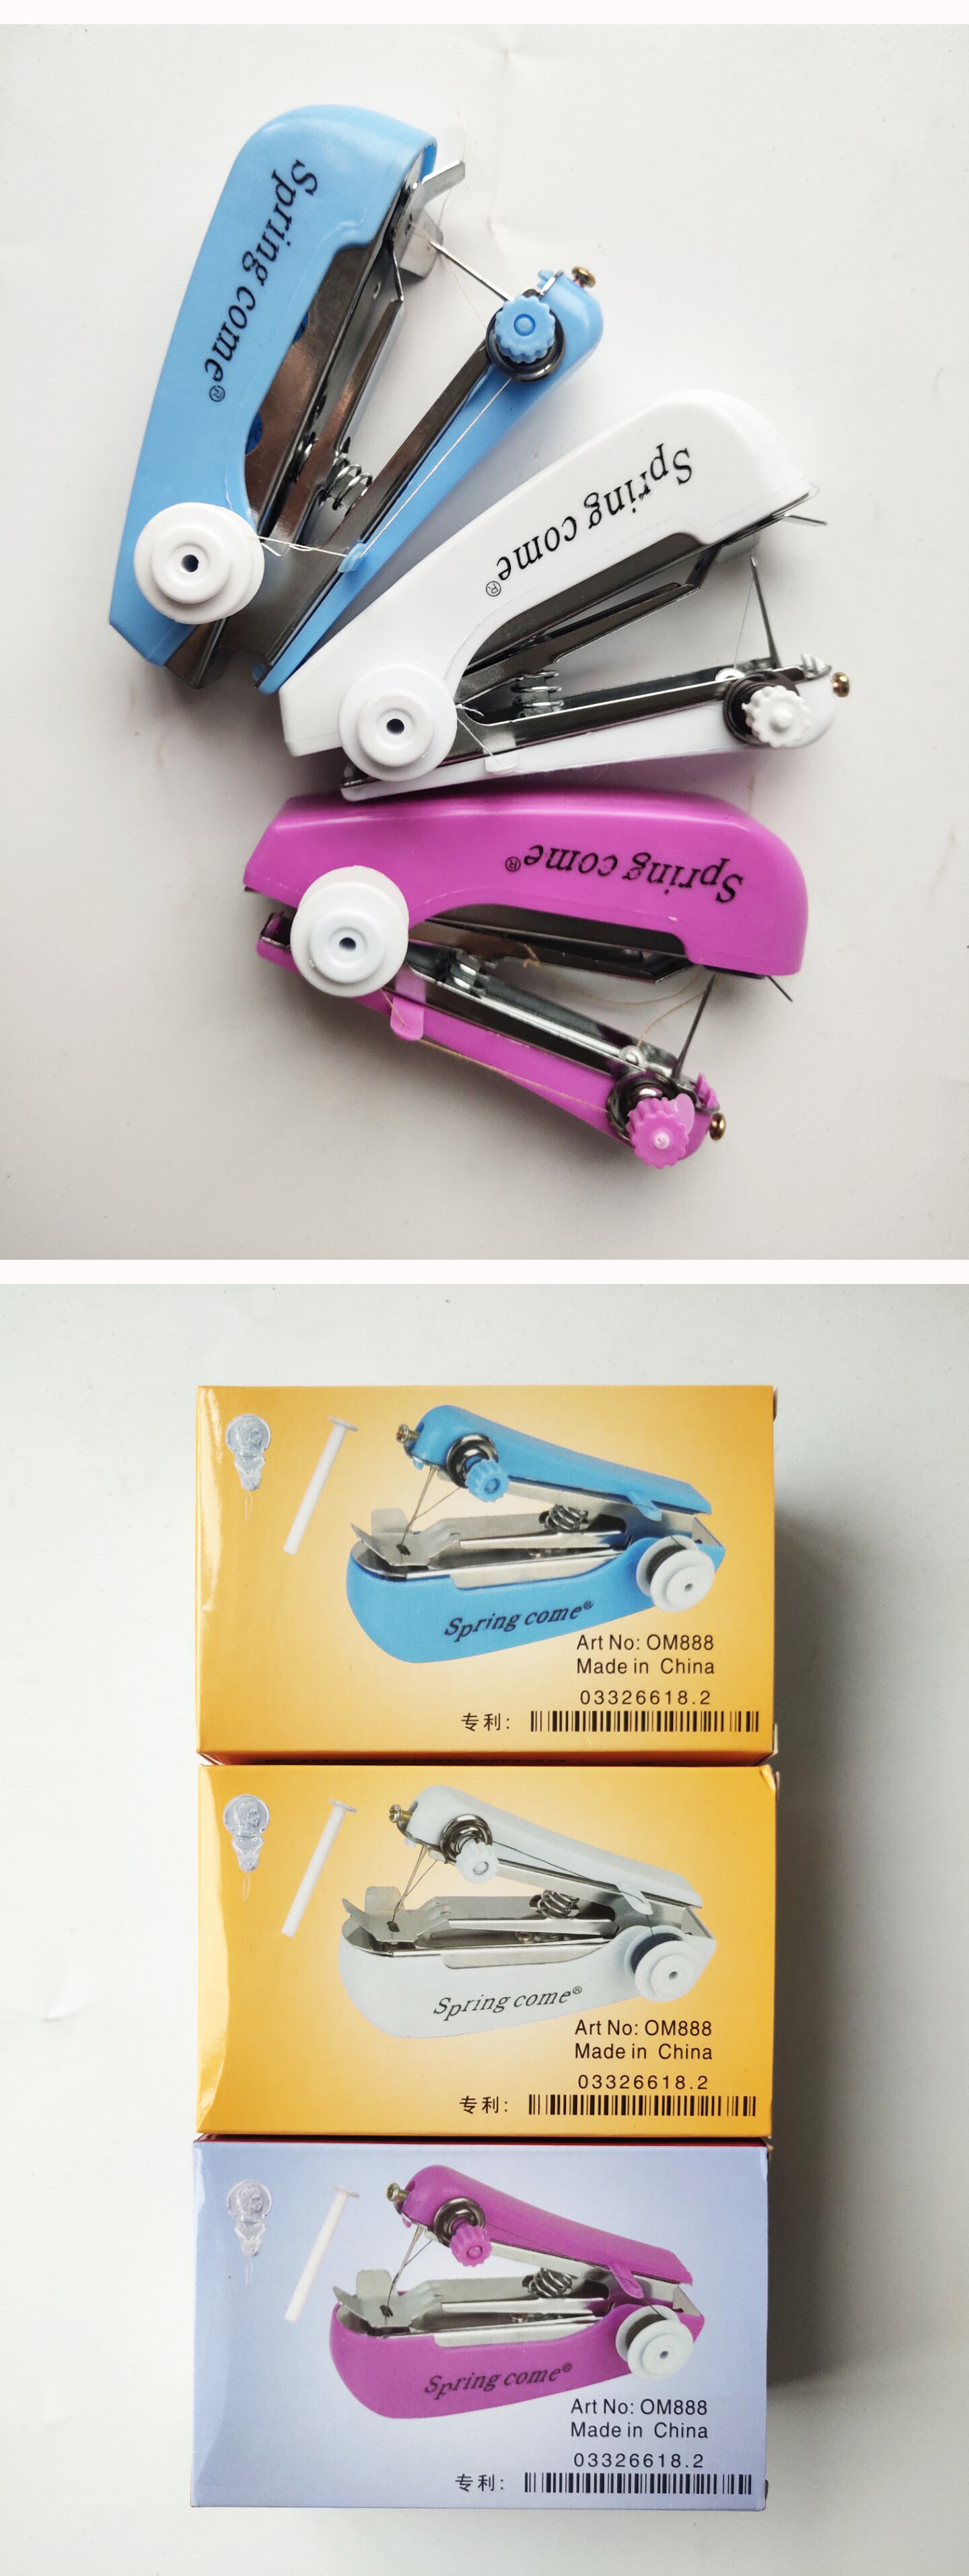
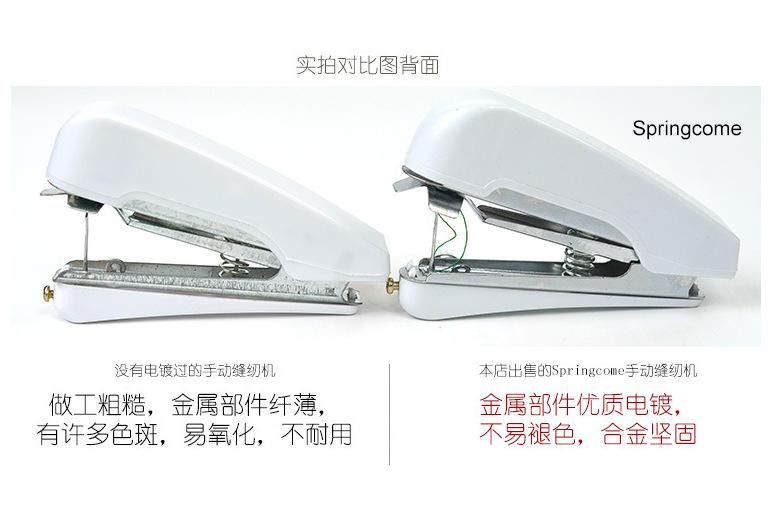


Product Real-Shot


Update time:


TOP


