Search history
Clear allSearch by image
XDrag and drop an image here or upload an image
Max 5MB per image
UploadSign In | Join
Search history
Clear allSearch by image
XDrag and drop an image here or upload an image
Max 5MB per image
UploadSign In | Join
X Email Mobile
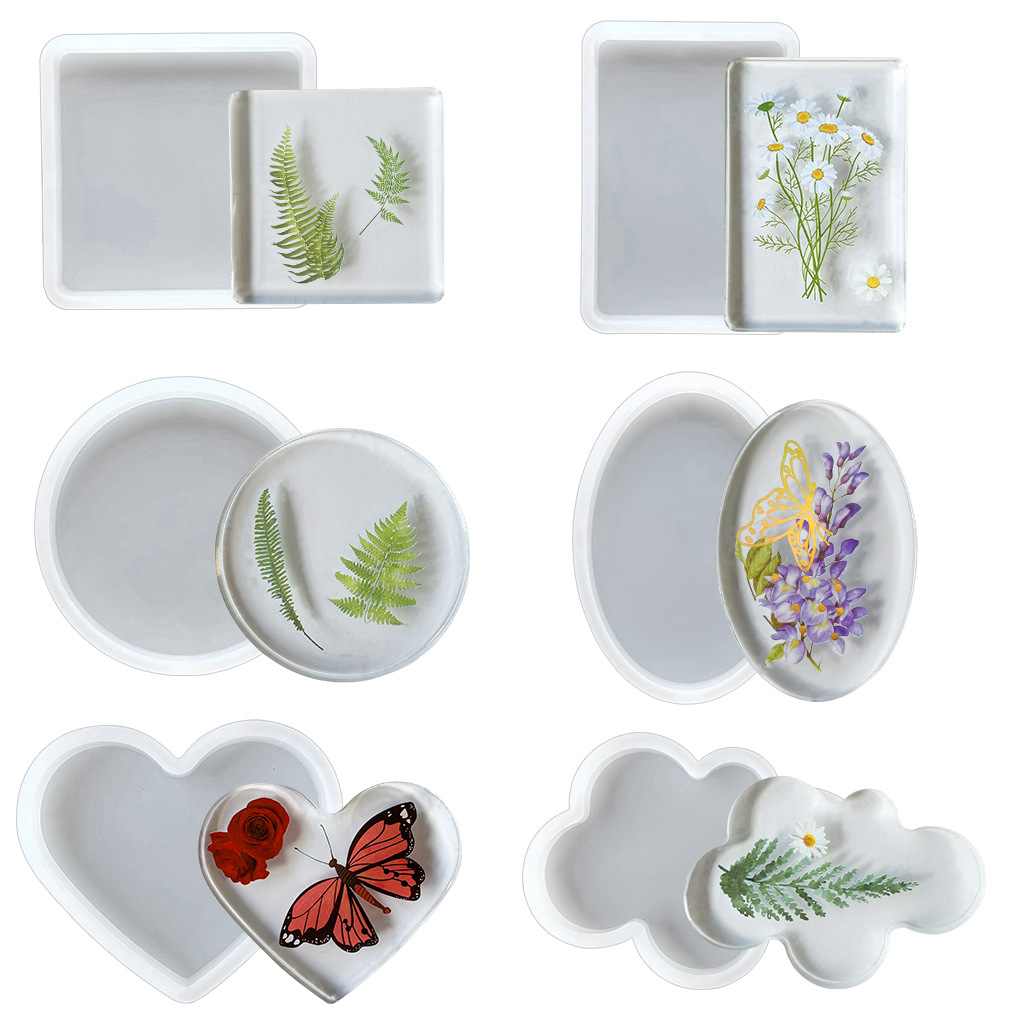
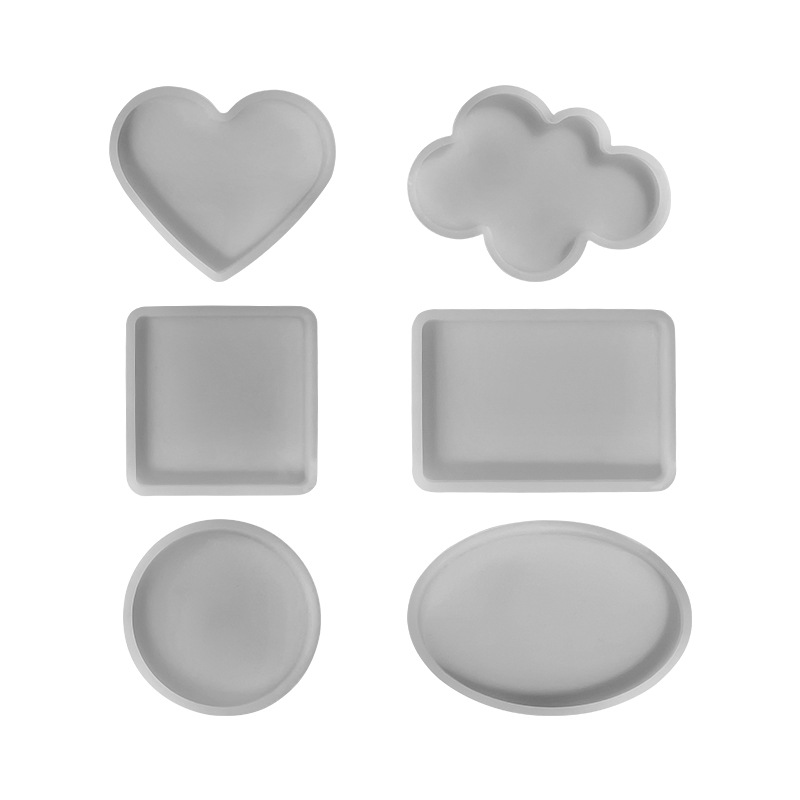
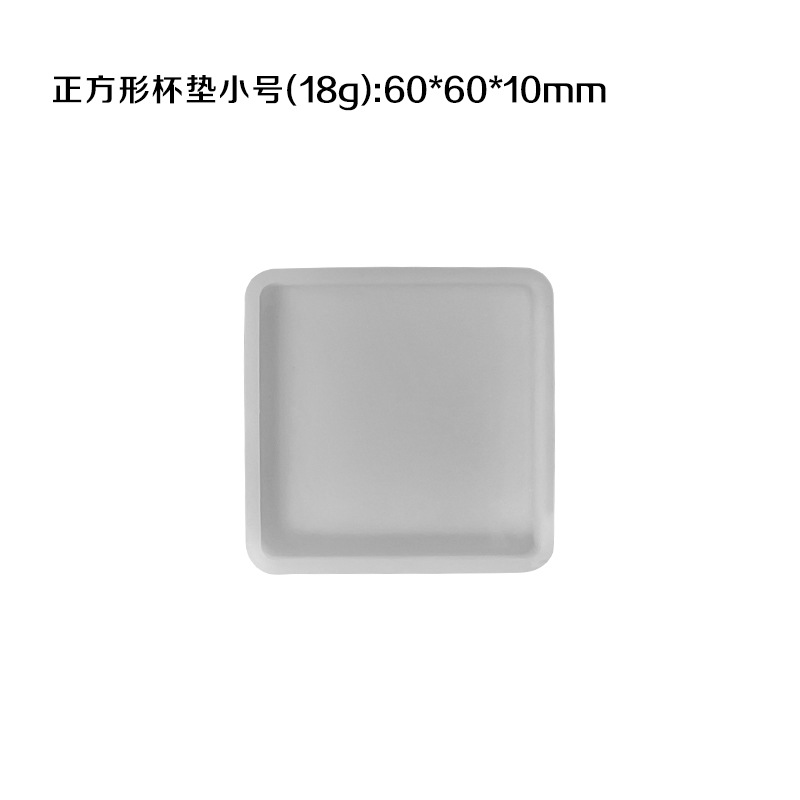
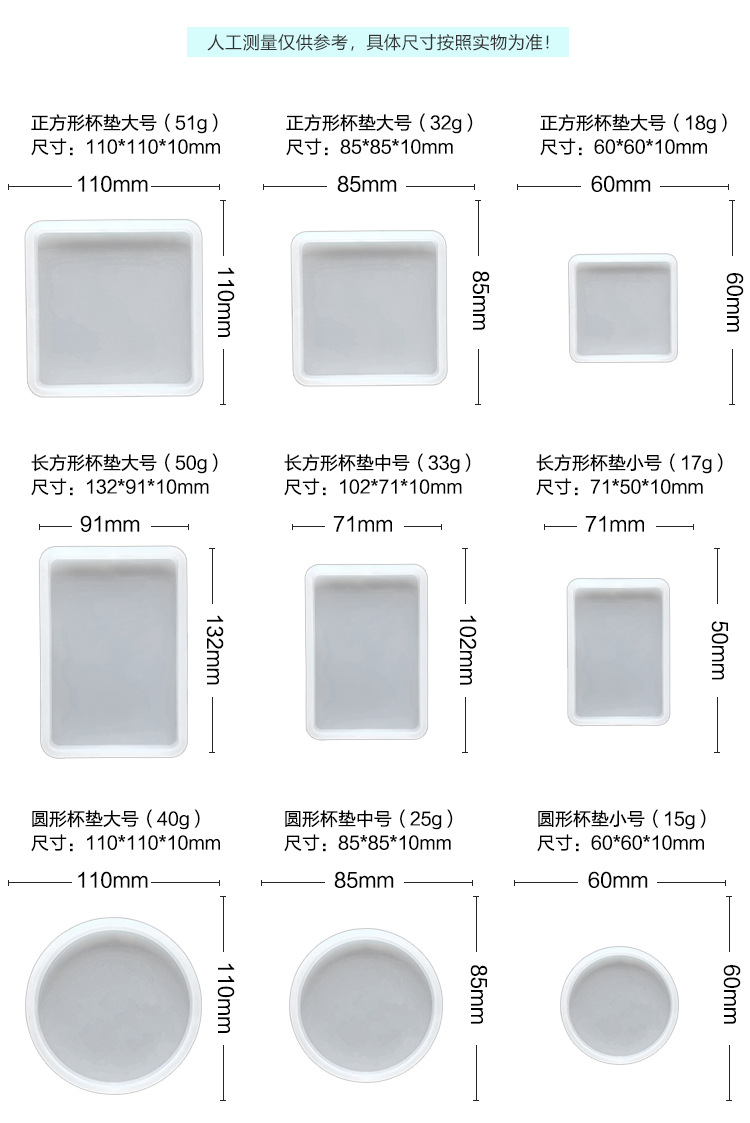
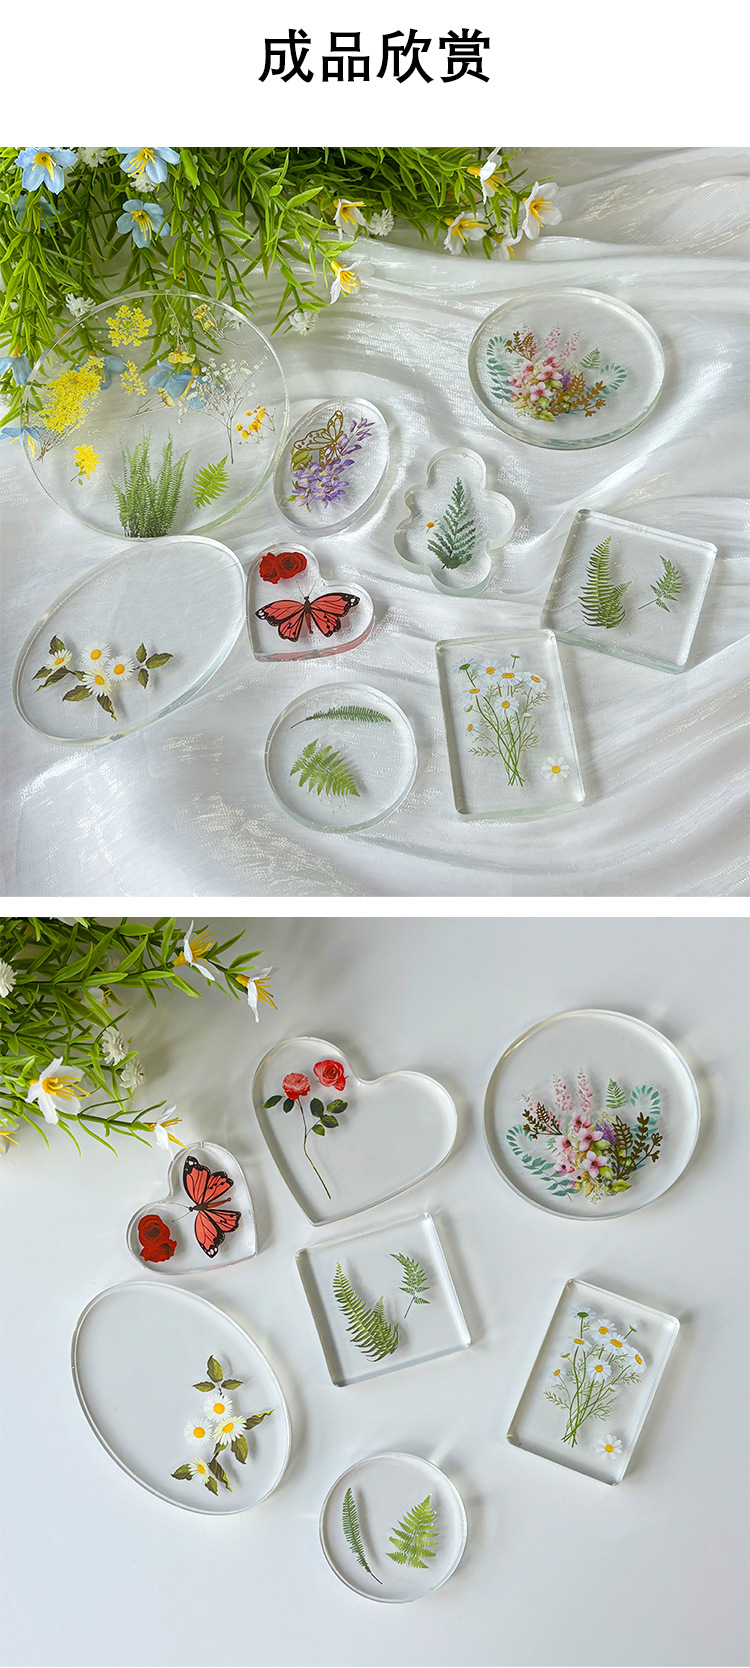
 small square j-203
|
CN¥ 0.81 |
 medium square j-202
|
CN¥ 1.45 |
 large square j-201
|
CN¥ 2.25 |
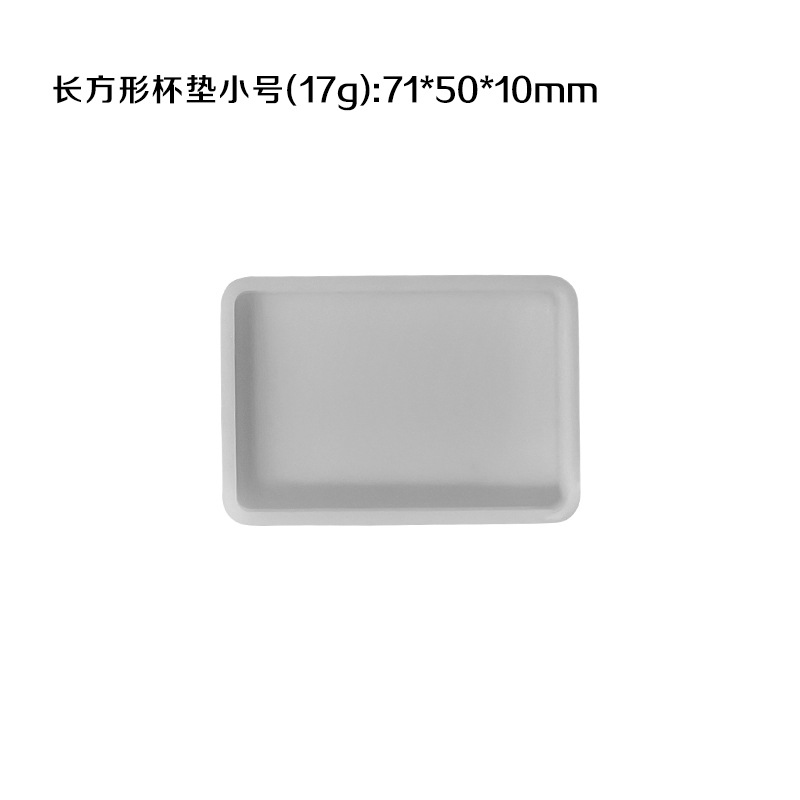
 small rectangular j-206
|
CN¥ 0.81 |
 medium rectangular j-205
|
CN¥ 1.45 |
 large rectangular j-204
|
CN¥ 2.25 |
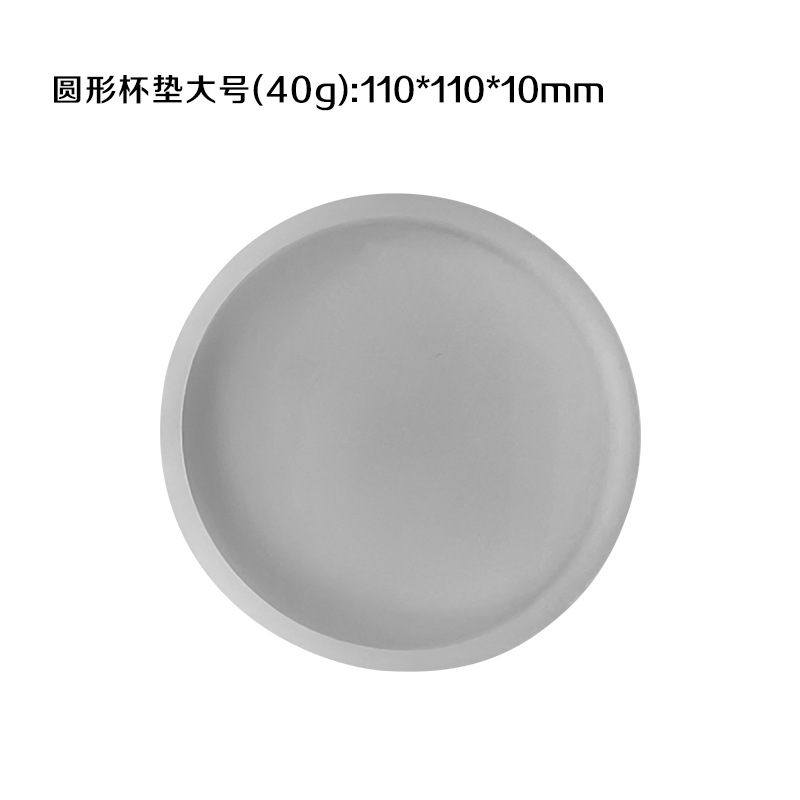
 small round j-209
|
CN¥ 0.68 |
 medium round j-208
|
CN¥ 1.2 |
 large round j-207
|
CN¥ 1.8 |
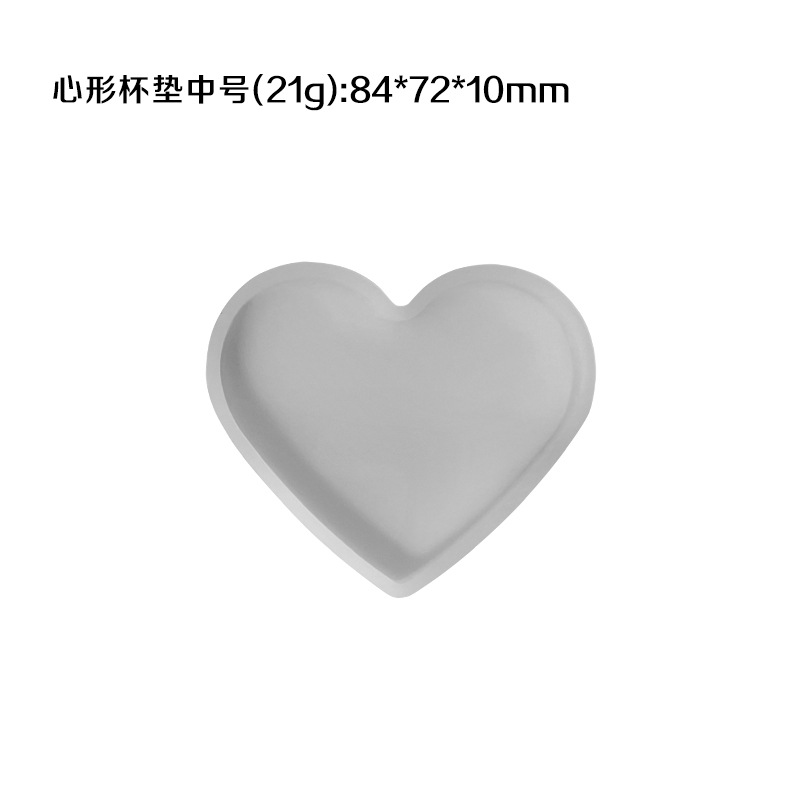
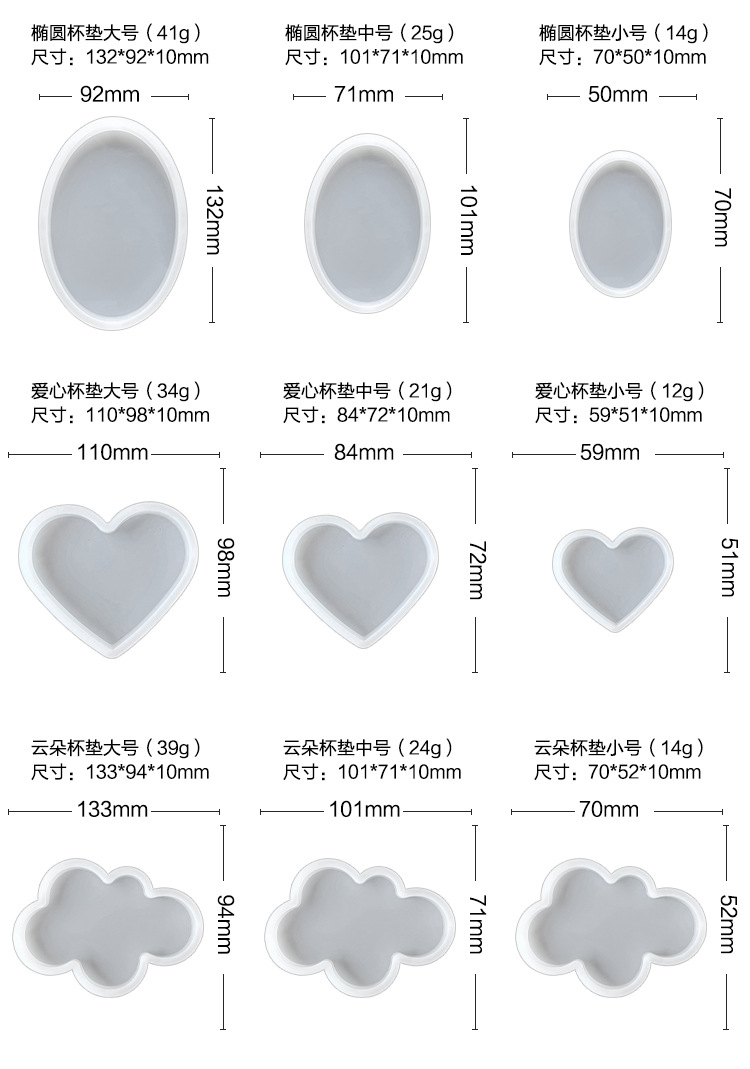
 small love heart-shaped j-212
|
CN¥ 0.6 |
 medium love heart-shaped j-211
|
CN¥ 0.95 |
 large love heart-shaped j-210
|
CN¥ 1.5 |
 small cloud j-215
|
CN¥ 0.68 |
 medium cloud j-214
|
CN¥ 1.2 |
 large cloud j-213
|
CN¥ 1.8 |
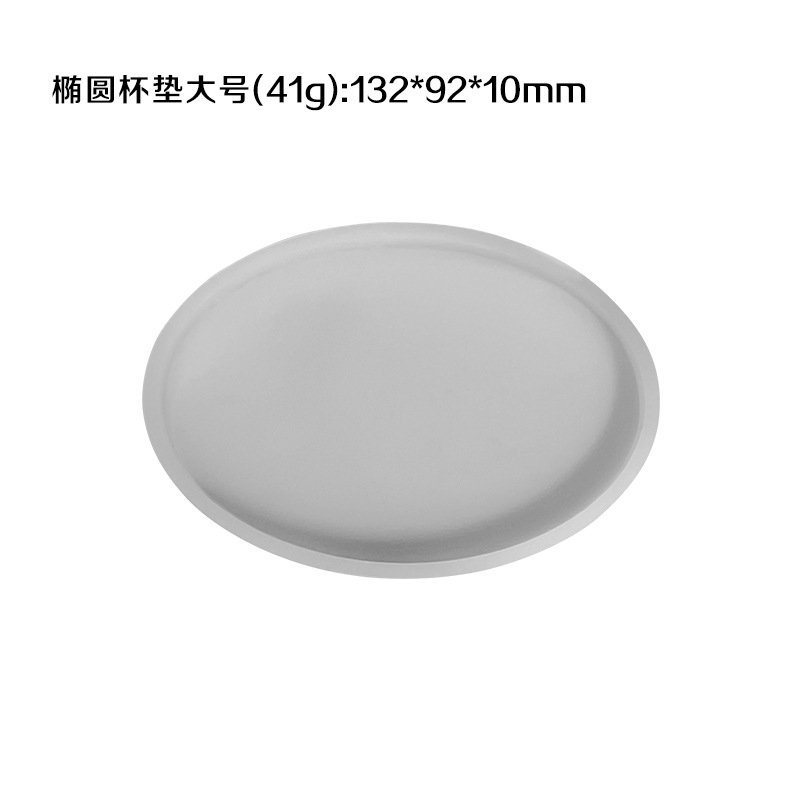
 small oval j-218
|
CN¥ 0.68 |
 medium oval j-217
|
CN¥ 1.2 |
 large oval j-216
|
CN¥ 1.8 |
Changkai chuju 14yr.
Contacts ANNIE Chat
Mobile 86-15967952165
E-mail ywcookware@163.com
15967952165

WhatsApp 15967952165
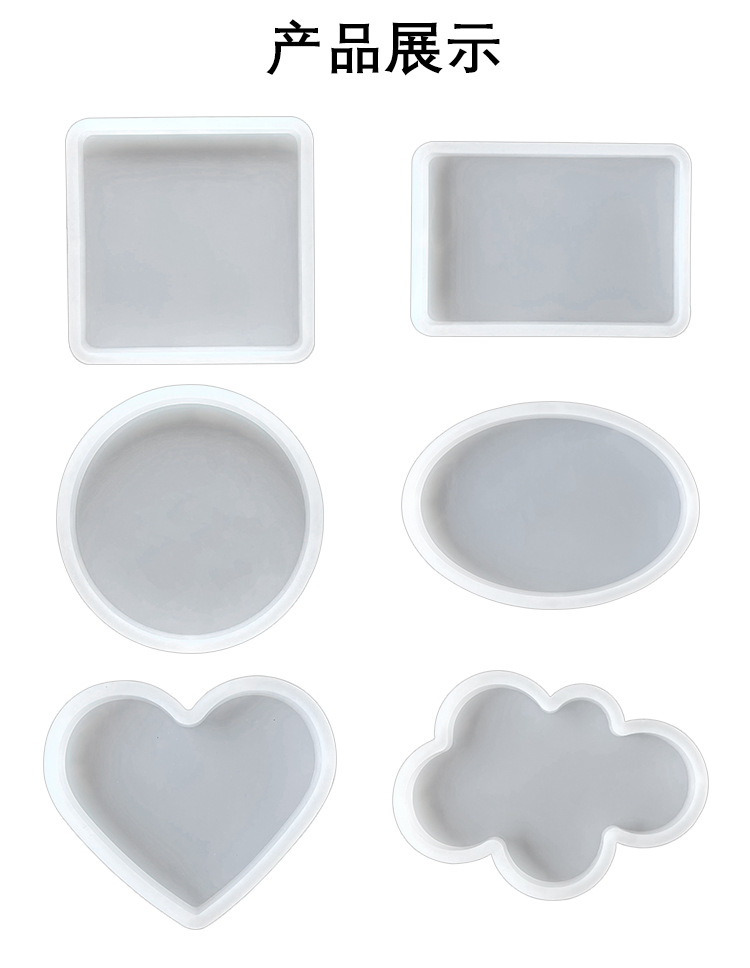
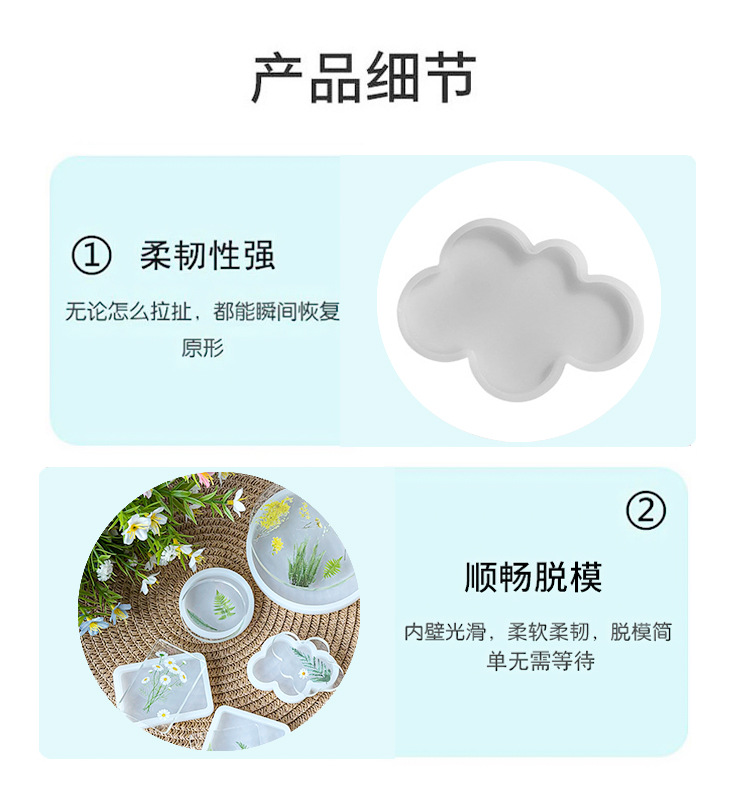
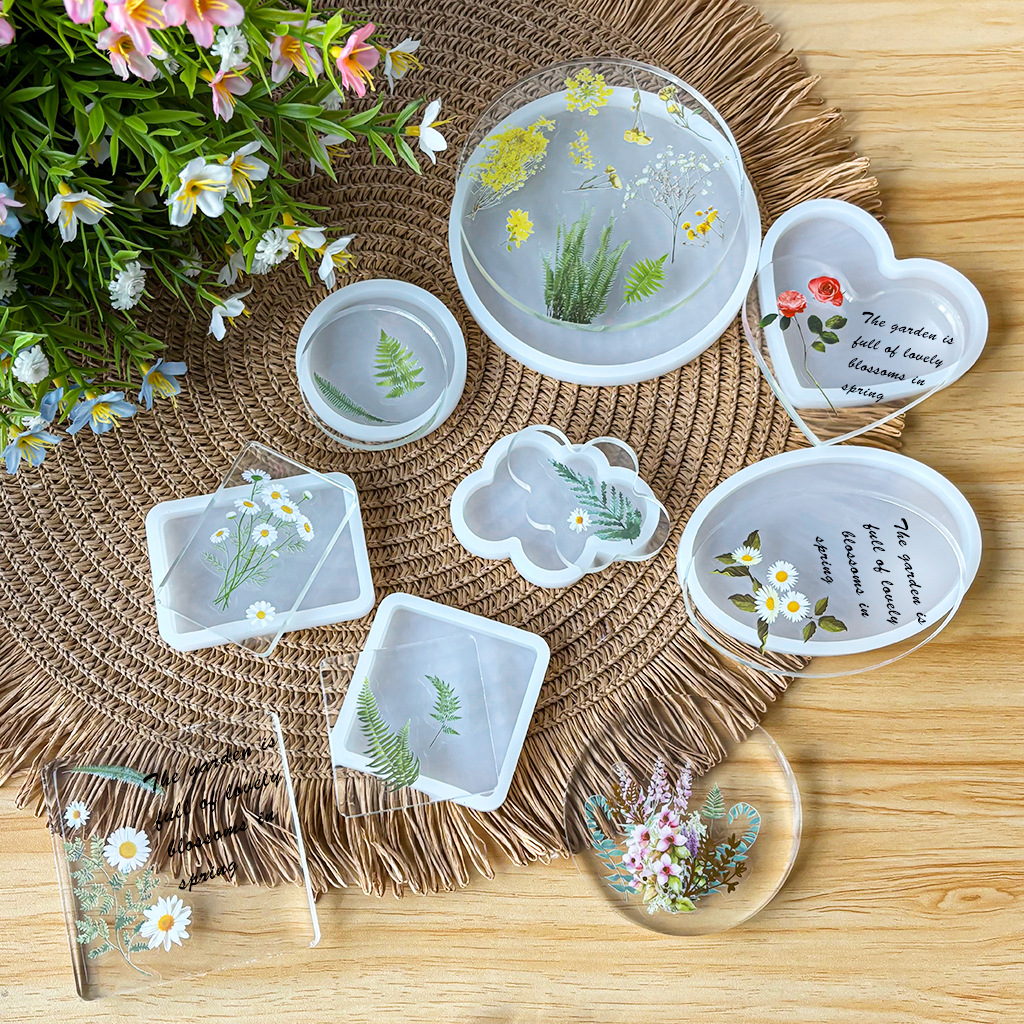
Dipping glue production process
Prepare materials: mold, AB glue, measuring cup, food coloring, electronic scale, disposable gloves/chopsticks/cups
Step 1: First, prepare the AB glue by mixing it in the ratio of A3:B1, and stir it until it is clear and ready to use.
Step 2: Drop in your favorite food coloring and mix well with the AB glue.
Step 3: Apply decorations or dusting powder (create your own design) to the mold, covering it completely.
Step 4: It is best to pour the prepared AB adhesive into the mold, filling it as much as possible (to prevent overflow);
Update time:


TOP