Search history
Clear allSearch by image
XDrag and drop an image here or upload an image
Max 5MB per image
UploadSign In | Join
Search history
Clear allSearch by image
XDrag and drop an image here or upload an image
Max 5MB per image
UploadSign In | Join
X Email Mobile
| one pack does not contain nail-free glue (punching), you need to own electric drill | ¥9.39 | 3415 piece available |
|
| one pack (including nail-free glue) | ¥10.58 | 9627 piece available |
|
| two pack including nail-free glue (with stainless steel tube 74cm) | ¥23.75 | 32193 piece available |
|
| two pack including nail-free glue (with stainless steel tube 110cm) | ¥25.54 | 29894 piece available |
|
| two pack punch 74cm (need own electric drill | ¥22.56 | 48216 piece available |
|
| two pack punch 110cm (need own electric drill | ¥24.35 | 49330 piece available |
|
| one pack does not contain nail-free glue (punching), you need to own electric drill | ¥9.39 | 919 piece available |
|
| one pack (including nail-free glue) | ¥10.58 | 1421 piece available |
|
| two pack including nail-free glue (with stainless steel tube 74cm) | ¥23.75 | 38724 piece available |
|
| two pack including nail-free glue (with stainless steel tube 110cm) | ¥25.54 | 36725 piece available |
|
| two pack punch 74cm (need own electric drill | ¥22.56 | 49976 piece available |
|
| two pack punch 110cm (need own electric drill | ¥24.35 | 49979 piece available |
|
A new item has been added to your Shopping Cart. You now have items in your Shopping Cart.
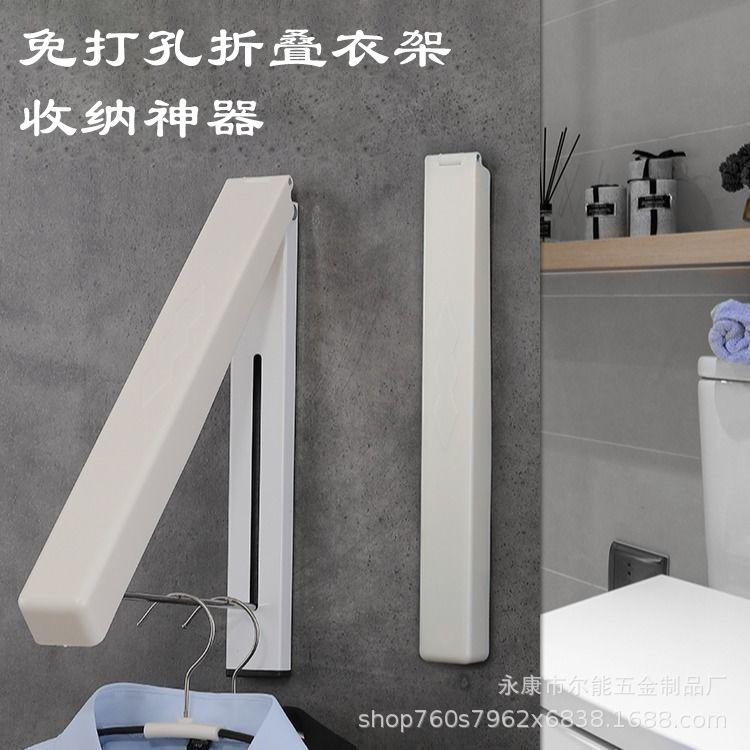
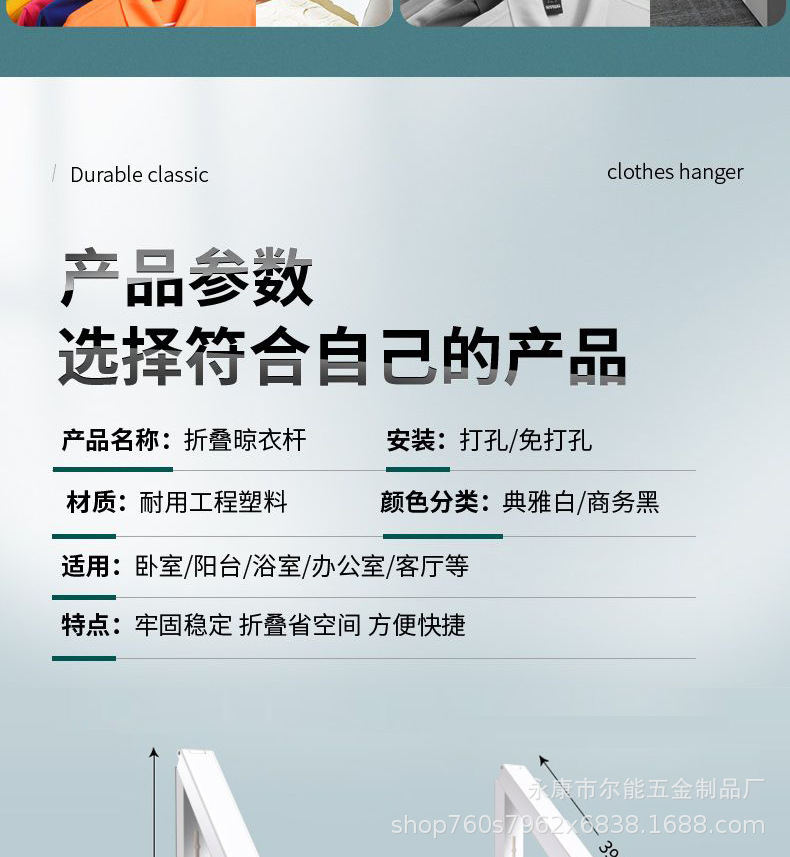
Installation: Use the original self-tapping screws to screw into the wood paneling wall [2 - 4 screws, with a spacing of 25 cm between them], and for cement walls, first drill 2 6mm holes with an electric drill, then insert the plastic expansion tubes and screw in the screws. The position of the screws should be just tight enough to fit the hanger [if the screws are not tightened properly, the hanger will sway to the left and right]. Then, hang the hanger.Screws and plastic spacer clips are automatically delivered when the stand is taken down.


Update time:


TOP