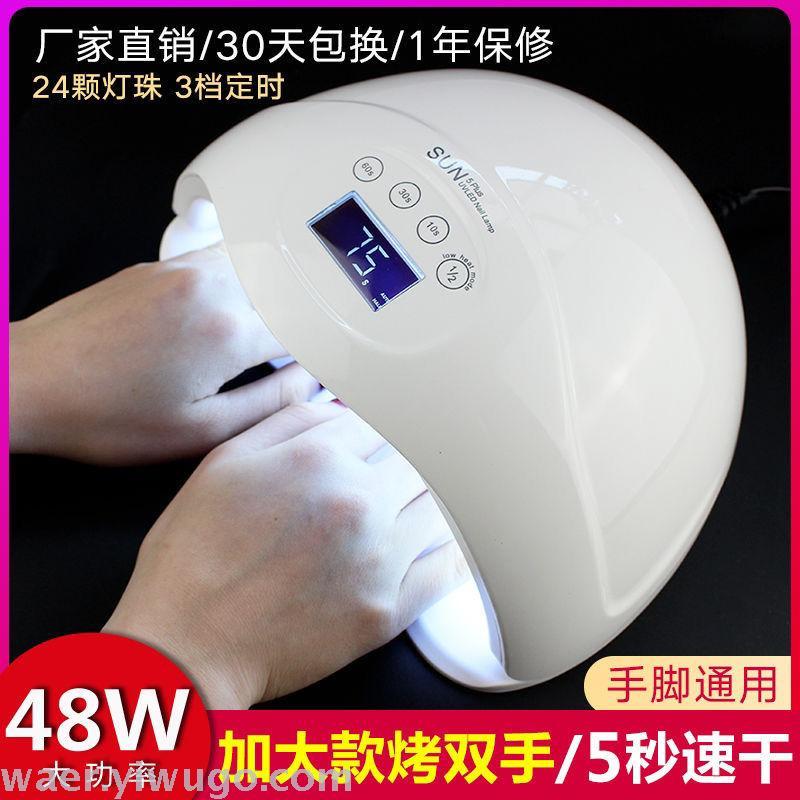
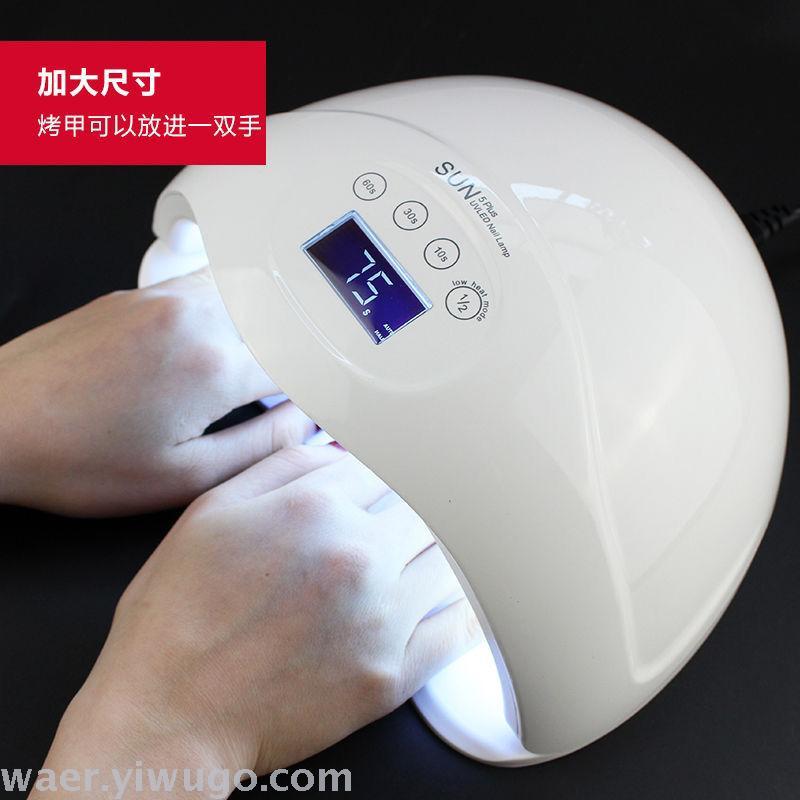
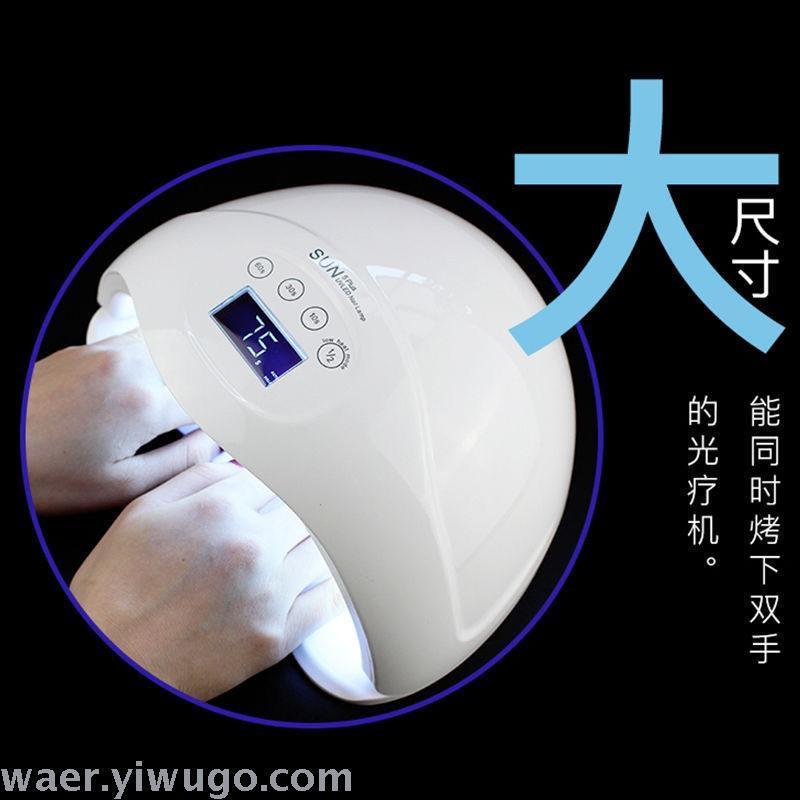
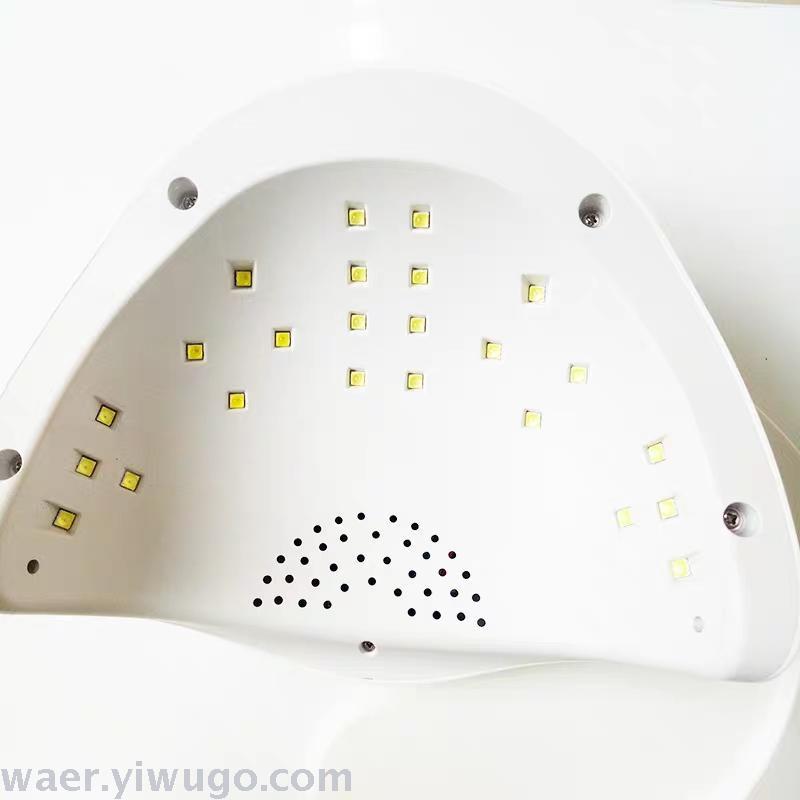
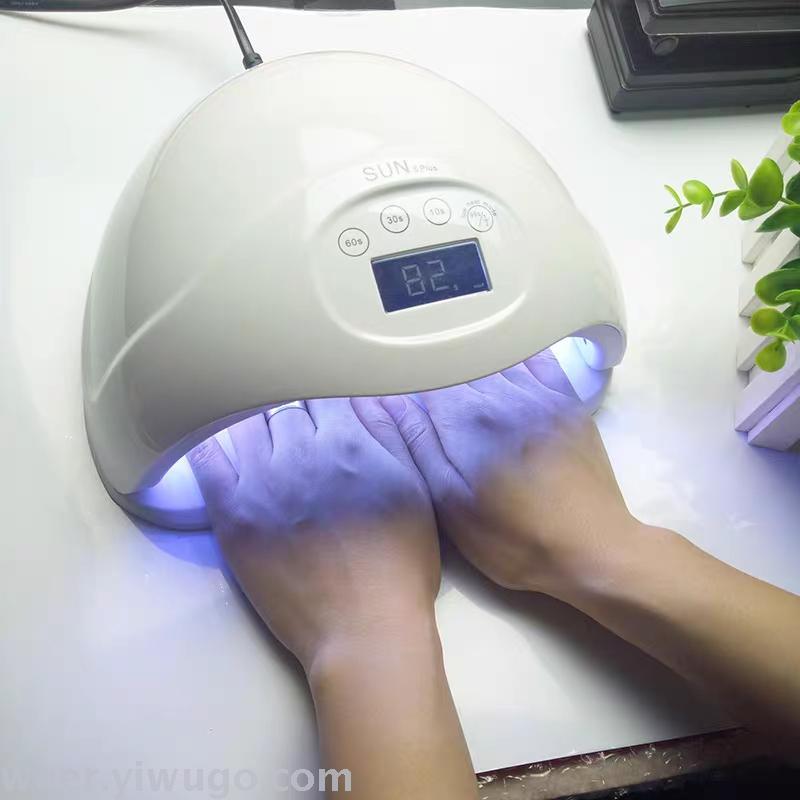
Nail phototherapy machine usage:
1. Disinfect hands and tools.
2. Cut the leading edge of the nail short and grind out the arc that matches the leading edge of the paper cups. (It is a very important detail that methyl ester will not flow out from the fingers when Crystal or UV nail is made in this way)
3. Use the method of Soaking hands or putting on dead skin macerating agent to finger edge dead skin. (Be careful to clean)
4. Rub and grind the nail surface with 80# nail. (Note: the correct method of carving and grinding is to hold the nail and rub the front edge vertically to carve the vertical provisions on the nail surface. Pay attention to carving and grinding in place, otherwise the crystal nail or UV nail will fall off easily)
5. Dust removal with nail brush.
6. Use cotton puff to dip a certain amount of cleaning solution to clean the nail surface.
7. Go to paper cups. (The arc leading edge of paper cups should be consistent with the leading edge of the nail and below the nail plane. When paper cups, it should be a straight line with the second knuckle to find the center line, so that the nails made will not be skewed.)
8. Apply a small amount of phototherapy adhesive to the surface of the carved and ground nail with UV pen. (Note: The amount of phototherapy adhesive should not be too much, as long as the surface of the carved and ground nails is moist.)
9. Light for 1 minute.
10. Phototherapy slip sheet to the length of the nail to be made at the joint between the leading edge of the nail and multi-function glue. (Just use a thin layer, so that the bottom of the nail is painted smooth when UV nail of the sequin style is made at the front edge!)
11. Light 3-4 seconds.
12. Then apply phototherapy to the leading edge of the nail for color plastic. (Note that the color from the leading edge to the trailing edge makes an excessive color from deep to light.)
13. Light 3-4 seconds.
14. On phototherapy multi-function glue cover the whole nail surface.
15. Light for 1-2 minutes. (Curing)
16. Use cotton puff to dip a certain amount of cleaning solution to clean the nail surface without completely fixed-line phototherapy plastic.
17. Manicure nail shape and nail surface shape. (Pay attention to the effect of four thin edges and full Middle)
18. Dust removal.
19. Use cotton puff to dip a certain amount of cleaning solution to clean the nail surface.
20. Go to non-wash sealing layer.
21. Light for 3 minutes. (The light will not light up if it takes less than non-wash sealing layer of time. If you really encounter such a situation, you can no longer brush non-wash sealing layer again. You must polish the seal layer off, and then remove dust and then re-install it for non-wash sealing layer, light again.)
22. Complete.
23. Remember to apply nourishment-oil around your nails to nourish finger edge.
