Usage Method:
1. Before ironing, the back of the garment should be clean, and the temperature of the iron should be adjusted to the appropriate temperature for the fabric according to the iron's usage method.
2. Place the cloth patch on the desired location, with the hot-melt glue side facing the clothing (do not remove the glue). Preheat the iron, iron the cloth patch from the front for about 15 seconds to fix the position of the patch. You can also use a needle and thread to fix the patch before ironing to prevent the patch from shifting. Then, flip the clothing with the fixed patch, iron the back for 30-60 seconds to ensure that the adhesive melts. Finally, iron the front for 1-2 minutes, especially the corners, to ensure a smooth and flat surface, perfectly integrating with the clothing.
3. To prevent scorching, you can cover the cloth with a thin layer of cotton fabric (make sure it's cotton, not a dye-fading fabric). After ironing, check the edges to see if they are ironed well, and iron them several times more.
4. Also, the temperature should be determined according to the thickness of the appliqué. For thicker appliqués, it is essential to use a higher temperature and to allow longer heating times. For particularly thick fabric appliqués, it is recommended to iron them a few more times on the back.
5. Special attention: For the cloth stickers with sequins or a shiny surface (as all sequins are plastic), always place a layer of cloth and iron with low temperature (below 150°C), or use a steam iron directly. Alternatively, place a wet cloth on top. This is to prevent the plastic from melting due to excessive heat.
6. It's best to sew a few stitches along the edge of the cloth patch after ironing it, which will make it more secure and comfortable.
7. If you don't have an iron, you can also directly sew the cloth with the same color thread onto the clothes.


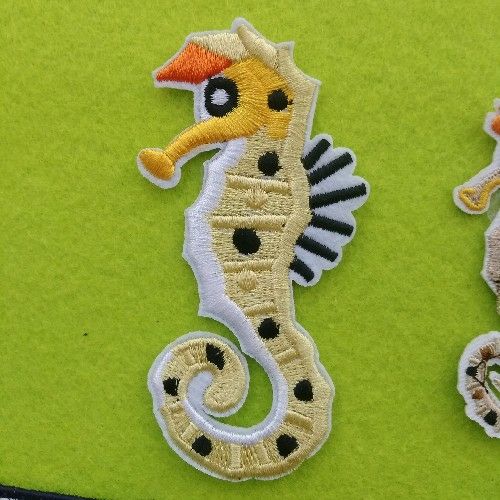
 Product size: 108*55
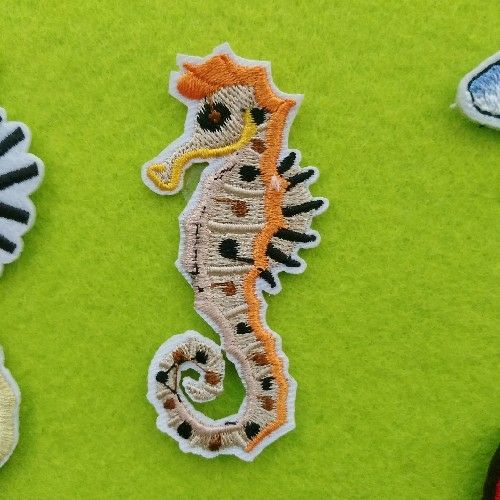
 Product size: 75*35