
Search history
Clear allSearch by image
XDrag and drop an image here or upload an image
Max 5MB per image
UploadSign In | Join

Search history
Clear allSearch by image
XDrag and drop an image here or upload an image
Max 5MB per image
UploadSign In | Join
X Email Mobile
Shenzhen Pengyangda Digital Porduct Co. Ltd. 15yr.
Contacts:张许昌 Chat
Mobile:86-13868974929
E-mail:2424561255@qq.com
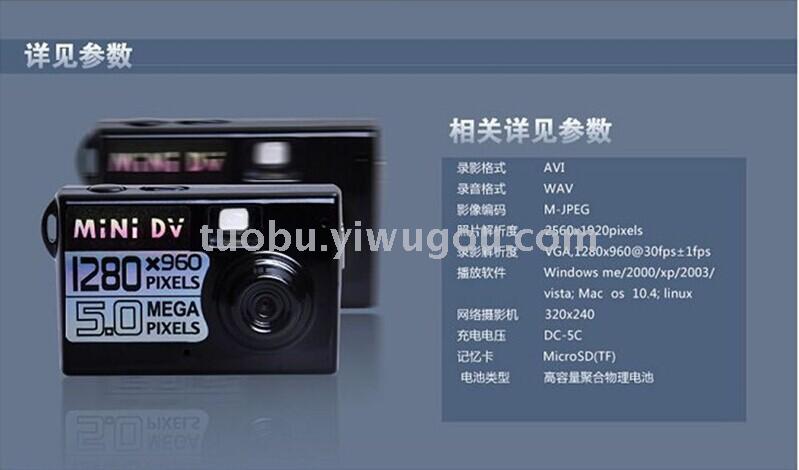
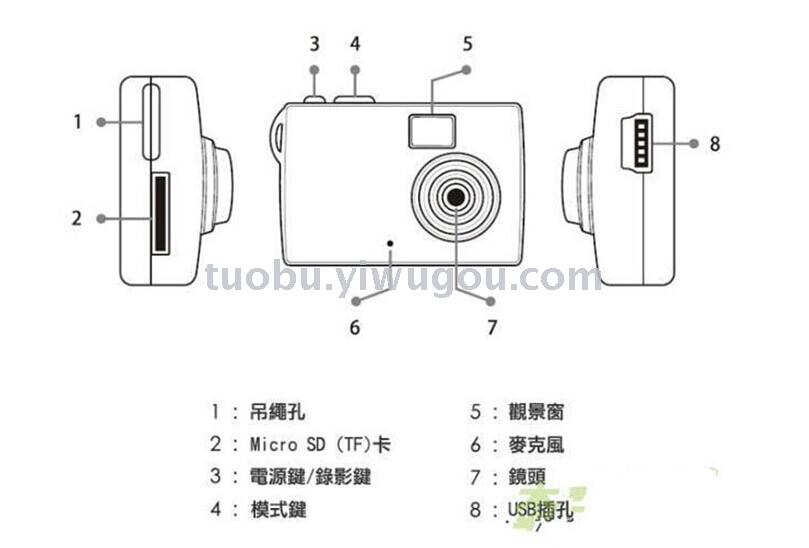
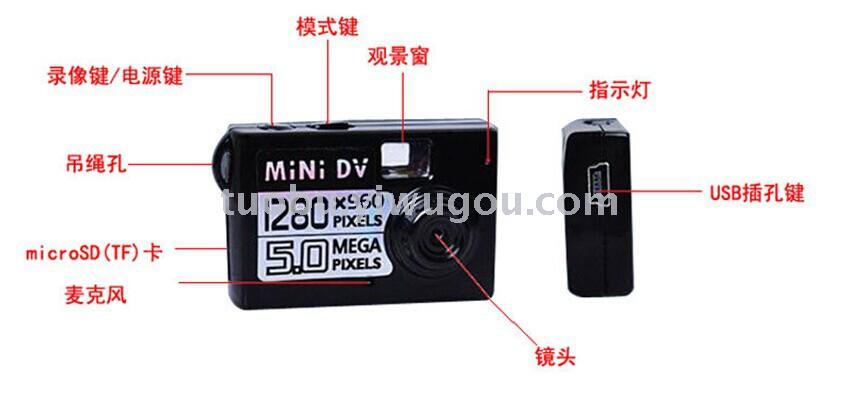


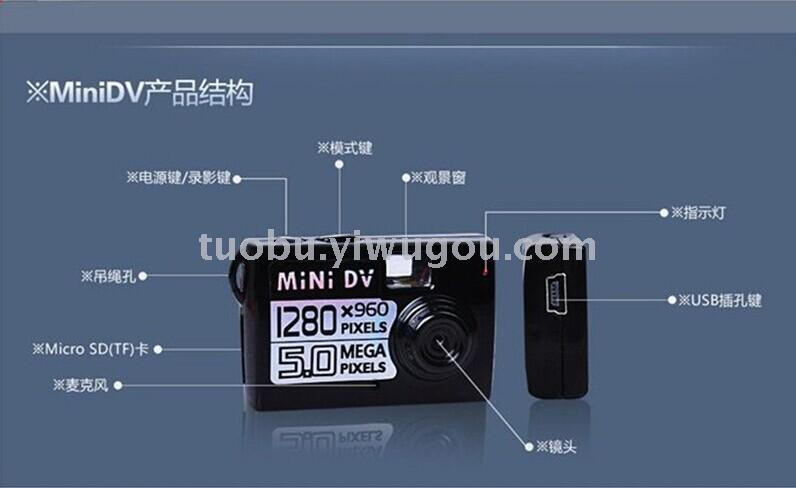


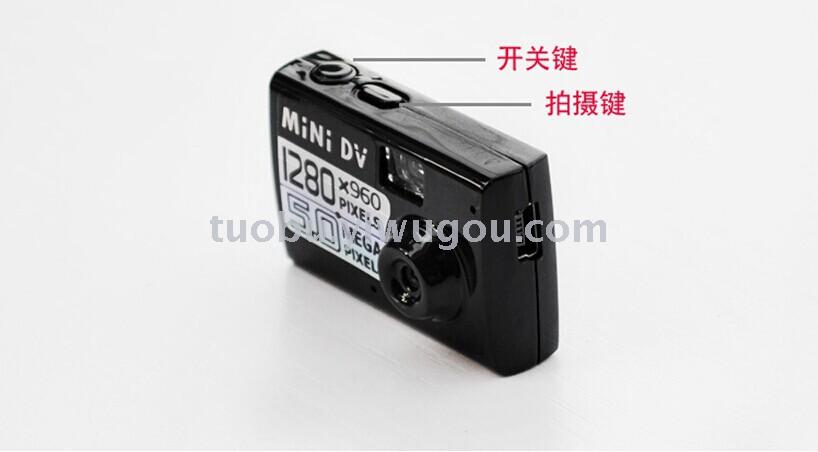
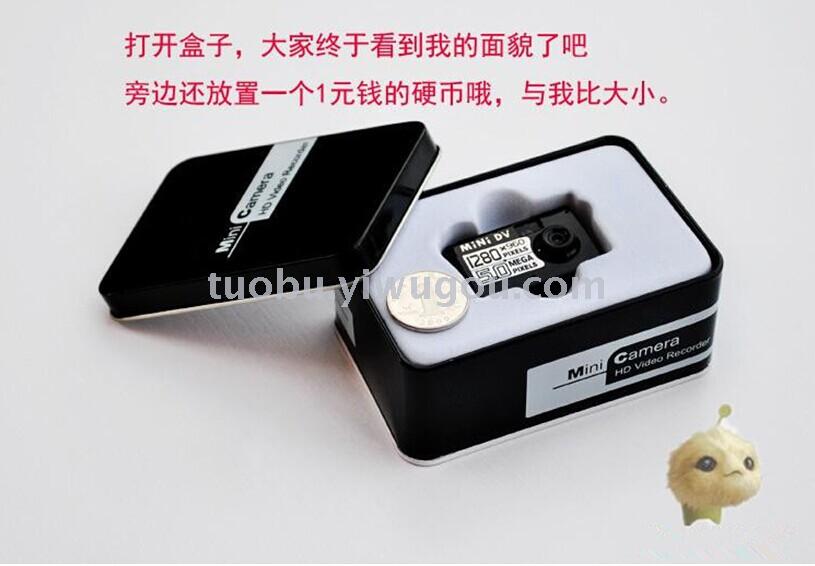
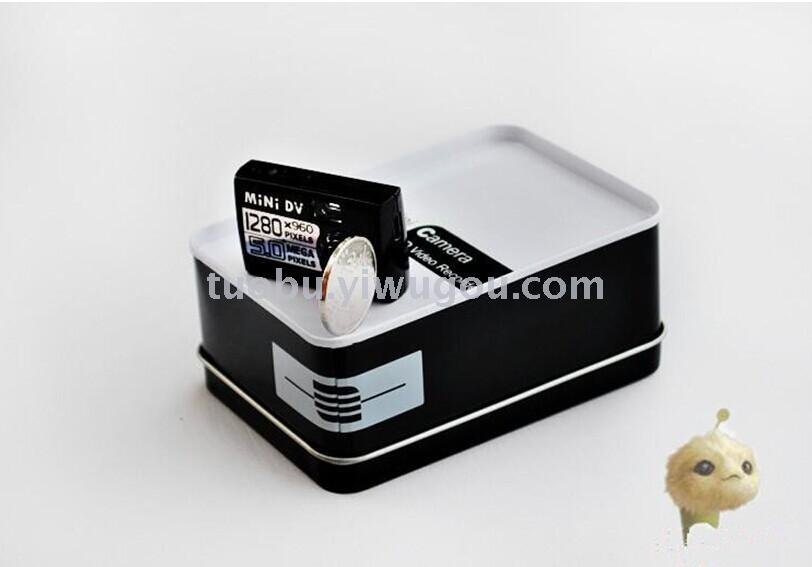


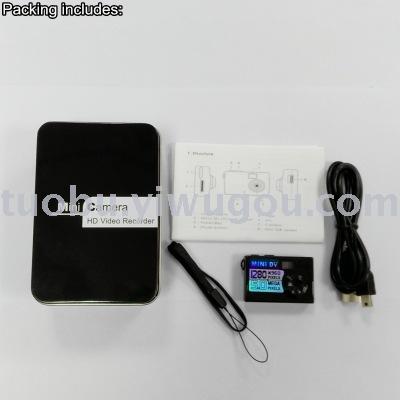
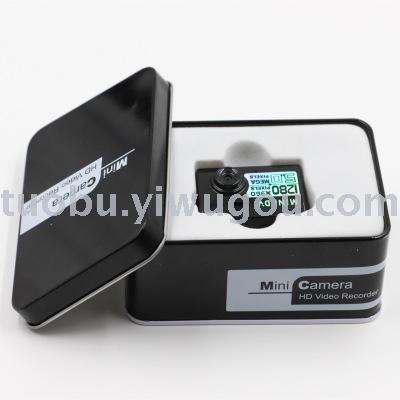
Indicator Light Instruction
This machine has two LED lights, red and blue, to indicate the status as follows:
1) Power-on initialization state: Blue light remains on for a long time, initialization complete: Blue light turns off, Red light turns on.
2) In standby mode of the normal recording mode, the blue light is off and the red light is constantly on; in recording mode, the blue light is off and the red light blinks slowly.
3) In the power-saving mode of the camera, the red light is off and the blue light is always on; when taking a photo, the blue light flashes once.
4) In standby mode of the separate recording MODE, the red and blue lights will be on at the same time; during recording, the red light remains on continuously, and the blue light flashes slowly.
5) Motion detection standby state, red and blue lights are on at the same time; motion detection recording state, the blue light is always on and the red light flashes slowly.
Charging status, the red light flashes slowly, and the red light remains on when fully charged.
7) Battery low: Red and blue lights flash alternately for 5 seconds, then the device automatically turns off.
8) When the storage is full (or no card is inserted), the red and green lights flash simultaneously for 5 seconds, then the device automatically turns off.
9) The blue light flashes rapidly when the computer is connected for reading and writing data.
10) Long press the [ON/OFF] button to turn off the device, and the red and blue lights will turn on and then turn off simultaneously.
3. On/Off
Shutdown state, press and hold the [ON/OFF] button for a long time, the blue light will turn on when the device is powered on, the initialization will be completed and the device will enter the camera standby state, the blue light will turn off and the red light will stay on continuously.
Power on state, press and hold the [ON/OFF] button for a long time, and the two lights will go out, turning off the power successfully. Except for the computer connection/charging state, you can turn off the power at any time by pressing and holding the [ON/OFF] button for a long time. If you are recording or recording, the file will be automatically saved before turning off the power.
Power on standby mode, automatically shuts down after 1 minute of inactivity.
4. Ordinary photography:
Shutdown state, press and hold the [ON/OFF] key to turn on the machine. The blue light will be on, followed by the red light staying on, indicating the camera is in standby mode. Press the [ON/OFF] key briefly to start recording, with the red light flashing. Press the [ON/OFF] key again to stop recording and save the recording file, with the red light staying on.
If in any other mode, press the [MODE] button briefly until the red light remains on continuously, and enter the general video recording state.
The video will be automatically segmented, and a file will be saved every 30 minutes.
5. Take photos:
After turning on the camera, in the standby mode with the red light constantly on, press the [MODE] button briefly until the red light goes out and the blue light comes on, then you will enter the photo-taking mode; press the [ON/OFF] button once to take three photos, and the blue light will flash once.
6. Solo Recording:
After powering on, press the [MODE] button briefly until the red and blue lights flash simultaneously, then enter the recording mode; press the [ON/OFF] button to start recording, with the red light staying on and the blue light flashing. Press the [ON/OFF] button again briefly to stop the recording and save the recording file, with both lights flashing simultaneously.
7. Network camera features:
Power on, connect to the USB port of the computer, and enter the network camera mode.
Before using the network camera function, please ensure that the driver program included in the random accompanying CD has been correctly installed.
8. U disk function:
Shutdown state, connect to the USB port of the computer, and enter the USB drive mode.
9. Set Time:
Set the time using time.txt, and you can also set whether to print the time watermark to the video screen.
Time watermark format: 2010.01.01 12:00:00 Y
No time watermark format: 2010.01.01 12:00:00 N
10. Storage Full:
Red and blue lights flash simultaneously for 5 seconds, then the device turns off. If recording/recording is in progress, the file will be saved automatically before the device turns off.
Battery Low:
Red and blue lights flash alternately for 5 seconds, then the device turns off. If recording/recording is in progress, the file will be saved automatically before the device turns off.
12. Reset
If the machine freezes, you can reset it by pressing both buttons at the same time.
Please note that do not reset the device in recording/recording state, or it may generate incorrect files and even damage the memory card.
Update time:
TOP