
Search history
Clear allSearch by image
XDrag and drop an image here or upload an image
Max 5MB per image
UploadSign In | Join
Search history
Clear allSearch by image
XDrag and drop an image here or upload an image
Max 5MB per image
UploadSign In | Join
X Email Mobile
SHUOFENG ELECTYONIC TECHNOLGY CO.LTD 12yr.
Contacts Diana Chat
Mobile 86-18358005552
E-mail 1048612396@qq.com
1048612396

WhatsApp 8618358005552
This product is certified as follows:
CE, FCC, CPC, IC, EN71 and other certifications are complete. This product has a design patent. Please do not copy, or you will bear the consequences.
Installation Instructions:
1Battery Cover Removal: Press the indentation on the back of the battery cover and push down lightly to remove the cover (as shown in the figure).1)。
1、Battery Installation: This machine uses4节1.5V7The machine is powered by a "battery and is recommended to use alkaline batteries. When using rechargeable nickel-metal hydride (NiMH) batteries, the machine supports charging functionality and should be charged with a dedicated NiMH battery charger. Note that non-NiMH batteries cannot be charged. Be sure to insert the batteries in the correct positive and negative directions, one after another, and do not install them backwards. If the number of batteries exceeds 24When you are not using the machine for a long time, please remove the battery to prevent any loss of power. (As shown in the figure)2)
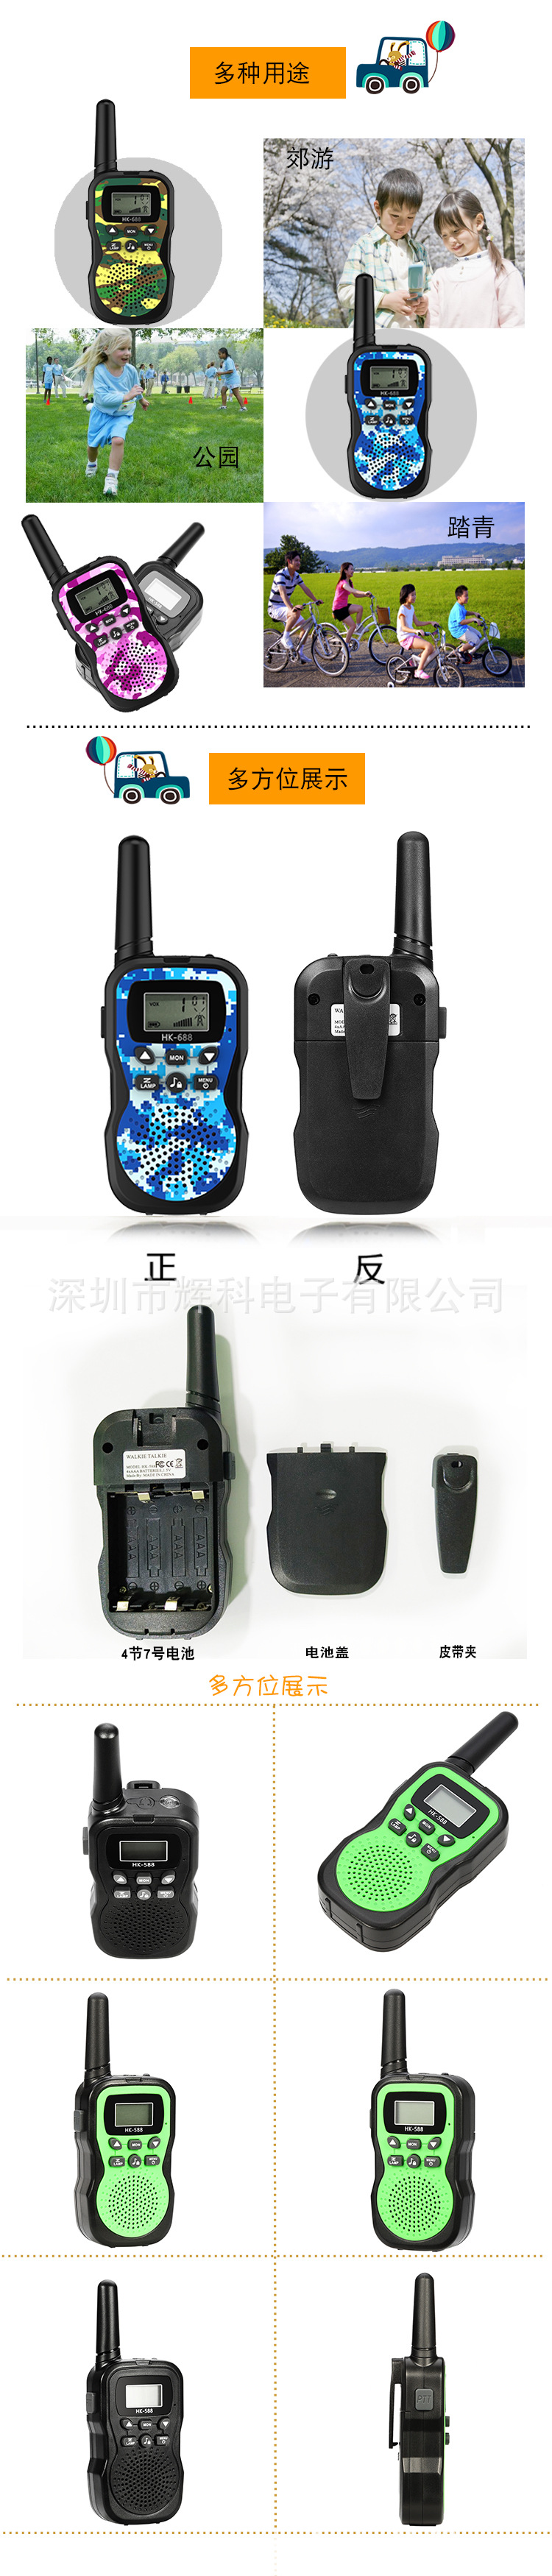
2Belt Clamp Installation and Removal:
The belt clamp is fully installed when the machine is new. To remove the belt clamp, grip the elastic clasp at the top of the belt clamp and push it up, and the belt clamp can be removed. If you need to install it, simply align the clasp with the slot and push it down to the bottom. (As shown in the figure)3)。
3Installation of the Lanyard:
Insert the lanyard through the circular small hole at the top of the belt clip and attach it (as shown in the figure)4)
Operating Instructions:
1Power-on: This machine will automatically turn on when it is first powered by batteries. If the machine is in a normal shutdown state, hold down the power button for a long time.3The machine starts up with a beep and the screen lights up.
2Shutdown: Press and hold the power button for a long time.3Second, when a short beep is issued and the display interface disappears.
3. Volume Adjustment: Press the up arrow key to increase the volume, press the down arrow key to decrease the volume, the volume is adjustable in 7 levels, and there is a screen icon display.
4. Launching: When conducting a launch conversation, you should continuously hold down the PTT button on the side without letting go, and speak into the microphone position (5CM away). The other party can hear the sent voice, and when the sending is complete, release this button. The machine will enter the listening mode. (You can also choose to use voice-triggered hands-free mode for launching conversations).
Attention:When both parties or multiple parties are communicating, they must choose the same channel and sub-audio frequency to be able to communicate. Otherwise, they cannot communicate. Remember this!
5. Receiving: When the machine is in the power-on state, confirms that the channel and sub-audio are consistent with the other party's settings, releases the PTT key, and has not yet started transmitting, and has not yet entered the calling mode, the machine is in the receiving state. You can listen to the voice sent by the other party.
6、Function Menu: In the power-on state, pressing this button for the first time will enter the channel setting mode (use the up/down buttons to select the frequency band), pressing this button for the second time will enter the sub-audio setting mode (use the up/down buttons to select the sub-audio), pressing this button for the third time will enter the hands-free conversation mode selection (use the up/down buttons to turn on or off this function), pressing this button for the fourth time will enter the ringtone selection mode (use the up/down buttons to select the ringtone sound effect), and pressing this button for the fifth time will enter the button sound elimination mode (use the up/down buttons to turn on or off the button sound). After each function is set, press the PTT button on the left to confirm and save. Repeat the process in order.
7Menu Lock Function: While the device is on, press and hold this button for a long time.3With a short beep sound, it enters the menu lock state (with a lock symbol appearing on the screen), which can ensure that the frequency band and functions set previously will not be accidentally operated or triggered. In this state, the menu button is useless. To remove the menu lock, press and hold this button for a long time.3With a short beep sound, the lock is released (the screen lock symbol disappears). Suggestion: It is recommended to lock the menu button as much as possible when using normally to avoid accidentally triggering changes in frequency or sub-audio, which may cause communication problems for both parties or multiple parties.
8Channel selection: This machine has a frequency band selection function (US standard).22a frequency band, European standards8If you need to change the channel, press the menu key once. At this time, the screen channel number will flash. Then press the up or down arrow key to select the desired channel. After selecting the channel, press the left side of the ".Petroleum Tar TorrefactionPress the key to confirm and return to the normal display state, such as flashing.10If no confirmation operation is performed within a second, the machine will automatically save the channel data set. Note: both parties must choose the same frequency band and sub-audio frequency for two-way radio communication.
9Sub-audio selection: This machine can be set to1-99Group Asia Audio, press the menu key first.2Next, at this time, the sub-audio number on the top right corner of the display is flashing. Press the up or down arrow to select the required sub-audio. Press the left side.Petroleum Tar TorrefactionPress the key to confirm. The display returns to normal state. The selection is completed. Note: Both parties must choose the same sub-audio frequency and frequency band for two-way radio communication.
10Handfree Voice Control Two-Way Radio: Press the Menu Key3Next, display on the screenVOXHarmonic Control Sensitivity LevelOF 01 02 03)、OFFIndicates that the voice control is ineffective.1and 2and3Indicates the level of voice control sensitivity, press the up and down arrow keys to select the required sensitivity. Then press the side of the leftPetroleum Tar TorrefactionKey Confirmation.3The sound control system has the highest sensitivity and can select the appropriate sensitivity according to the environment.
11Call Ringtone Selection: This device can be set to10There are several different ring tones available, if you need to set a ring tone, press the menu key first.4At this time, the screen will flash.CASymbols and Ringtone Codes1--10)。此时再按上下翻键去选择调整所需的铃声、然后按左侧Petroleum Tar TorrefactionPress the key to confirm. The display will return to normal.
12Channel scanning function: Long-press the channel scanning key.3Scan"),此时按下任意键即可开始扫描。SCANSymbols) and channel numbers start flashing, the machine will automatically scan the channels in order until it selects an effective channel currently in use, which will then stop automatically. At this time, the selected effective channel can receive voice signals sent by the other party. If no usable frequency band is found, you can press the left sidePetroleum Tar TorrefactionPress to confirm exit and exit scanning state.
13Listening function: You can use this function to listen to faint signals around you. Press to activate.MONHold the key down to perform the action.
14Lighting Function: The top of the machine body has a LEDWhite light illumination function, press in power-on state.LAMAPress once to turn on the flashlight, and to turn it off, press it again.LAMPPress the button to turn off the flashlight.
15Battery Indicator: This machine displays the battery level at the bottom left corner of the screen. When the battery symbol flashes, it indicates that the battery is low and needs to be replaced (if using nickel-metal hydride rechargeable batteries, you can charge them) to ensure the machine's normal operation is not affected.
16Headset and Microphone Jack: This machine supports dedicated walkie-talkie headset and microphone functions. To use this feature, open the rubber stopper on the side of the machine, insert the headset plug into the headset jack, and you can use the headset to receive and transmit messages. (Note: Before use, make sure to adjust the volume properly to avoid damage to the eardrum and hearing, remember!)
17Charging Function: This machine supports the charging function for nickel-metal hydride (NiMH) rechargeable batteries. However, it only supports NiMH batteries and NiMH battery-specific chargers for this function (non-NiMH batteries cannot be charged). To charge, open the silicone seal on the side of the machine, insert the charging head, and the charging process can begin. Note: The machine's two-way communication function cannot be used while charging.
18Calling function: This feature allows operators of walkie-talkies on the same frequency to communicate with each other. Any operator who receives the notification tone can make a call. The condition is within the effective distance and only machines on the same channel and sub-audio frequency can do so. Simply press the calling key once, and both the machine and the other machine will emit a tone.
Electrical Parameters Introduction:
Electrical parameter introduction:
1Supported Frequency Bands: US Specification462.5625MHz(22Frequency Band(Ou's Regulation: 446.00625MHzand8频段")
1. Supported Frequency Bands: UL: 462.5625MHz (22 frequency bands), (CE: 446.00625MHz, 8 frequency bands)
2Transmit Power: 0.5W
2. Transmitting power: 0.5W
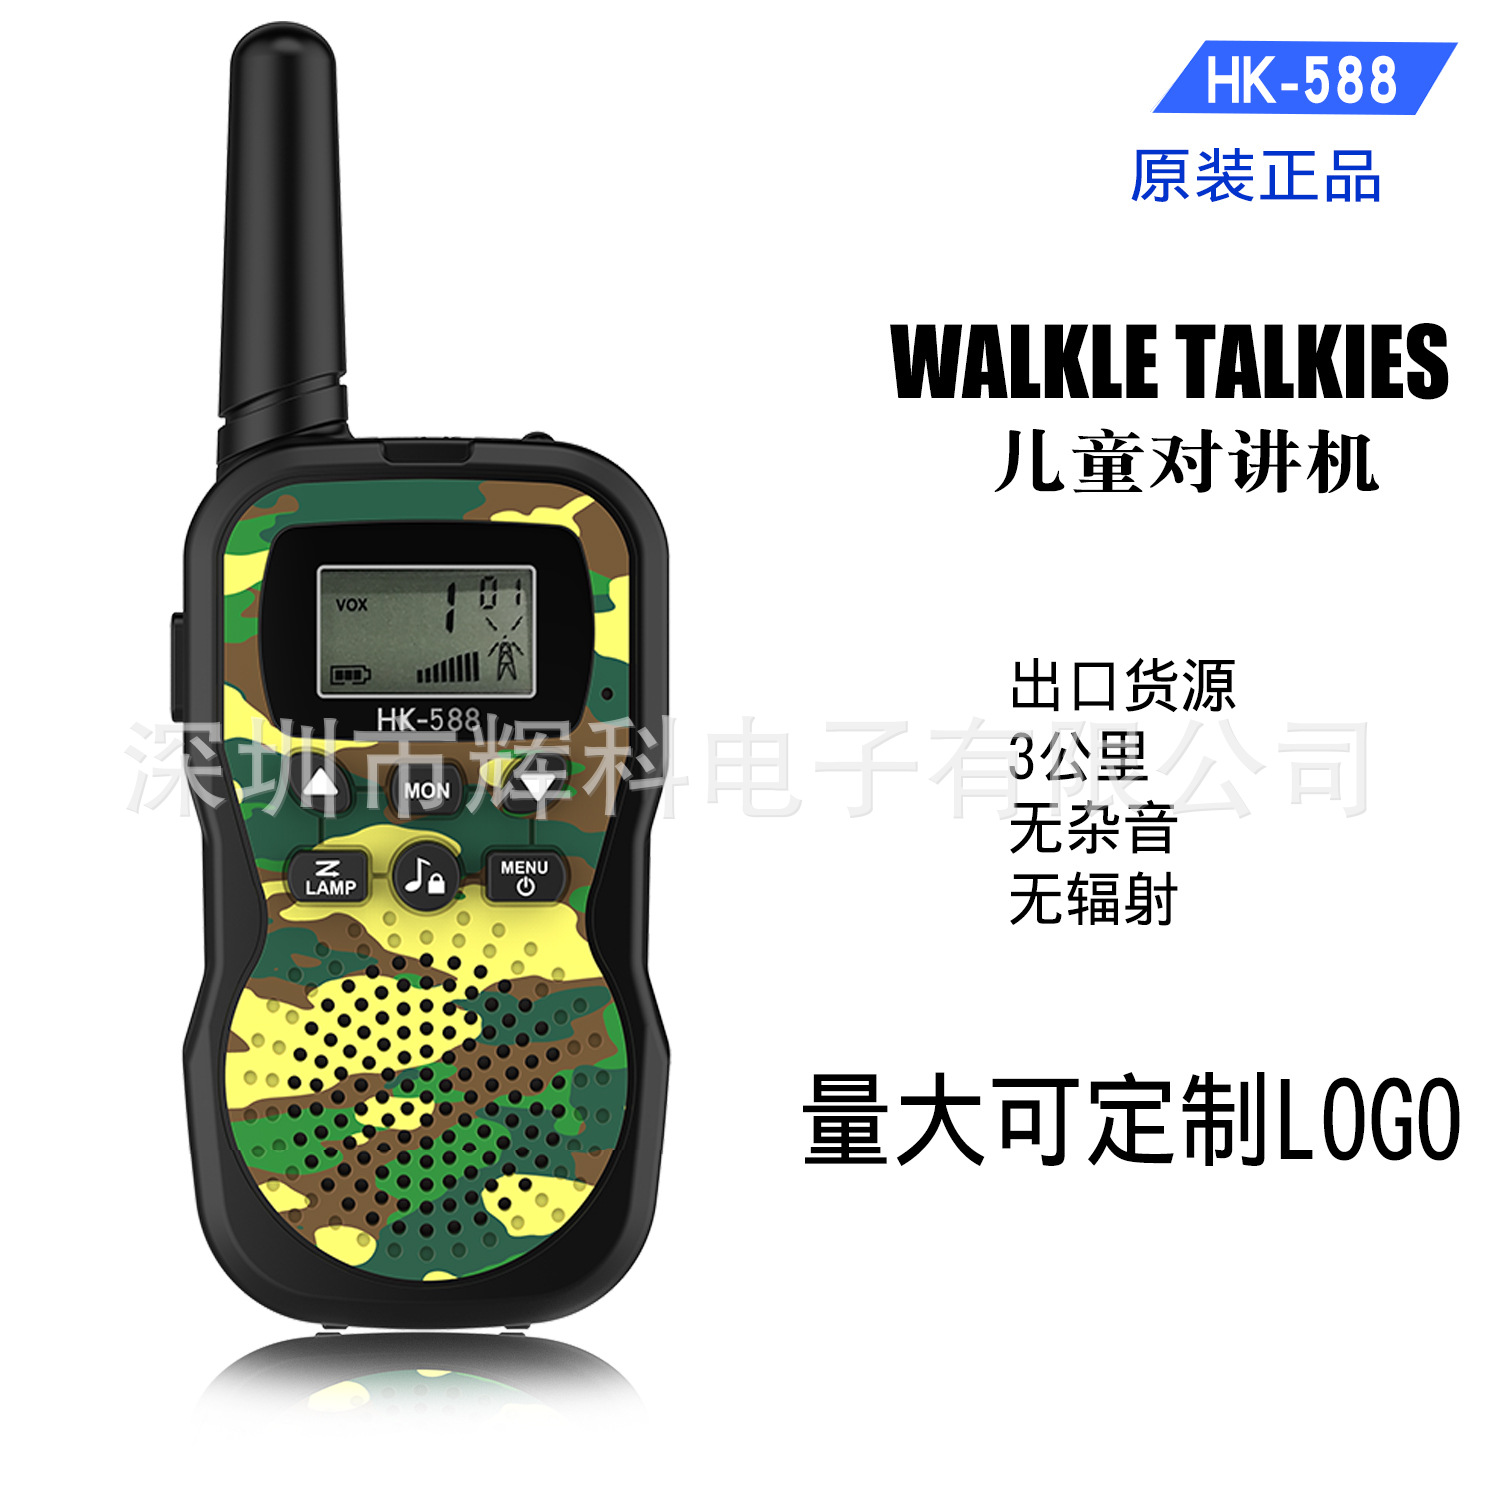
3Listening distance: The maximum distance in an open area without obstructions8KMUrban Environment1000MDense buildings"300-500M" 可以翻译为 "300-500 megabytes"。。
3. Listening distance: the maximum distance of outdoor open ground without shelter is 8KM, that of urban environment is 1000M, and that of place with dense buildings is 300-500M.
4Battery:4节AAA1.5V7Number 1 Alkaline Environmental Friendly Battery.
4. Batteries: four 1.5V AAA alkaline environmentally friendly batteries.
5Ni-MH Charger Requirements:Direct CurrentInput7.5Vand350MA
5. Requirement of nickel-metal hydride charger: DC input 7.5V, 350mA
real-world picture" 或 "physical picture
1. Manufacturer's stock of genuine products
Can issue 17% VAT invoices, for specific invoice details, please contact the shop owner. There are minimum order requirements for invoicing, please contact the shop owner for details.
"2. About Sizes
US and EU specifications are both in stock
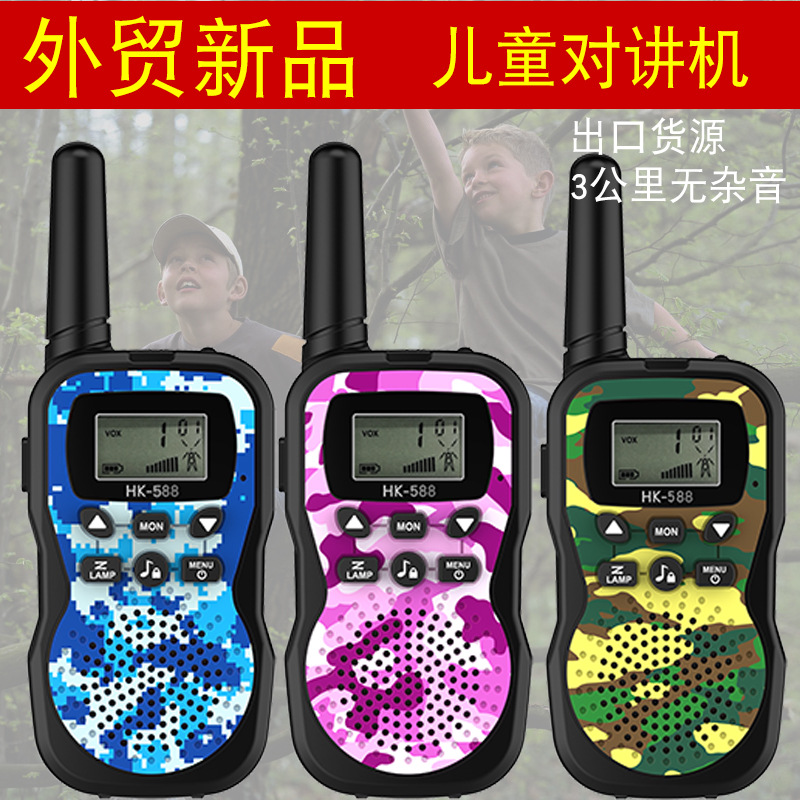
3、关于颜色
Sky blue, pink, yellow, black, the four main colors, generally have stock, new colors added: green, orange, red, royal blue. Please consult the shopkeeper before placing an order.
"4. About Customer Service
If we do not respond to your message in time, it may be because we have stepped away from our computer for a while. We will contact you in time once we return. Please leave a message if you need anything, thank you.
5. About After-sales Service
Lifetime after-sales service.
6. About Shipping
The goods will be shipped on the same day if they are in stock, and if not, they will be shipped according to the agreed time.
Update time:


TOP


