
Search history
Clear allSearch by image
XDrag and drop an image here or upload an image
Max 5MB per image
UploadSign In | Join
Search history
Clear allSearch by image
XDrag and drop an image here or upload an image
Max 5MB per image
UploadSign In | Join
X Email Mobile
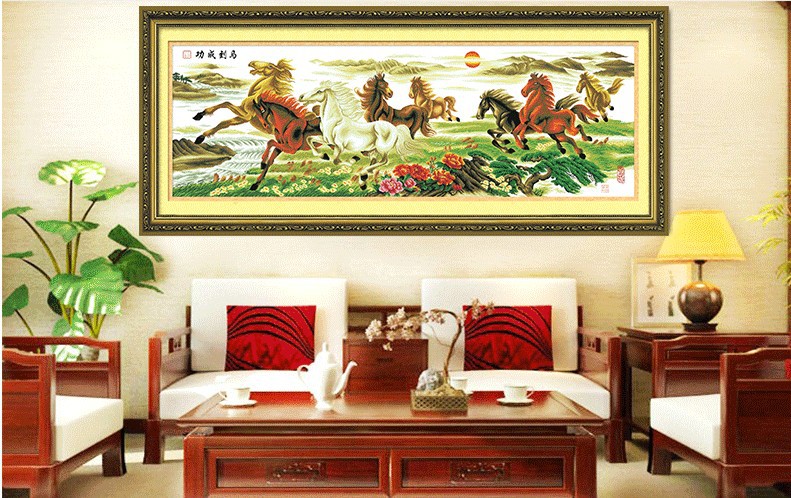
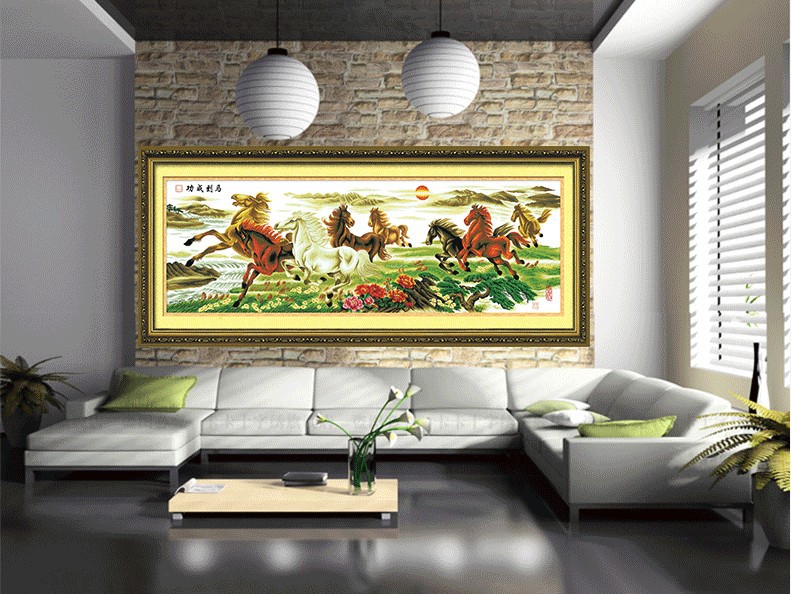
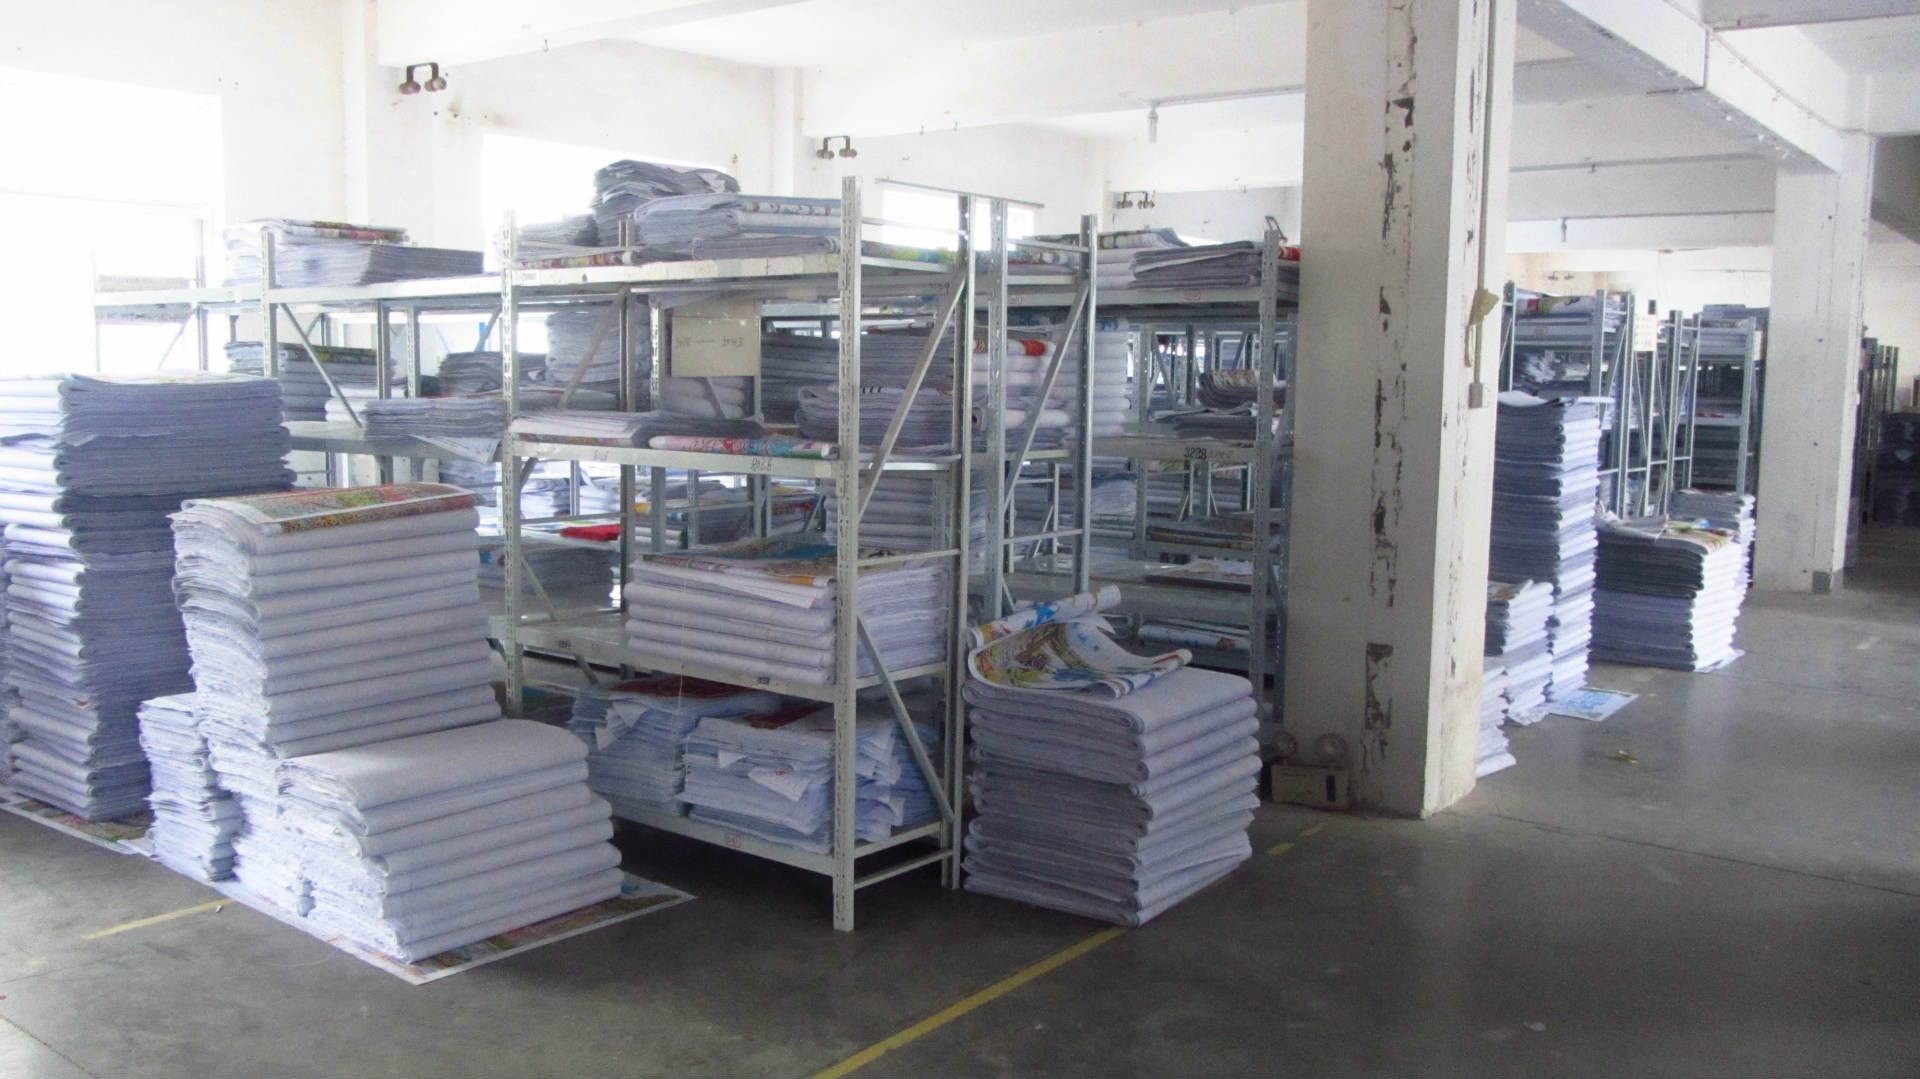
Embroidered cloth display


embroidery thread display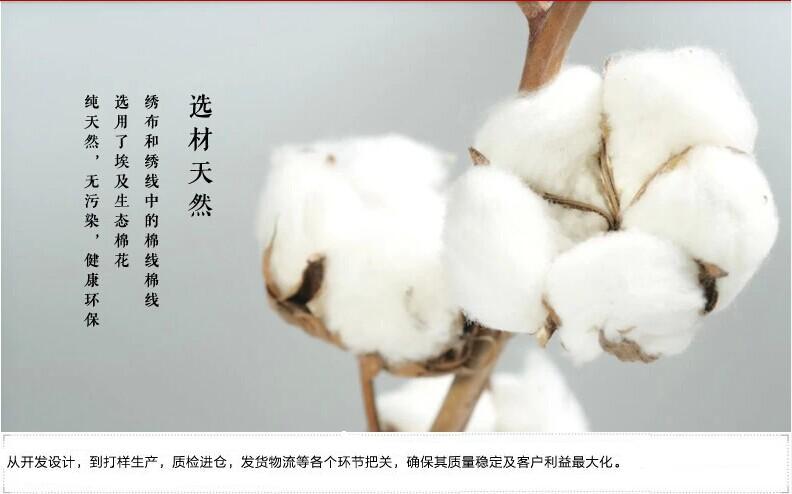


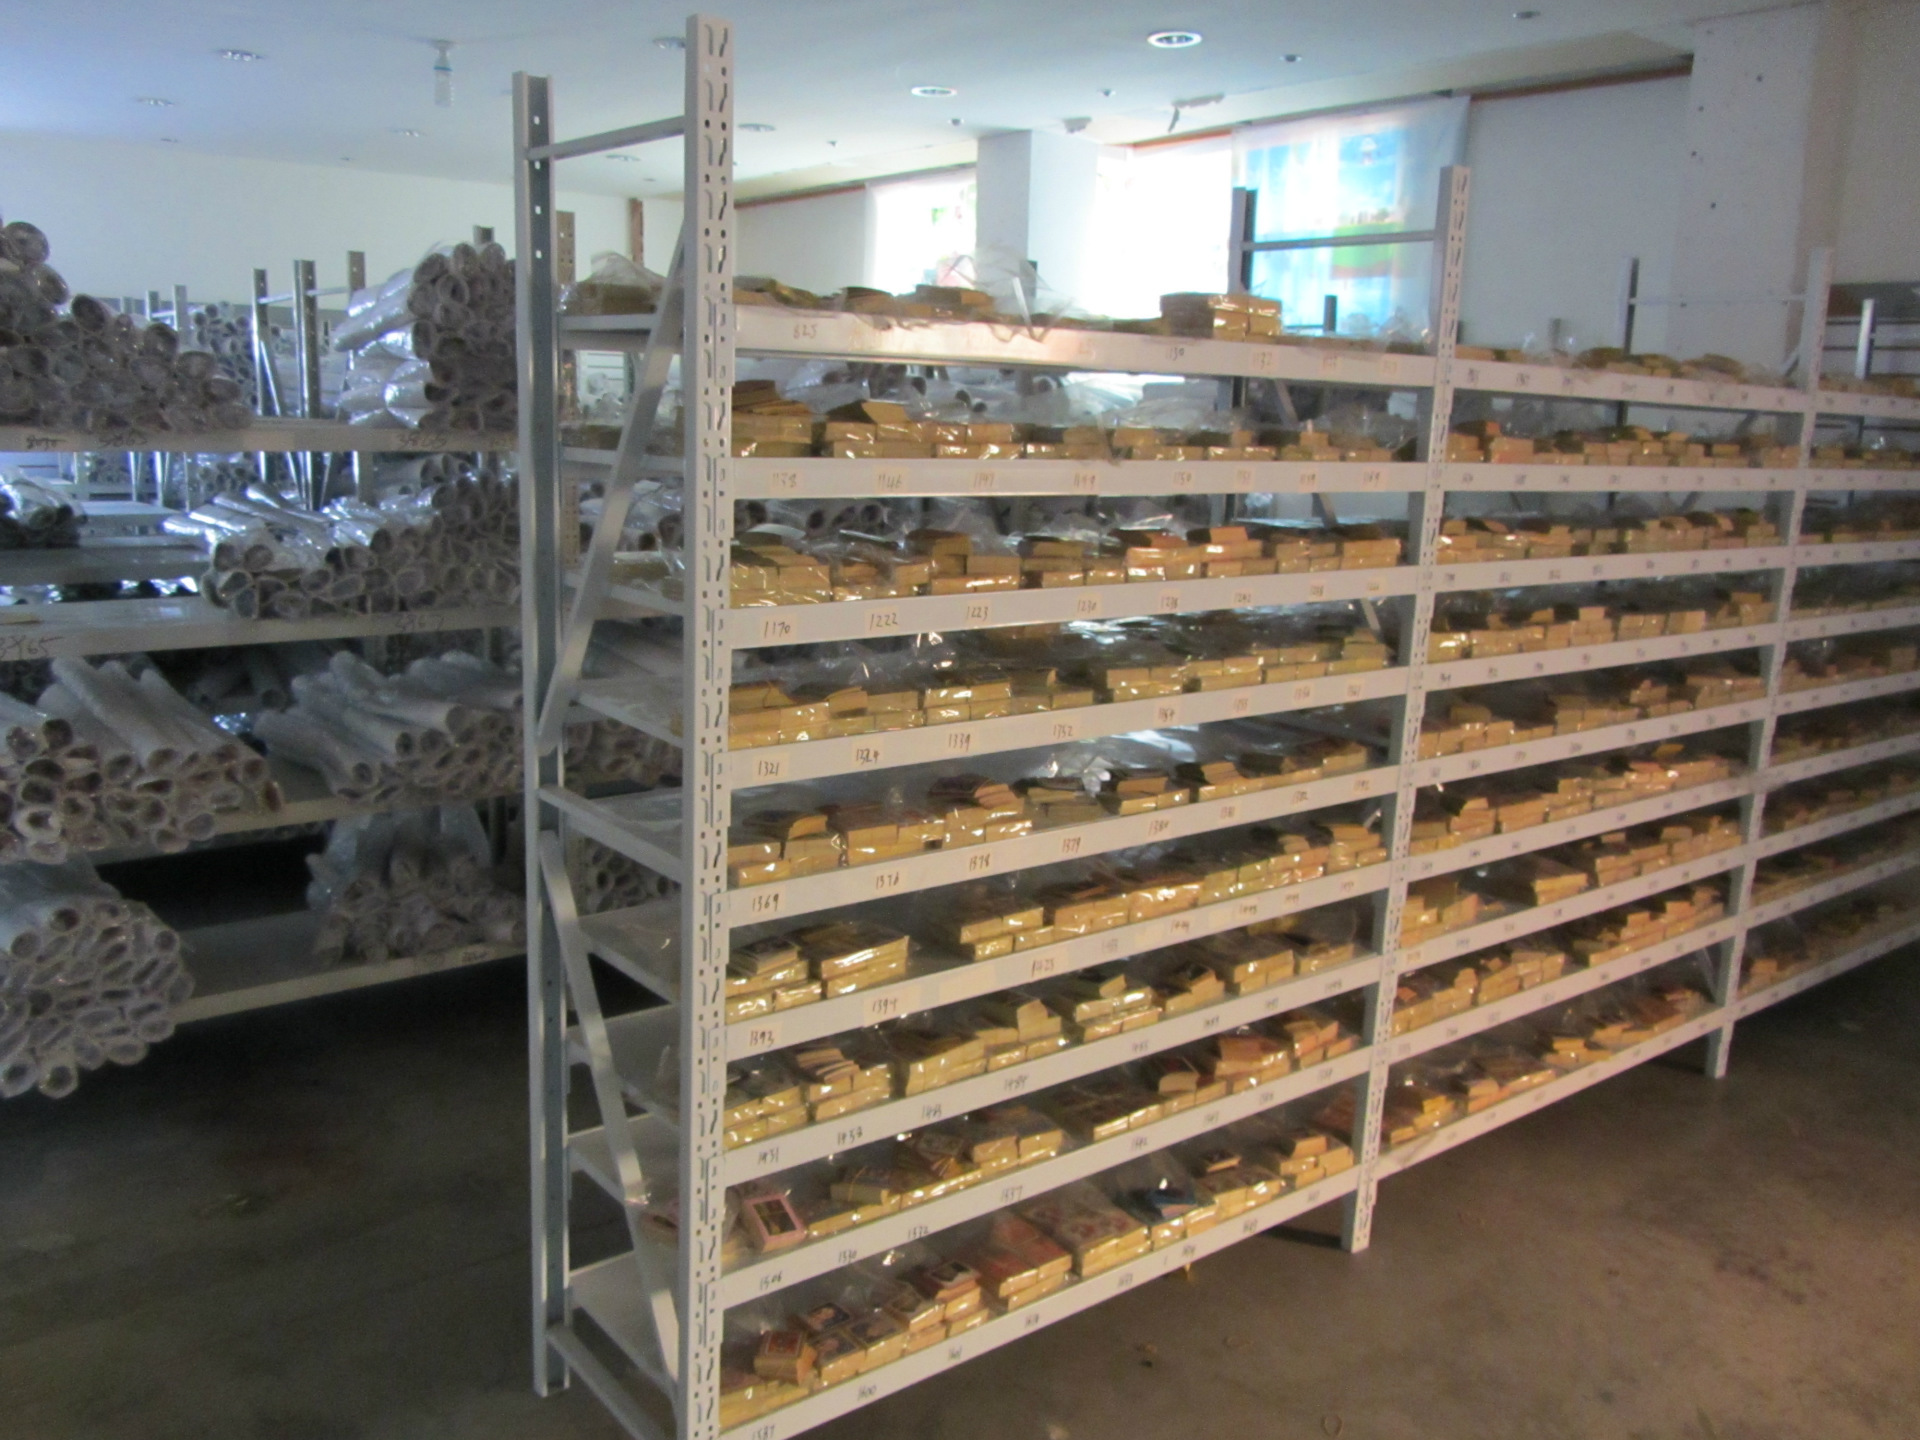
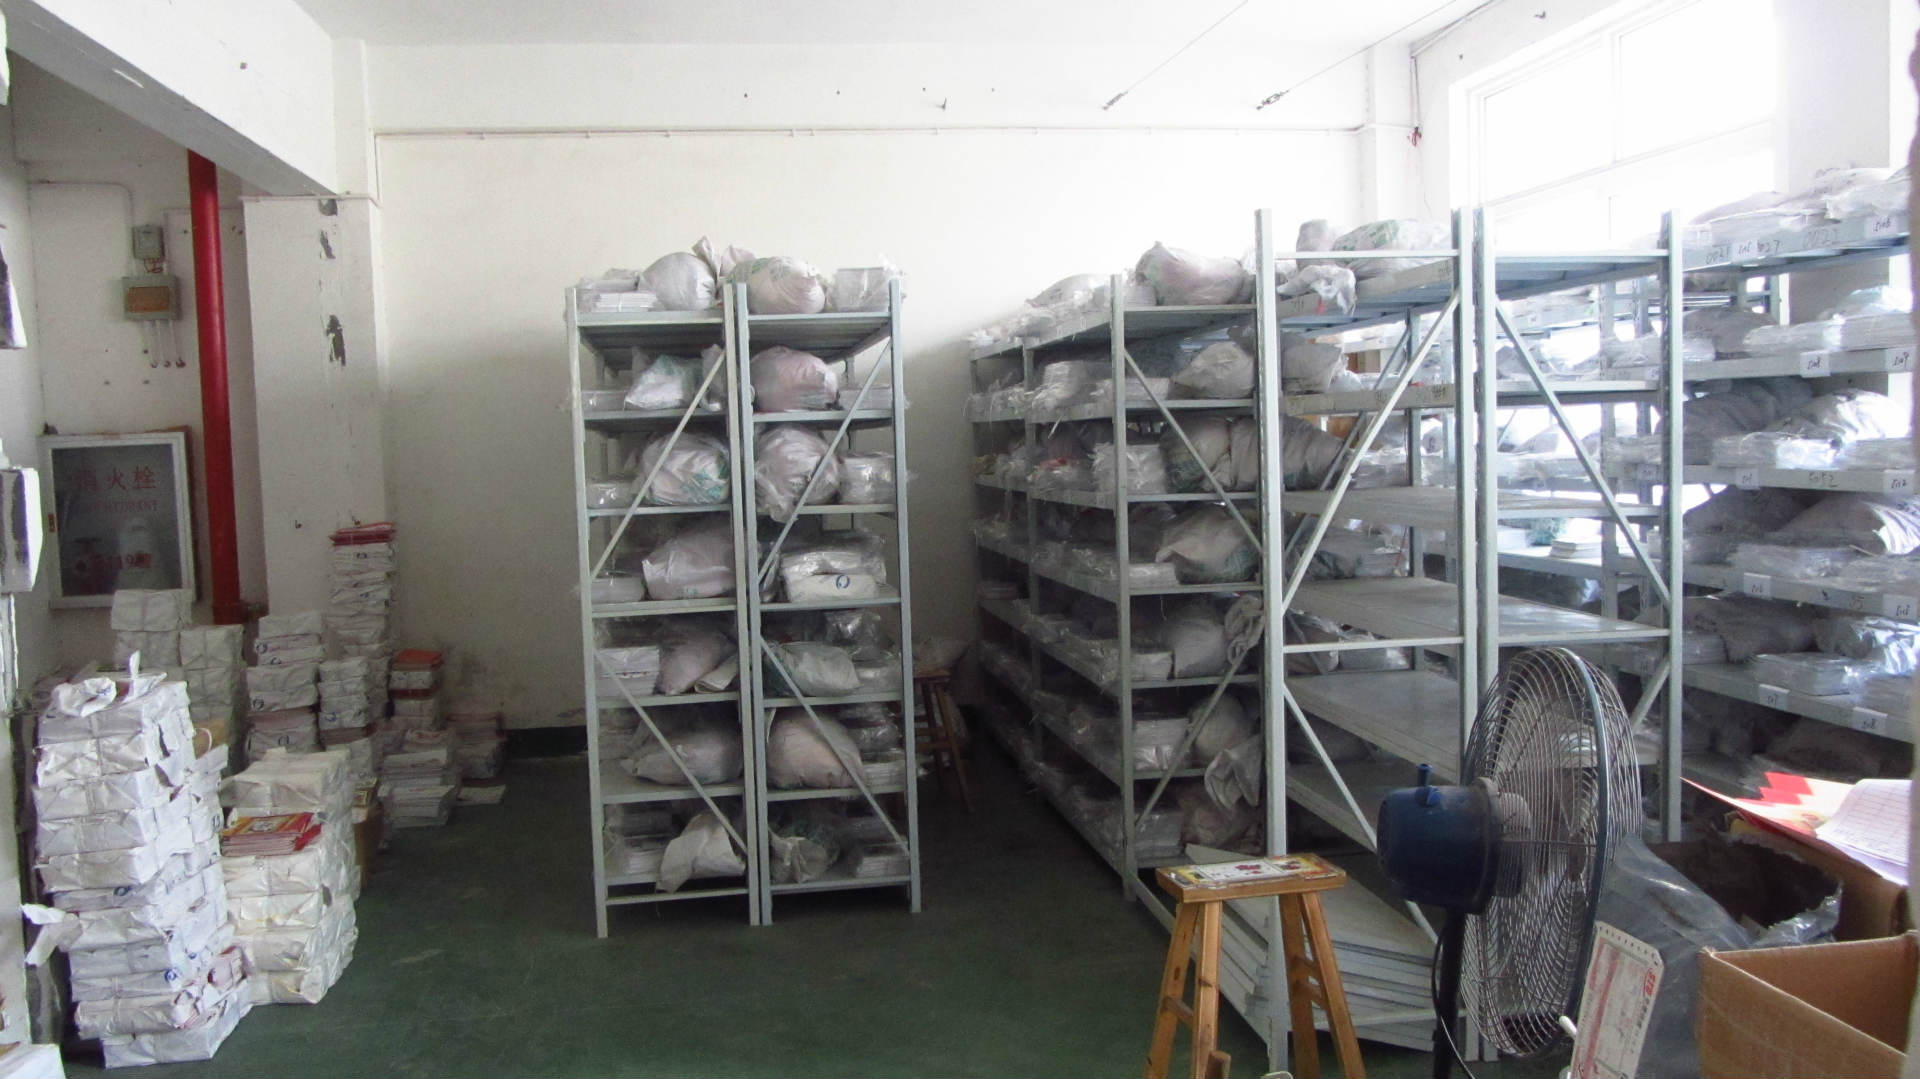
factory picture Real shot
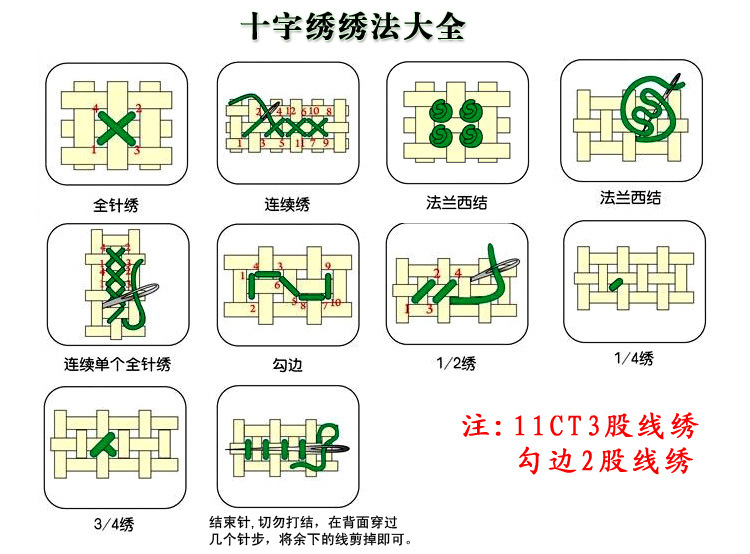
[Introduction to embroidery]]
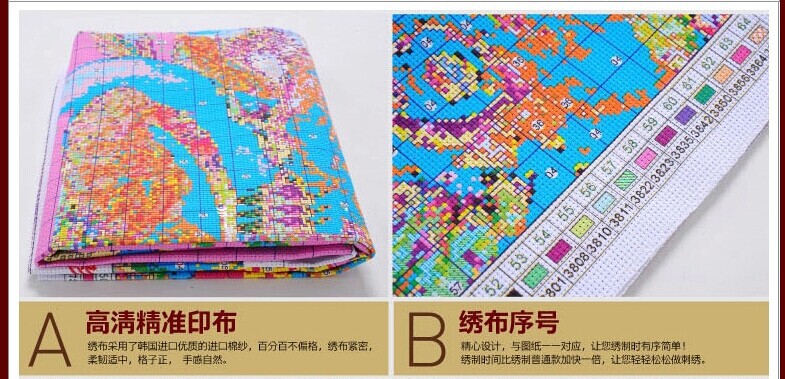
one. Fold the fabric twice to find the center point of the intersection, and embroider the first needle at the center of the fabric according to the line number marked by the center point on the drawing (each small square represents a cross stitch, make sure that the line pressing direction of cross stitch is consistent)
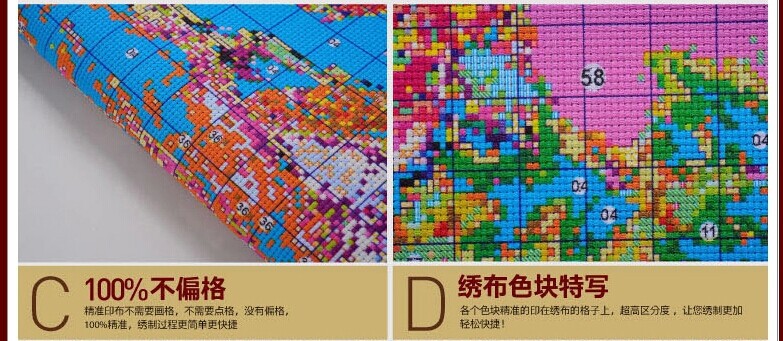
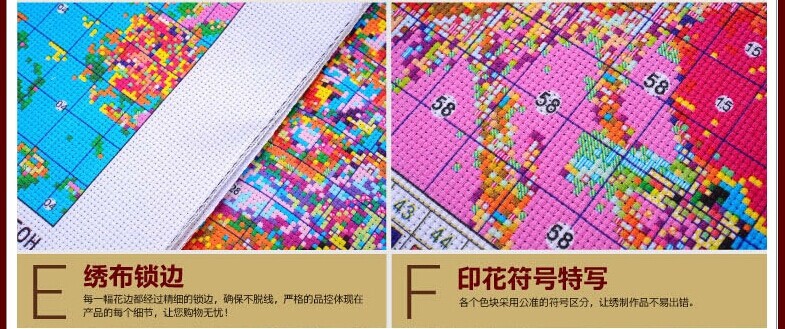
2. Each cross stitch drawing has line marks marked with symbols or color blocks, and different line marks represent embroidery threads of different colors.
3. All online labels are marked with full needles (Cross Fork X), half needle (1/2x), quarter needle (1/4X) and hook ( B 'ST) only when you embroider strictly according to the requirements can you complete an exquisite work.
[Precautions]]
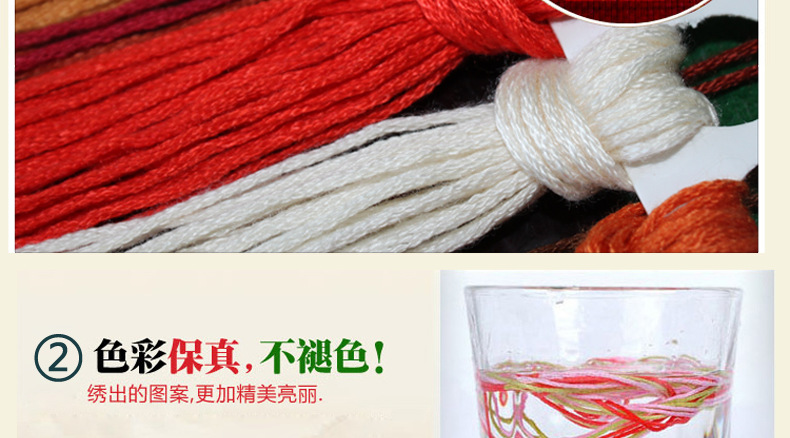
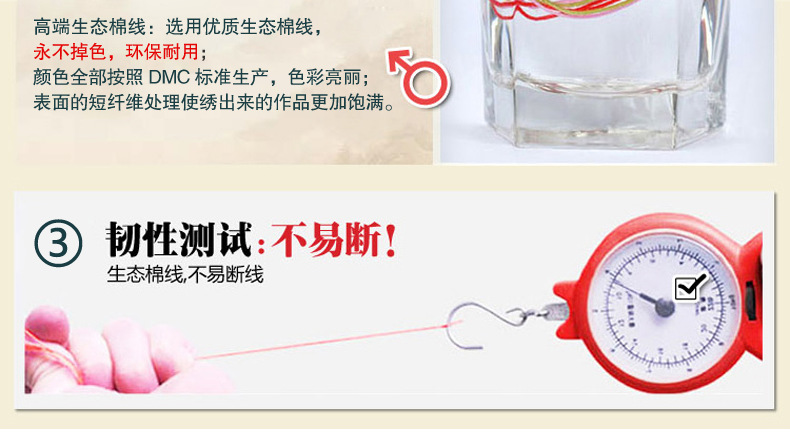
1. Embroidery thread consists of six-cord thread. When embroidery, two strands are usually used for small grids, three strands are used for center compartment, and four strands are used for large grids. Some drawings may be marked incorrectly. Please refer to this description.
2. The color block in the drawing does not represent the actual embroidery thread color. Please carefully identify the thread number behind the thread mark and select the embroidery thread according to the requirements of the thread number.
Three. The direction of embroidery should be consistent, the center point should be determined when the needle is lifted, the tightness should be moderate and the force should be uniform when embroidery, and the knot should not be knotted when the needle is lifted or finished, leave about one centimeter of thread ends on the back of the fabric to press each other firmly, and be careful not to entangle the thread ends into groups.
4. In order to draw the outline to make the work more vivid, the last step when the embroidery is completed is to hook the edge, which is usually used2 used when stock is thread embroidery1 thread Hook, use3 shares and4 used when stock is thread embroidery2 thread hook. ,
[Cleaning and protection]]
1. Make sure your hands are clean before embroidery.
II. To ensure that the finished embroidery is clean and smooth, use neutral washing liquid to wash it separately in cold water or warm water after embroidery (remember not to dry clean, do not use alkaline detergent), after washing, take the work out of the water, lay it on the prepared white dry towel, roll up the towel and press out the excess water, spread it out in a ventilated place to dry, and then iron it from the back after drying.
3. When ironing, you should move the ironing from the back to the back, which will make the work smoother and not hurt the embroidery thread.
[Other related tips]]
one: In the process of embroidery production, because it is made of paper, it takes a long time. After repeated folding and use, it will often wear out. It is recommended to stick it with transparent tape before use, or there are high requirements. MM I will make plastic sealing. This will play a very good role in protecting the drawings.
2: use a special pen for cross stitch to make a straight line for every ten small grids horizontally and vertically on the embroidery cloth, which is usually what we said to grid on the embroidery cloth, which can greatly improve the speed of cross stitch and reduce the difficulty, it eliminates your trouble of repeatedly counting grids.

Update time:


TOP


