Search history
Clear allSearch by image
XDrag and drop an image here or upload an image
Max 5MB per image
UploadSign In | Join
Search history
Clear allSearch by image
XDrag and drop an image here or upload an image
Max 5MB per image
UploadSign In | Join
X Email Mobile
Hanyi photo frame accessories 3yr.
Contacts 唐经理 Chat
Mobile 86-15857923333
E-mail 550596742@qq.com
1515940010

WhatsApp +8615158940010

Reminder: Our company's frame machines, etc.大件The product, once shipped, is non-refundable and non-exchangeable for any reason other than quality issues! If you have any concerns, please contact us.PleaseCaution!!

Nine-stage intelligent clamping board CNC nail angle machineSet the parameters, one-click control, and complete one corner in one step. Its straight corner binding effect is good and the binding speed is fast, which is several times the efficiency of ordinary nail corner machines. At the same time, the distance between the nails is uniform. The characteristics of this machine are fast working speed and stable product quality. The advantages are more suitable for binding work for lines with harder materials and batch production. In addition, on the basis of the ordinary CNC nail corner machine, the gear plate clamping is added, so the angle is more closely, and the product quality is more stable.
| Air pressure | 9-8kg/c㎡ |
| Working Voltage | 220V |
| V-shaped nail | L5、7、10、12、15×W10mm |
| Binding and Spine | 90°、120°、135° |
| maximum width | 13cm |
| Maximum Thickness | 10cm |
| Available Nail Model | 5mm、7mm、10mm、12mm、15mm |
| Packing Size | L800×W700×H1300mm |
Features and Technical Specifications:
CNC nail corner machine is suitable for 90° right angle binding of wood and plastic line products, with good binding effect and high speed. It is particularly suitable for products with strict requirements for the distance between binding nails and nails. It is widely used in the production of photo frames with large batch and high requirements.
Working voltage: 220V, air pressure: 0.6-0.8Mpa. This machine is suitable for corner nails with widths of 10.3-10.8mm and angles of 89-91°. It is suitable for corner nails with heights of 7#, 10#, 12#, and 15#. The forward and backward movement range is 100mm, suitable for binding lines with widths of 130mm and thicknesses of 75mm.

Numerical Control Corner Nailing Machine Instruction Manual
Before operating the machine, please read the instruction manual carefully. Non-machine operators should not operate the machine at all, to avoid causing damage and injury. Do not place your hand under the hammer when the machine is in a normal working state! Please turn off the power and air source after work is completed.
1. Features and Main Technical Specifications:
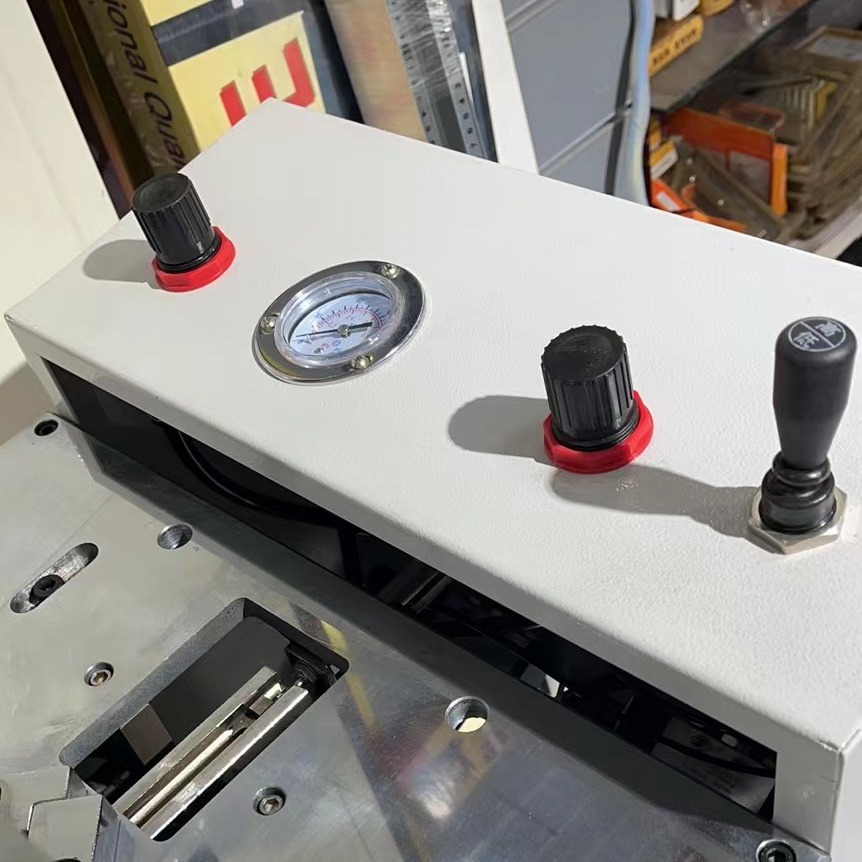
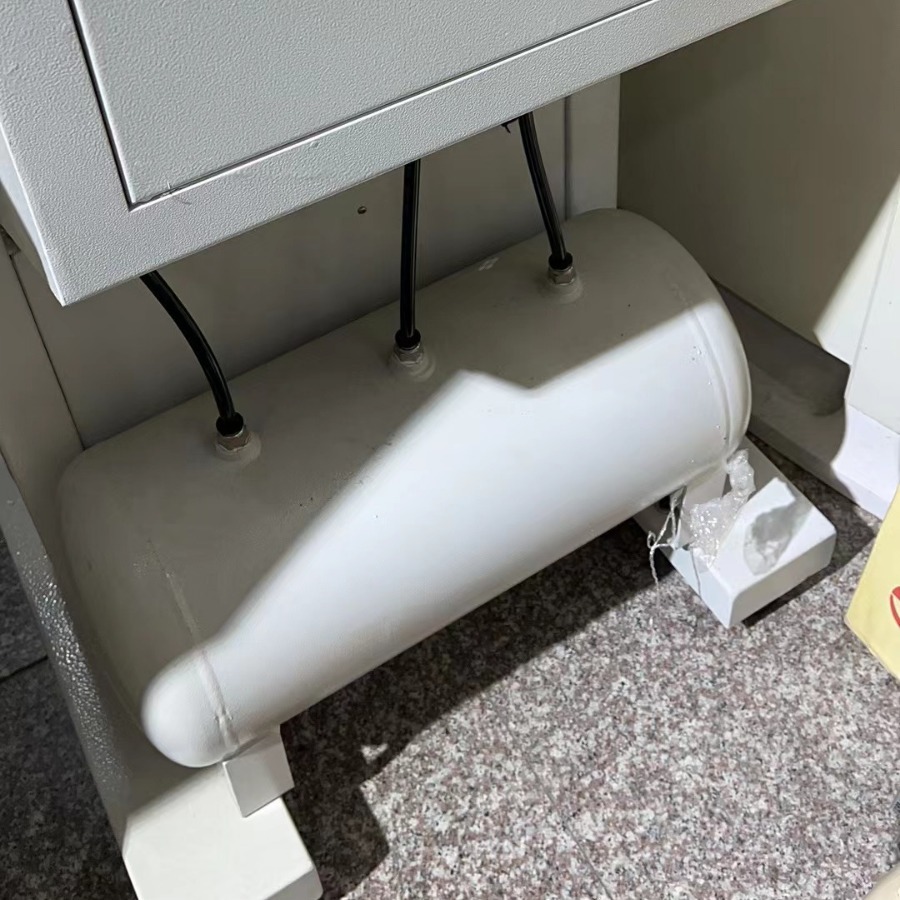
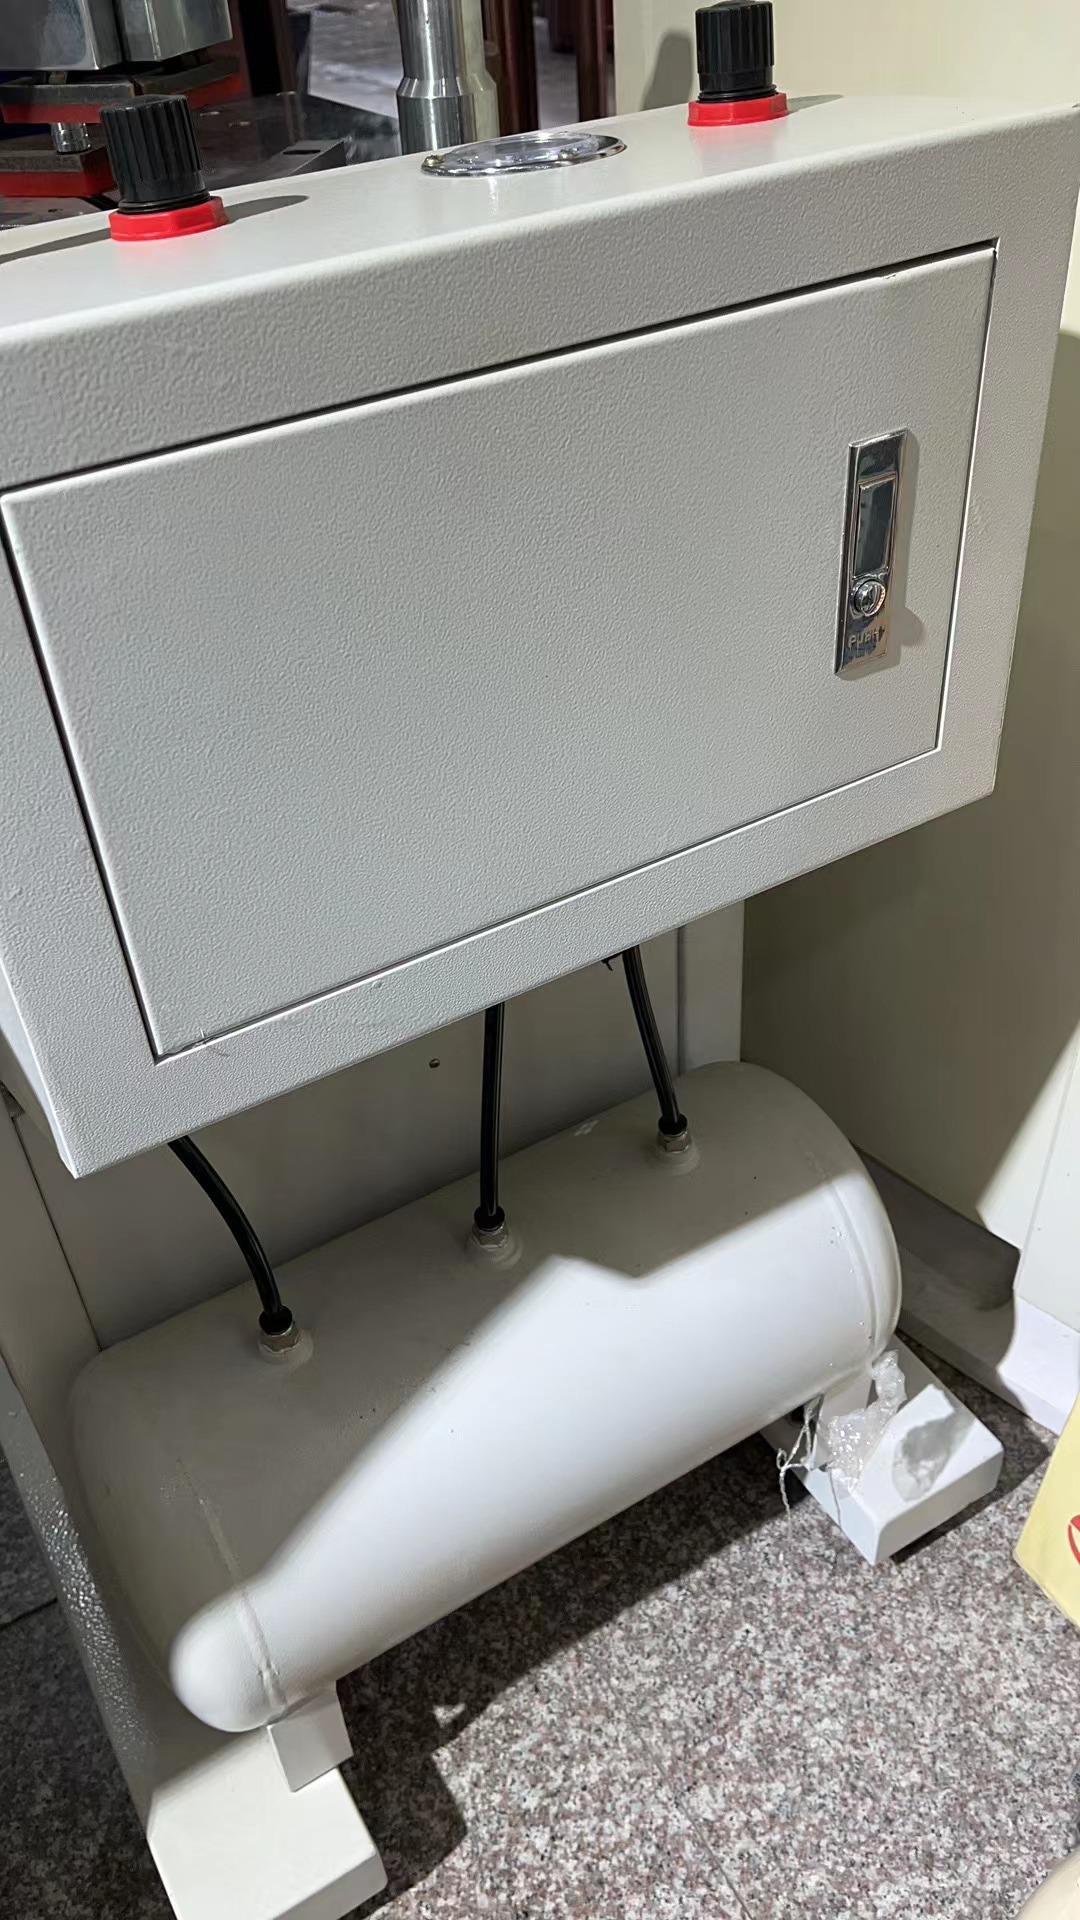
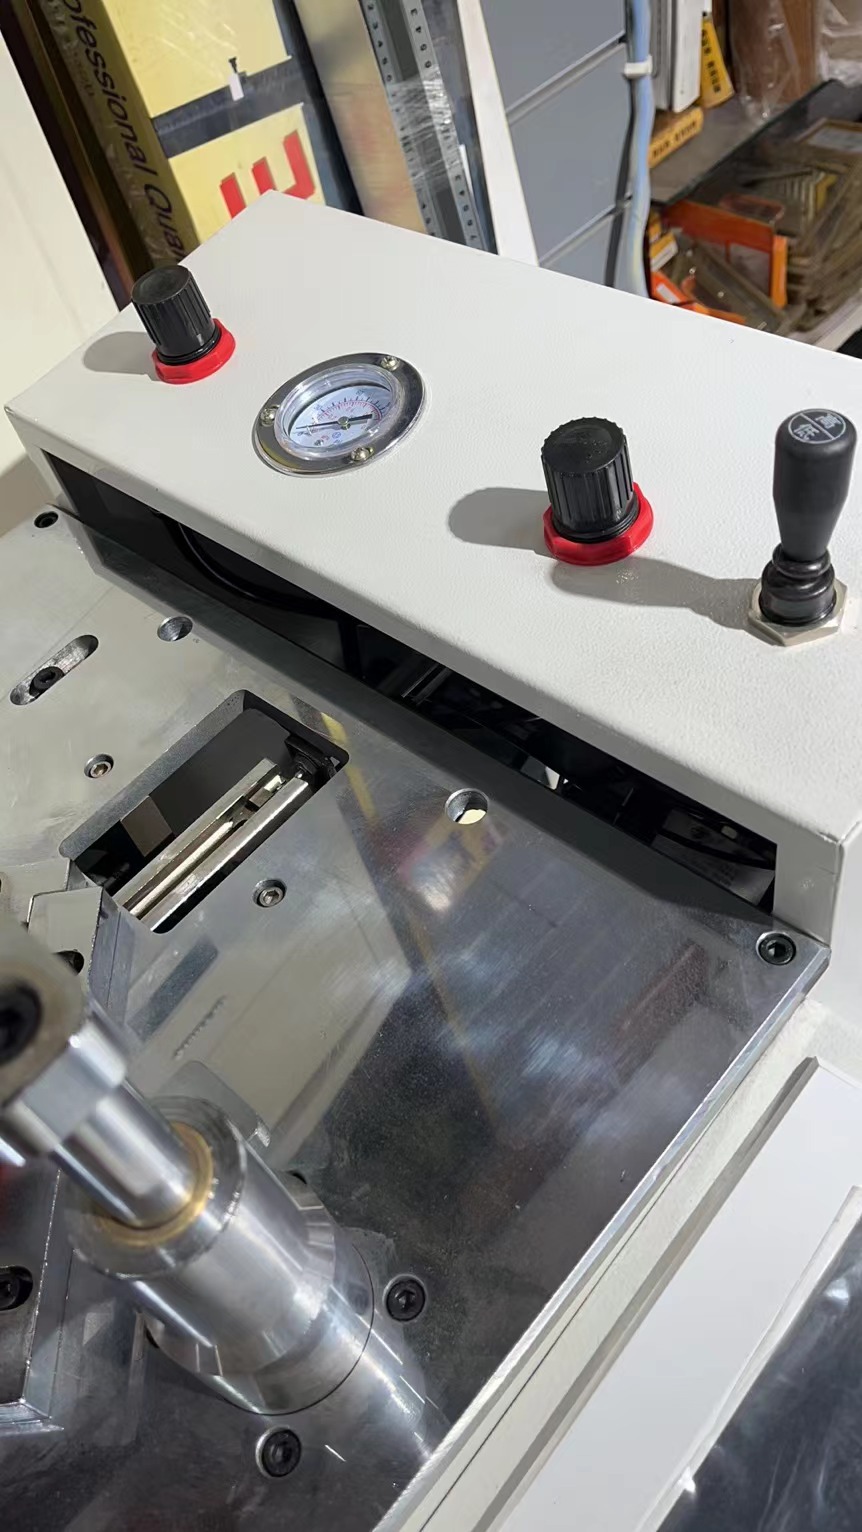
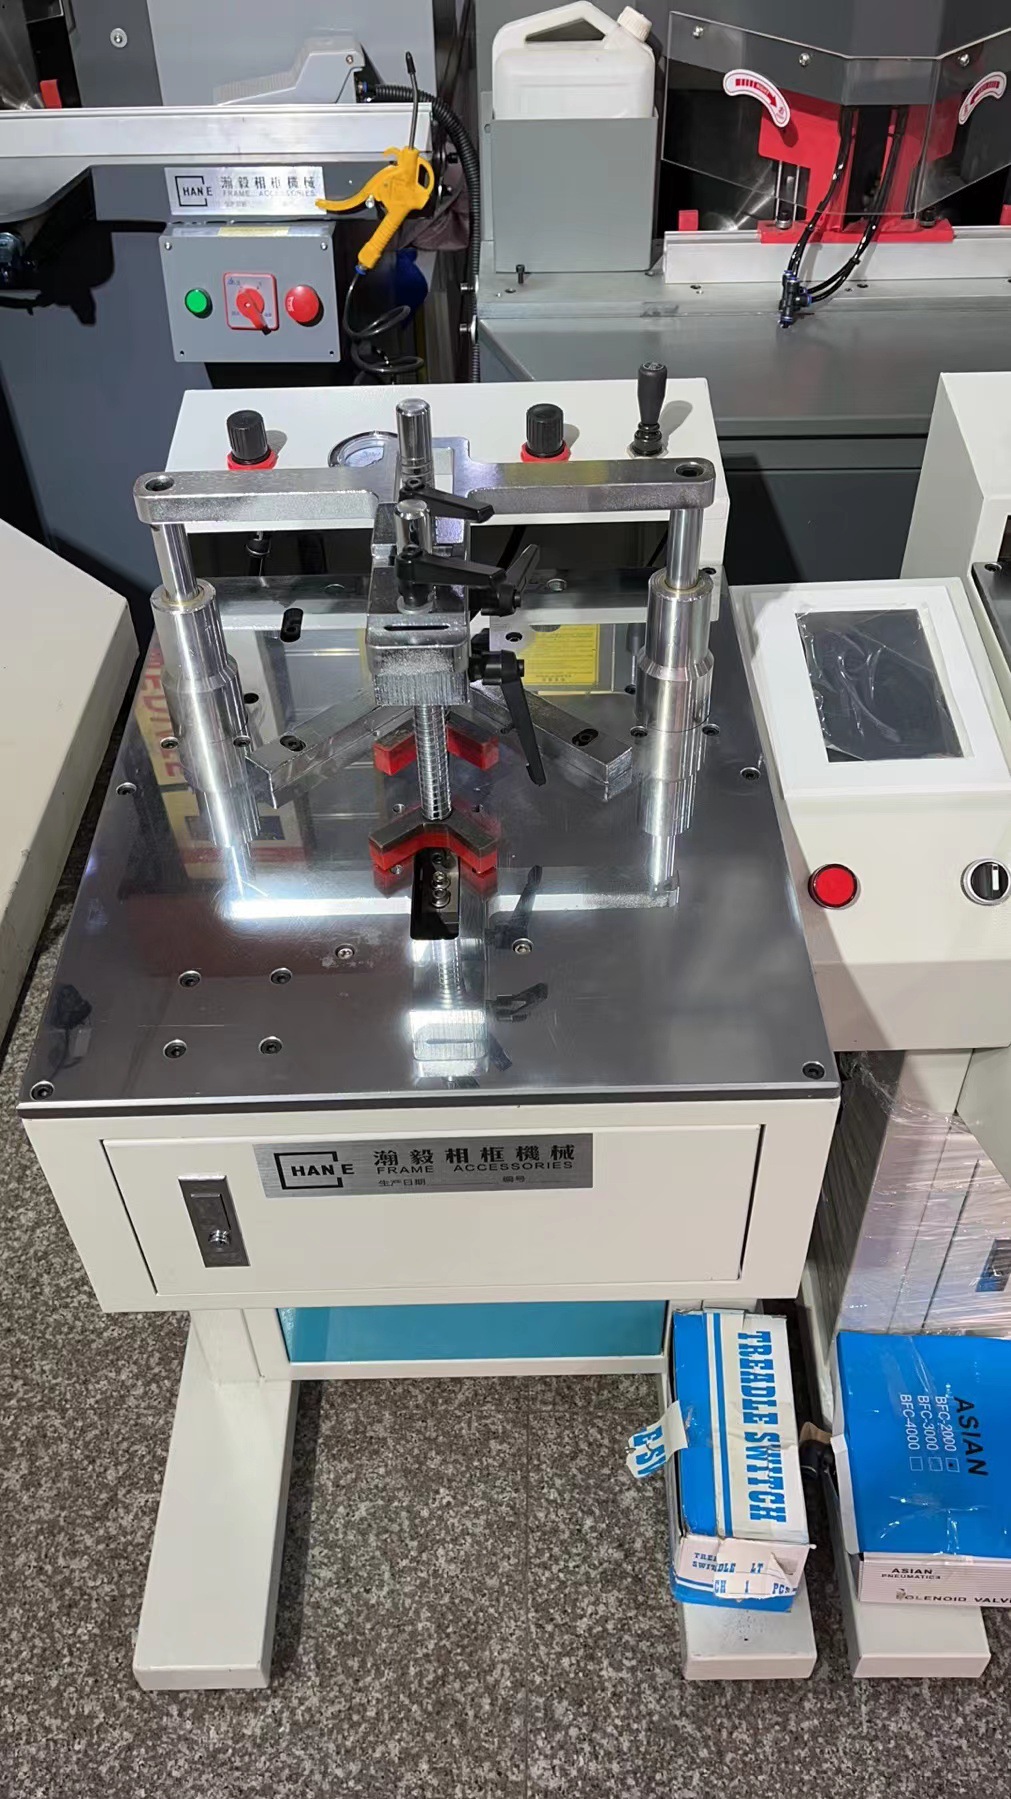
The structure of the CNC nail corner machine consists of: the frame, touch screen controller, step motor, synchronous belt and pulley, pressing cylinder, needle feeding cylinder, nail shooting cylinder, pneumatic solenoid valve, manual pressure regulator, and foot pedal sensor switch. It operates on a voltage of 220V and requires a working driving compressed air pressure of 0.6-0.8Mpa.
CNC corner nailer is suitable for binding 90-degree angles in wood and plastic photo frame products. Its straight-line binding effect is good, and the binding speed is fast. If there is a strict requirement for the distance between the binding nails, choosing this machine is not wrong. Therefore, it is widely used in the production of photo frames with large batch and high requirements.
The machine operates with a 220V power supply and is driven by compressed air pressure ranging from 0.6 to 0.8Mpa. It takes artificial simulated data and transmits it to the respective working mechanisms through a controller. Each working mechanism performs the task according to the instructions, until the required angle nails are successfully completed in a single operation, taking into account the sequence of front and back rows and the number of nails for each nail position.
The CNC corner nailer is suitable for V-shaped nails with widths of 10.3-10.8mm, angles of 89-91 degrees, and heights of 7/10/12/15mm. The forward and backward movement range is 100mm, suitable for framing lines with widths of 70mm and heights (thicknesses) of 75mm. The machine's features include fast working speed and stable product quality. The advantages are especially suitable for binding work on harder materials.
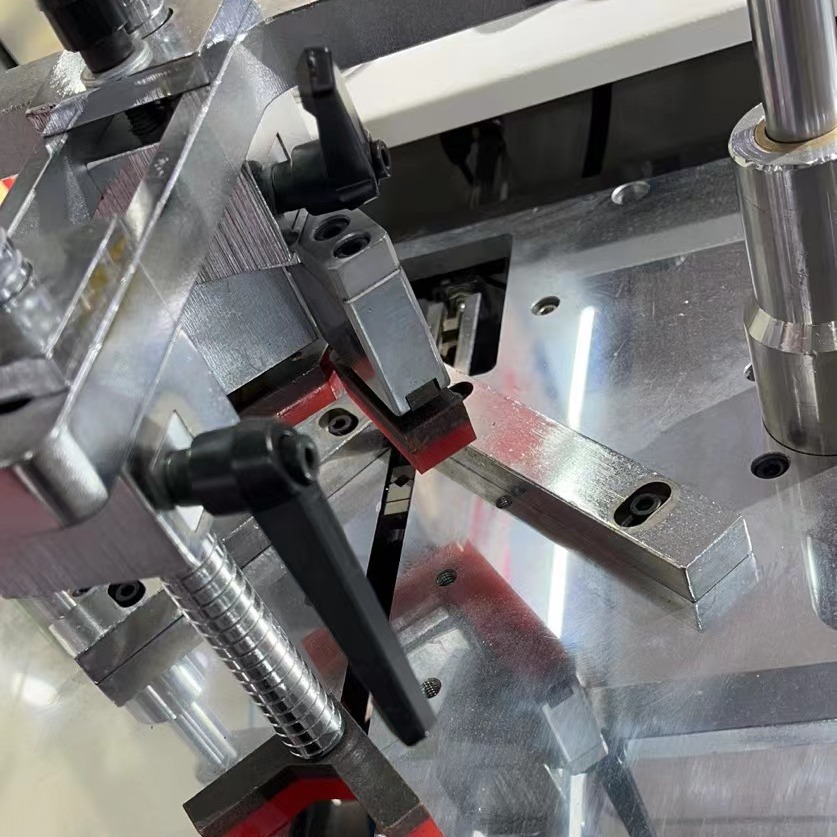
The selection of V-shaped corner tacks should generally not exceed two-thirds of the thickness of the binding line, and should not be less than half of the thickness of the binding line. When selecting the appropriate corner tacks, please also choose the matching needle cover (die head). Loosen the screw on the needle cover, install the needle cover on the needle seat at the outlet of the nail, and tighten the screw to install firmly.
The net dimensions of the machine are 670*700*1300mm, and the net weight is 87.5Kg.
Section Two: Installation and Adjustment
a; Connect the compressed air and power supply, press the PINSHOT key to make the punching cylinder reach the highest position, observe the height of the pin, the pin is generally 0.5mm-1mm higher than the panel, adjust the height according to the material, the punching cylinder is a adjustable stroke cylinder, rotating the nut under the punching cylinder can adjust the height of the pin, so that the height of the pin is the ideal height.
b; As shown in the figure, connect the compressed air and power supply, adjust the air pressure to a working pressure range of 06mpa or above, at this time, the pressing oil cylinder is in the high position. First, put the frame strip with the cut angle into the middle of the 90-degree positioning adjustment block, then take out one side, observe whether the cut surface of the frame strip is at the position of the half of the corner nail and whether the position of the first nail is in the appropriate position. The specific adjustment method (one); loosen the screw of the positioning block and move the positioning block to the appropriate position to tighten the screw. Then align the other half with the stop to form a 90-degree state and tighten. (Generally, such adjustments are not needed, as they have been adjusted before leaving the factory). (Two) Adjust the height and position of the pressing oil cylinder. Because this machine is a double pressing oil cylinder, first loosen the sliding block 4, 8, and the locking handle on the top of the pressing oil cylinder, adjust the position of the 5, the pressing oil cylinder 2 for the workpiece, lock the 8, the locking handle 2, and then move the 5, the pressing oil cylinder 1, to adjust the position of the pressing oil cylinder 1 for the workpiece, and then lock the 4, the locking handle 1. (Three); First, adjust the pressing gas cylinder to 02mpa, loosen the two locking screws that fix the upper part of the two hammer guide sleeves, but do not pull the inner guide rod of the hammer, so that the pressing cylinder jacket and the guide sleeve can move up and down just enough. Then, open the 19, manually press the line, adjust the height of the pressing cylinder naturally, and then tighten the two locking screws on the pressing cylinder, loosen the pressing, and then adjust the pressure of the pressing cylinder to more than 06mpa to the normal working pressure (adjust according to the material pressure).
Close the needle insertion cylinder's 12, manual control valve, and the needle insertion cylinder retracts, placing the V-shaped corner nail, with the opening facing the nail exit and the tip facing the needle insertion cylinder direction. The blade should be facing up. Open the 12, manual control valve, and the needle insertion cylinder operates.
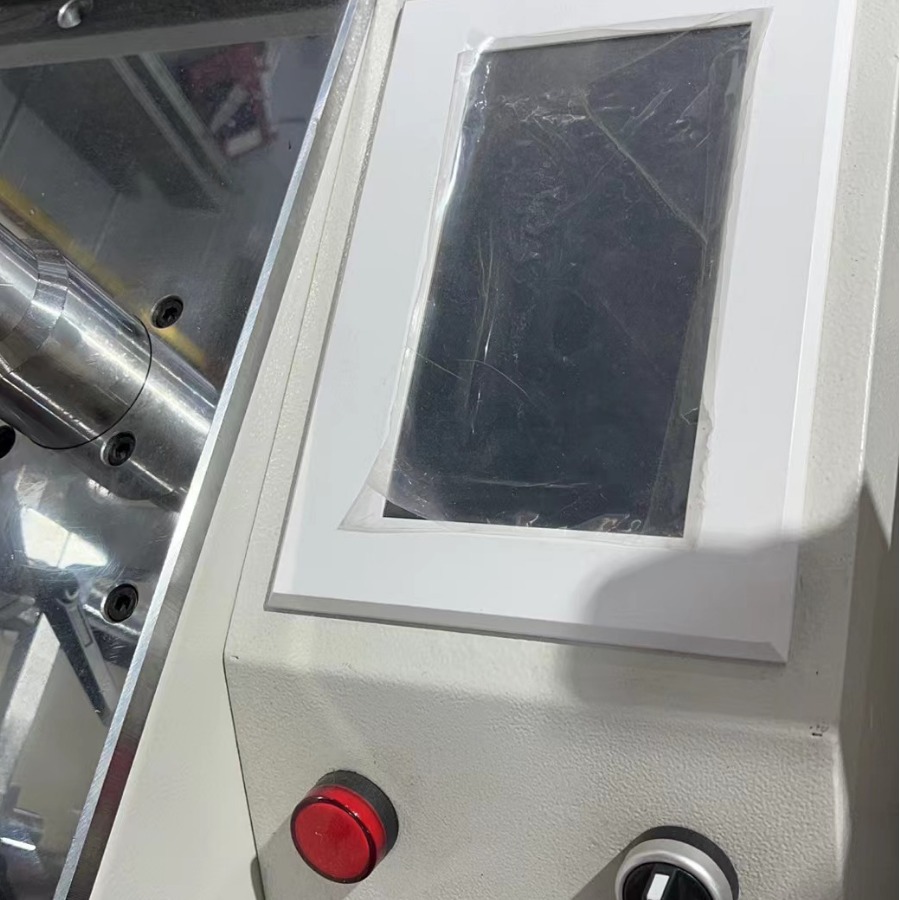
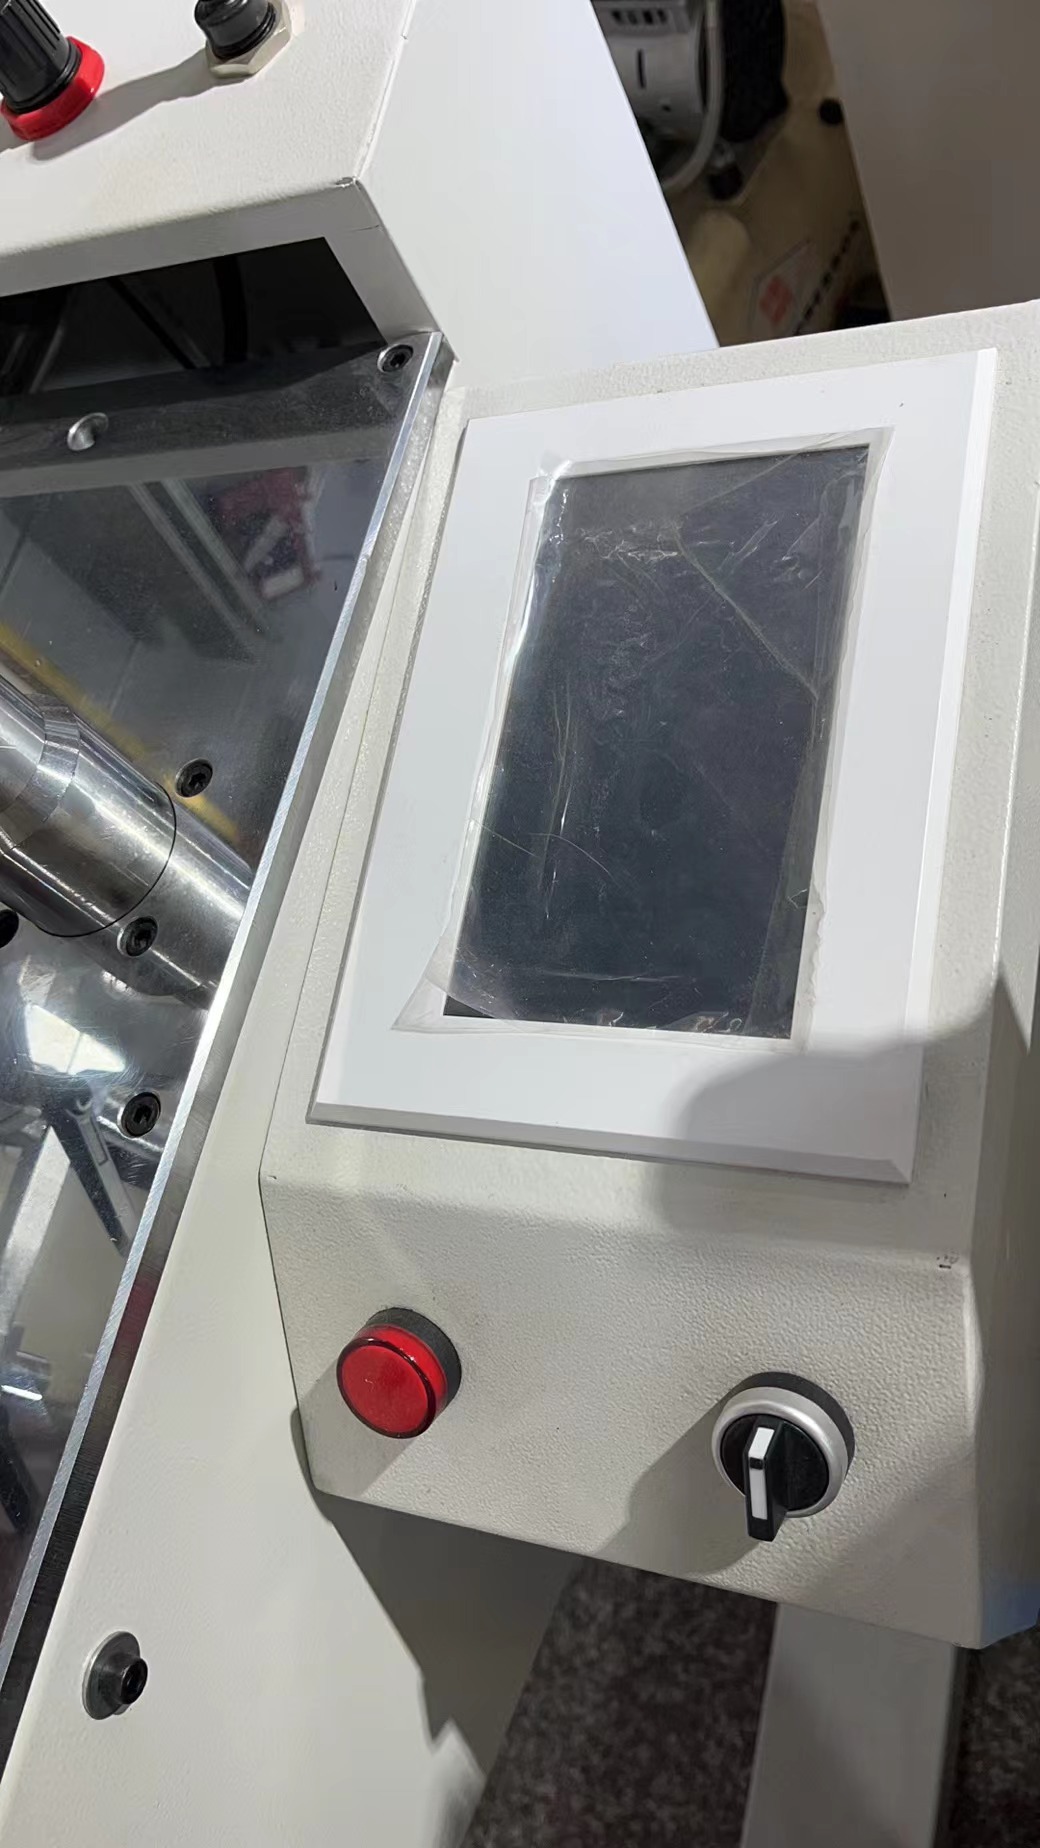
Data setting on the control panel;
As shown; the ENTER key is the start button for placing your hand and the confirmation key after setting is complete.
The SHOT.NO key is used to set the number of times the nail gun cylinder operates at a single work point (the number of nails fired is commonly referred to as the stack nail count).
The UP key is the slow increment key for setting the distance between nails. Each press increases the distance by 1mm.
The 'DOWN' key is the slow decrease key for setting the distance between nails, and each press reduces the distance by 1mm.
The UP+5 key is a quick-add key for the spacing between nails, and each press increases the distance by 5mm.
The DOWN-5 key is the quick decrease key for the spacing between nails, and each press reduces the distance by 5mm.
The LEFT key is the left-hand navigation key for the design window.
The RIGHT key is the right-hand row key for the design window.
The SAVE key is the key for saving the design work.
The RECALL key is the button for erasing the saved work memory.
The FORWAPD key is the quick backward key for the nail outlet (the quick backward key for the step motor).
The BACKWAPD key is the fast-forward key for the nail-out port (the fast-forward key for the step motor)
The MOVE key is the reset key for automatic operation.
The PINSHOT key is a manual reset key.
When the design is completed, press the ENTER key to confirm and save. The machine enters the standby working state. Place the angle-cut frame bars, step on the pedal switch with your foot, and give the working pulse signal. The machine will automatically complete the work task of one working cycle. (The automatic work procedure record can be saved for five, generally as long as the procedure is called out, pressing the confirmation key once is enough to enter the working state).
Common Faults and Troubleshooting
1. If the nail does not come out or gets stuck, first check if the air pressure is within the working range. Check if there are any foreign objects blocking the nail outlet of the needle slot, preventing the nail from reaching the nail outlet. Also, check if the material is too hard, causing the nail to only shoot half way. Adjust the pressure and air pressure accordingly. Do not continue to shoot nails when the nail gets stuck to avoid unnecessary damage to the needle sleeve and the machine. It is necessary to loosen the screw of the needle sleeve to remove the needle sleeve, close the control valve of the needle feeding air cylinder, remove the stuck nail, and then install the needle sleeve well and open the control valve of the needle feeding air cylinder.
2; If the nail position or nail distance is unstable, please check if the sensor switch next to the feeding pin cylinder is loose, if loose, tighten it. If the problem still cannot be solved, please check if the synchronous belt is too loose, and adjust the synchronous belt accordingly.
3; If the nail bursts or does not reach the target, please check the position of the first or last nail and make appropriate adjustments. If the nail does not reach the target, please re-adjust the height of the hammer and check if there is oil in the oil tube of the hammer. Please add appropriate lubricating oil.
Section 4: Daily Maintenance;
Before starting the machine every day, it is necessary to check the power supply. Ensure that the air supply is working properly. Check if the lubrication oil level is at the normal position. Especially at the clamping cylinder, check if there is oil in the filter. Maintain a clean working environment. After work every day, it is essential to clean the dust off the machine, especially at the nail outlet.
5. Non-professional maintenance personnel should not maintain electrical parts to avoid causing greater damage.
The RIGHT key is the right-hand row key for the design window.
The SAVE key is the key for saving the design work.
The RECALL key is the button for erasing the saved work memory.
The FORWAPD key is the quick backward key for the nail outlet (the quick backward key for the step motor).
The BACKWAPD key is the fast-forward key for the nail-out port (the fast-forward key for the step motor)
The MOVE key is the reset key for automatic operation.
The PINSHOT key is a manual reset key.
When the design is completed, press the ENTER key to confirm and save. The machine enters the standby working state. Place the angle-cut frame bars, step on the pedal switch with your foot, and give the working pulse signal. The machine will automatically complete the work task of one working cycle. (The automatic work procedure record can be saved for five, generally as long as the procedure is called out, pressing the confirmation key once is enough to enter the working state).
Common Faults and Troubleshooting
1. If the nail does not come out or gets stuck, first check if the air pressure is within the working range. Check if there are any foreign objects blocking the nail outlet of the needle slot, preventing the nail from reaching the nail outlet. Also, check if the material is too hard, causing the nail to only shoot half way. Adjust the pressure and air pressure accordingly. Do not continue to shoot nails when the nail gets stuck to avoid unnecessary damage to the needle sleeve and the machine. It is necessary to loosen the screw of the needle sleeve to remove the needle sleeve, close the control valve of the needle feeding air cylinder, remove the stuck nail, and then install the needle sleeve well and open the control valve of the needle feeding air cylinder.
2; If the nail position or nail distance is unstable, please check if the sensor switch next to the feeding pin cylinder is loose, if loose, tighten it. If the problem still cannot be solved, please check if the synchronous belt is too loose, and adjust the synchronous belt accordingly.
3; If the nail bursts or does not reach the target, please check the position of the first or last nail and make appropriate adjustments. If the nail does not reach the target, please re-adjust the height of the hammer and check if there is oil in the oil tube of the hammer. Please add appropriate lubricating oil.
Section 4: Daily Maintenance;
Before starting the machine every day, it is necessary to check the power supply. Ensure that the air supply is working properly. Check if the lubrication oil level is at the normal position. Especially at the clamping cylinder, check if there is oil in the filter. Maintain a clean working environment. After work every day, it is essential to clean the dust off the machine, especially at the nail outlet.
5. Non-professional maintenance personnel should not maintain electrical parts to avoidcause greater losses.
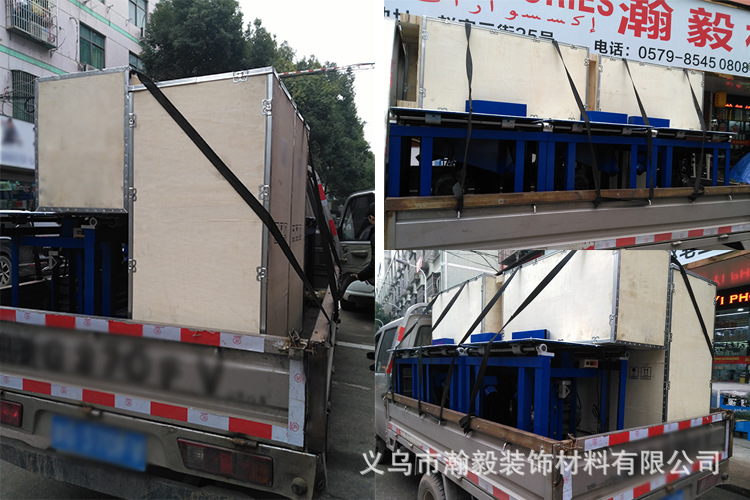
Machine loading and shipping
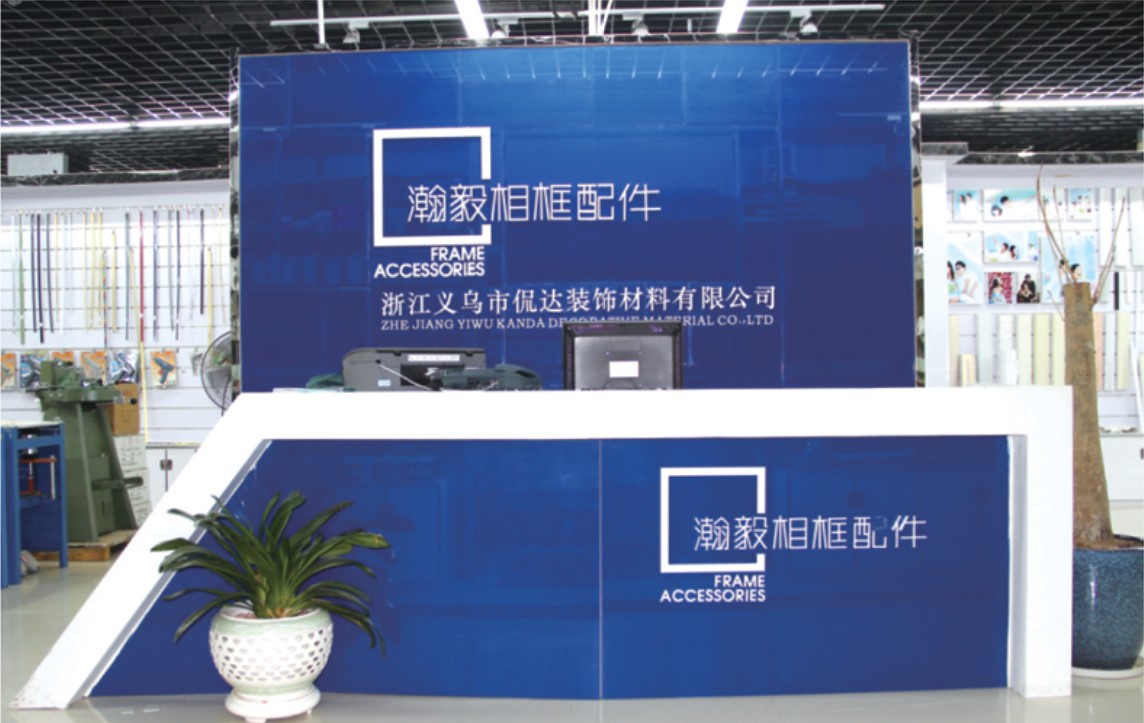
Yiwu Hanyi Decorative Materials Co., Ltd. (formerly Yiwu Kandad Decorative Materials Co., Ltd.) is located in the small commodities hub of Asia -- China's Yiwu. With the love and support of domestic and foreign customers, the company has gradually expanded in scale and improved its products, which are exported to more than 50 countries including Europe, the United States, and Southeast Asia. Our sales network is available in major cities in China, such as Beijing, Shanghai, Tianjin, Chengdu, Guangzhou, Qingdao, Xi'an, Haikou, and Chongqing. The company mainly produces and sells products such as frame finished products, frame material accessories, frame machines, framing tools, and metal hooks.
Machine equipment
Kesiand" (corner cutting machine, corner fixing machine, carding machine), the brand "Han Yi (HY)" (corner cutting machine, corner fixing machine, etc.) sawing machine, bone slot machine, American carding machine, British carding machine, Nanguang carding machine, Yiwu carding machine. Vacuum heat pasting machine, automatic pasting machine, manual pasting machine.
Nail gun tool
Taiwan pneumatic clip gun, Hong Kong pneumatic clip gun, DIC clip gun, domestic clip gun, nail gun, straight nail gun, Italian manual clip gun, mosquito nail gun, manual U-shaped nail gun, dual-purpose nail gun.
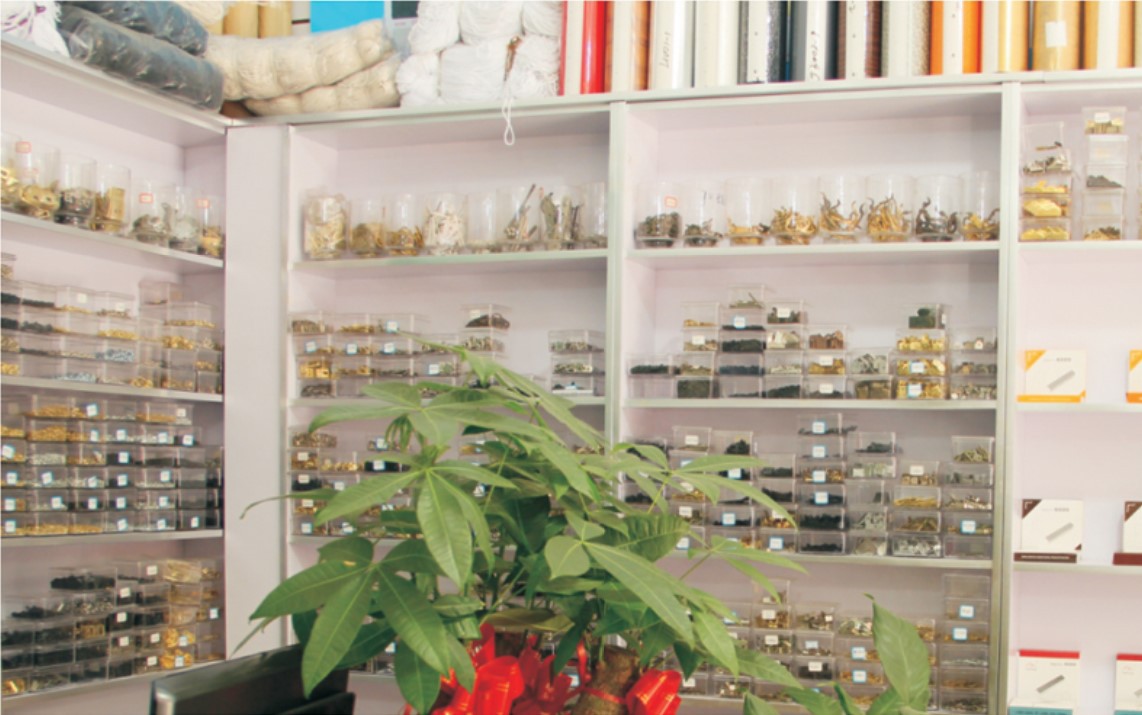
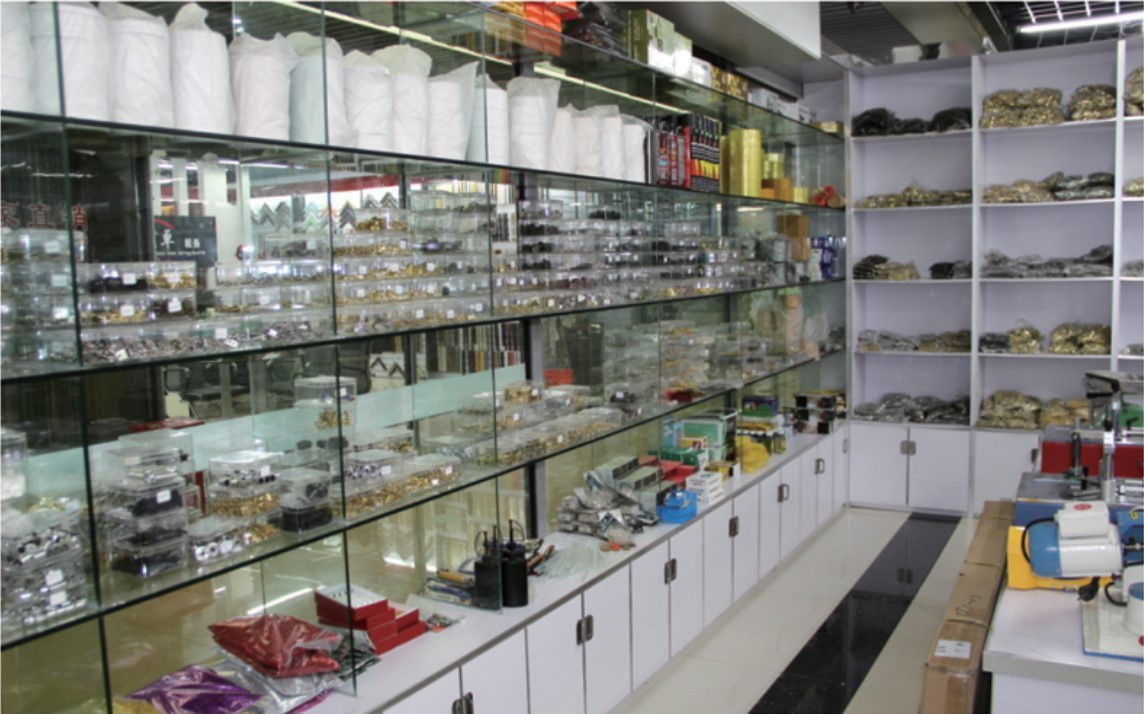
Related Adjuncts
Velvet cloth, kraft paper, double-sided tape, foam adhesive, masking tape, wet water paper, corner nails, sheet nails, horse nails, straight nails, U-shaped nails, plastic (soft edge strips, gold, silver edge strips, laser edge strips, KT strips), corner flowers, waist flowers, imported Chinese painting film, eye bag, plastic supports, legs, paper corners, card paper, saw blades, heat shrinkable film, cold paste film, steel wire rope, rope, processed grinding saw blades.
Hardware accessories
Small triangle hooks, various types of copper hooks, picture supports, press plates, hinges, and processing services for various stamping parts.
Update time:


TOP