Search history
Clear allSearch by image
XDrag and drop an image here or upload an image
Max 5MB per image
UploadSign In | Join

Search history
Clear allSearch by image
XDrag and drop an image here or upload an image
Max 5MB per image
UploadSign In | Join
Packaging: 200 pcs
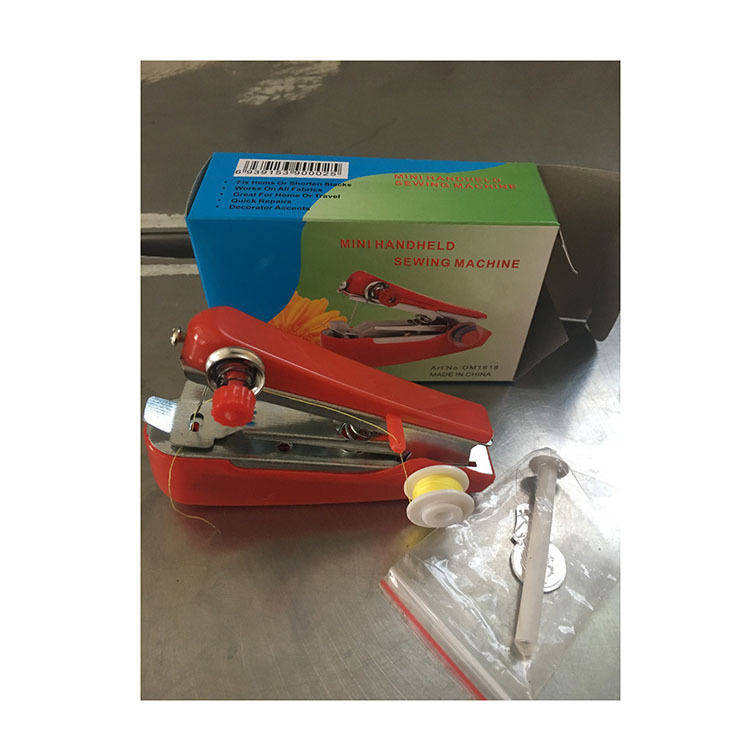
Packaging: Boxed
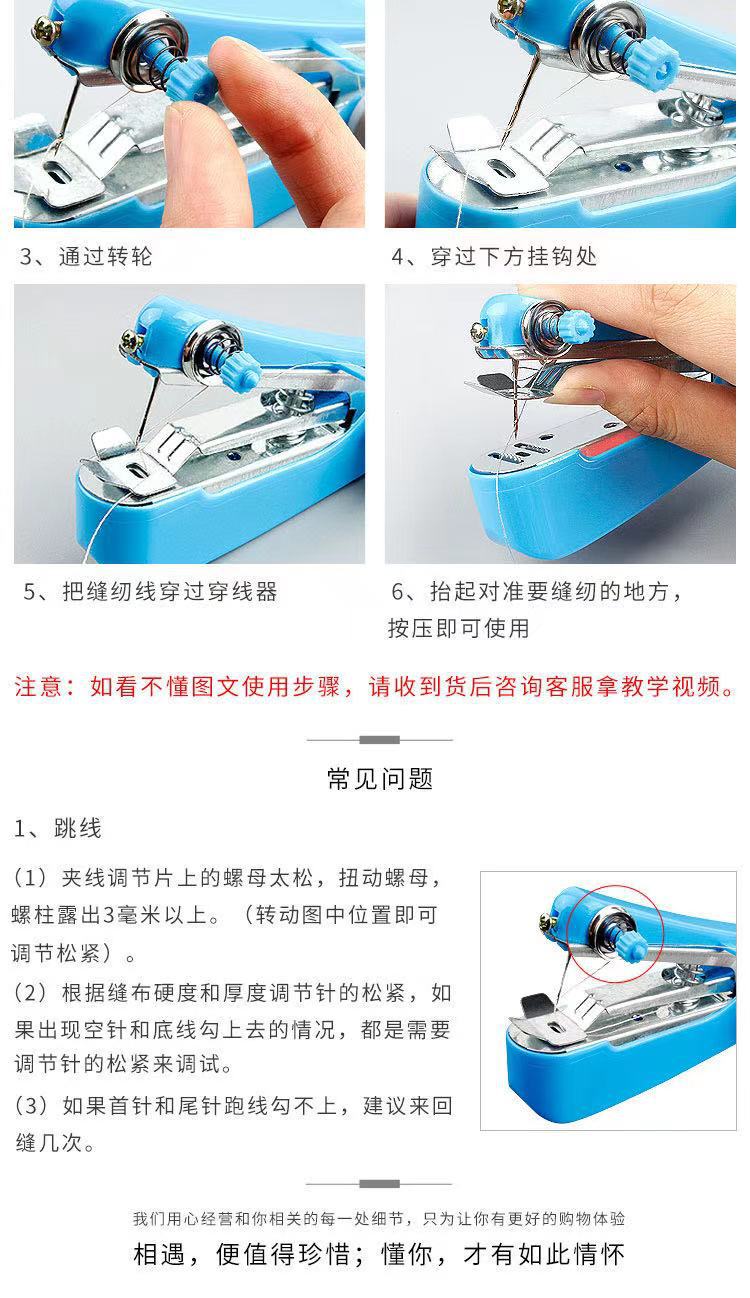
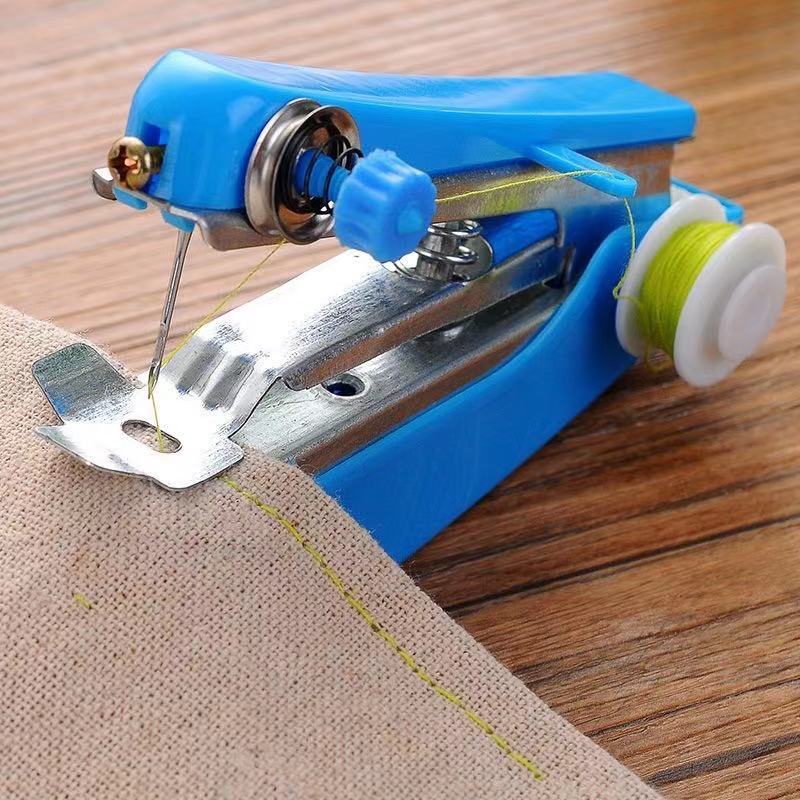
1. Idle state: Use the four fingers of the right hand to support the machine base, and place the thumb naturally on the top of the cover plate to hold the entire machine steadily.
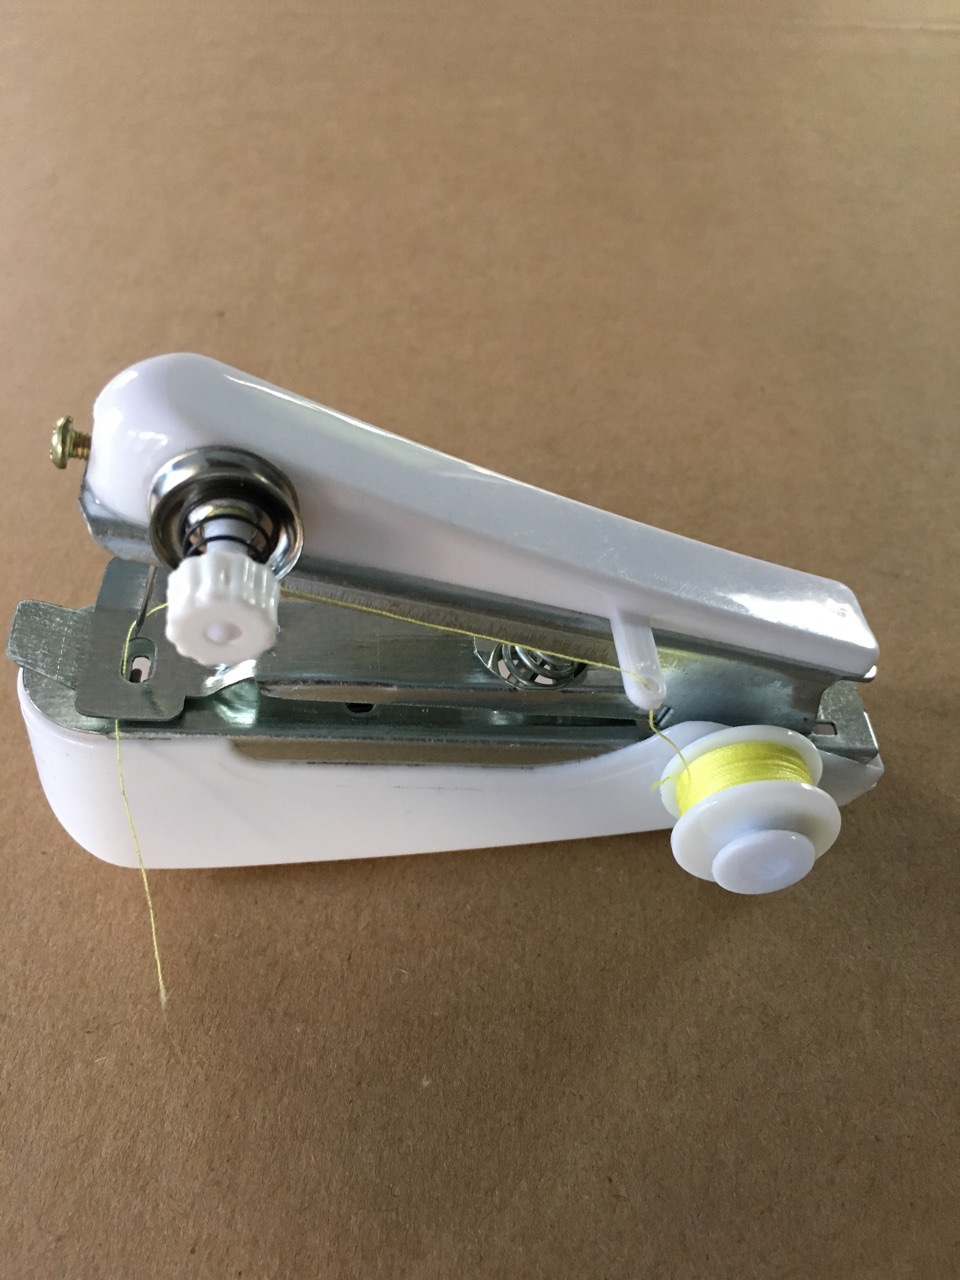
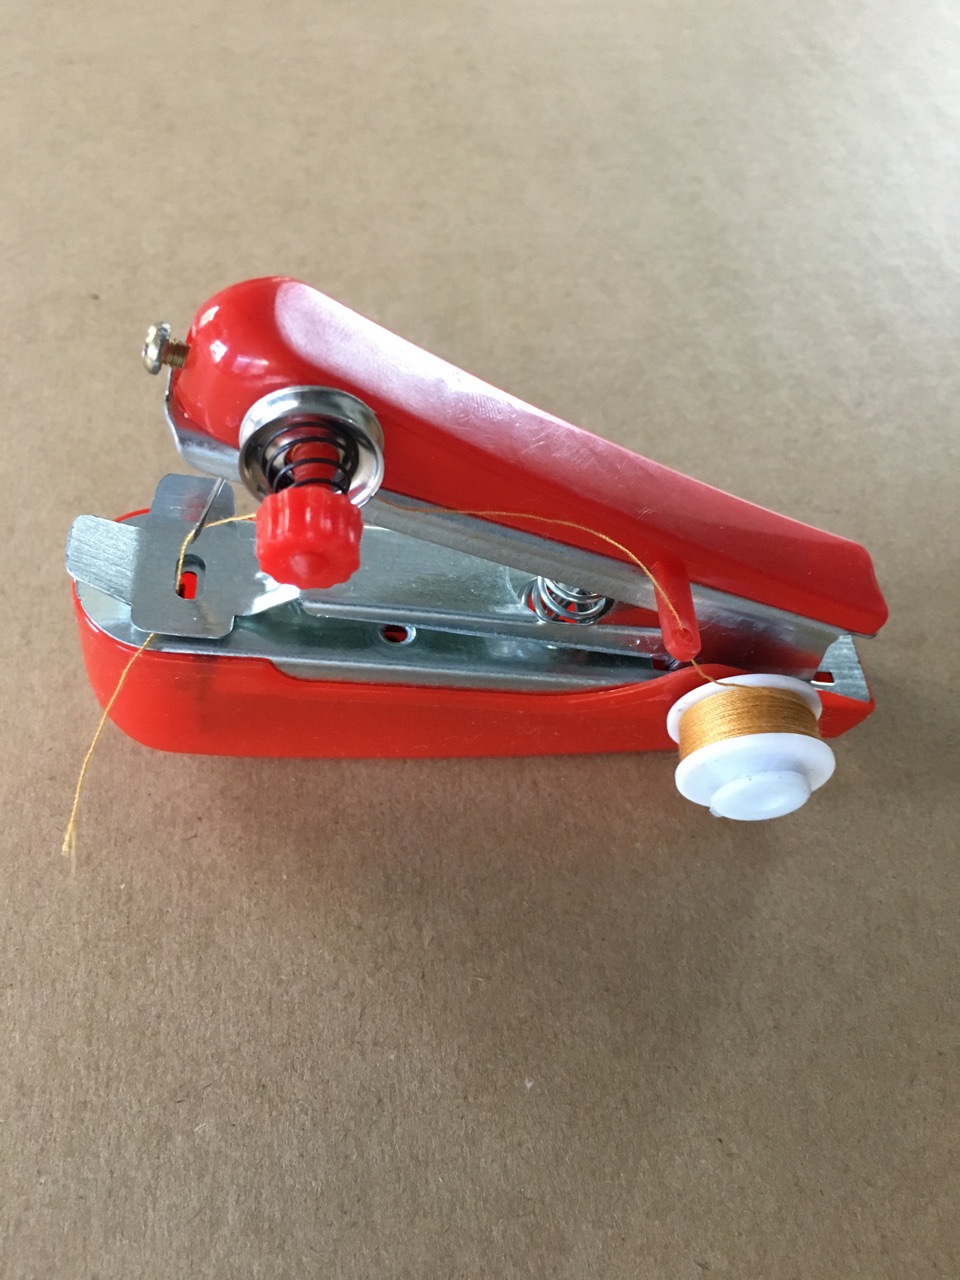
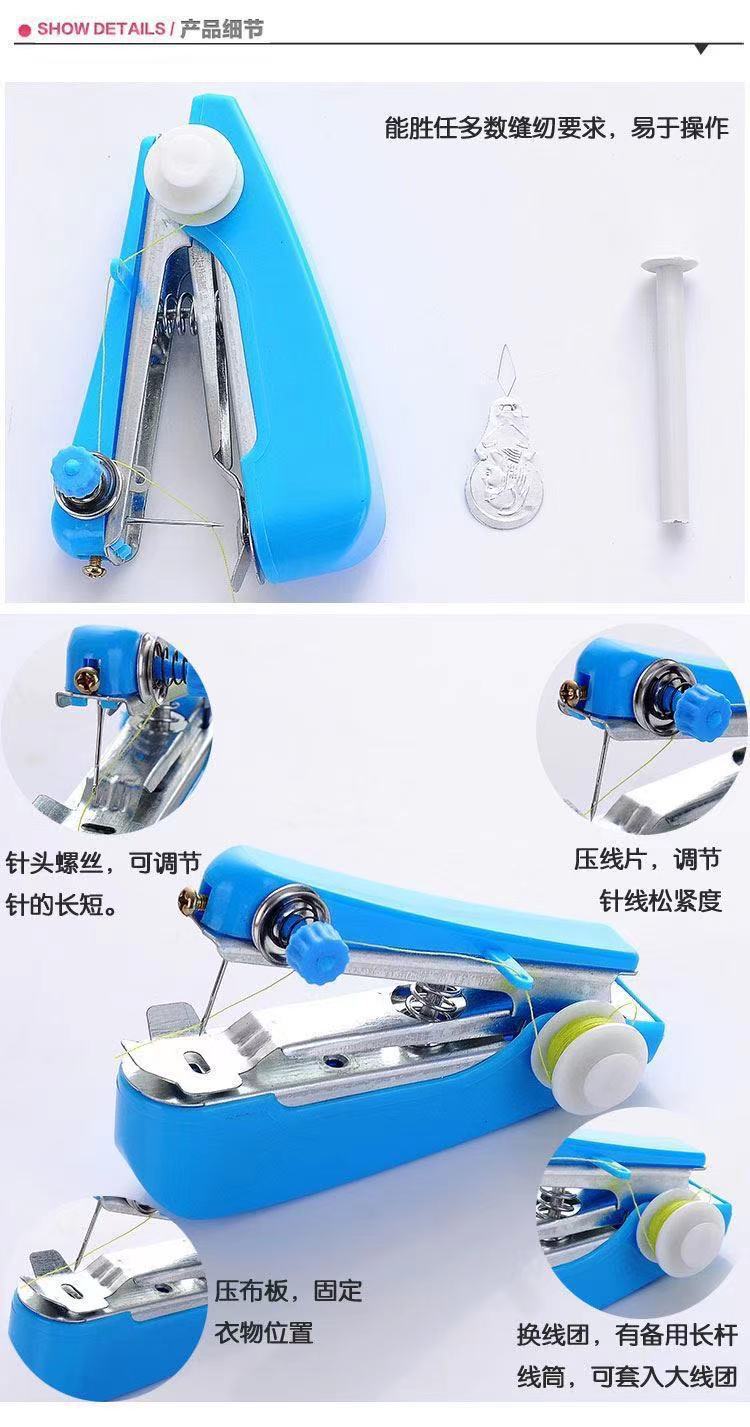
2. Threading: Gently pull out the thread spool one, pass it through the guide coil A, then introduce the thread adjustment piece B, and continue through the guide coil C. The end of the thread passed through should be placed next to the needle; next, insert the threading device through the needle hole in front of the needle (toward the body connection point) and then insert the thread end into the small hole of the threading device. Remove the threading device, pull out the thread end by 2–3 centimeters, and press it against the thread pressing plate before waiting for use.
3. Loading fabric: Use the index finger of the right hand to lift the pressing plate, place the prepared fabric under the pressing plate, and gently return it under the pressing plate to secure it.
4. Sewing operation: Hold the fabric with the left hand, and gently and quickly press the top of the cover plate down with the right thumb. Lift and press the thumb again, repeating this process. The fabric feeding mechanism will automatically move the fabric to the left. Gradually move the right hand holding the machine to the right, while the left hand holds the fabric and moves the fabric to the left in sync with the sewing rhythm until sewing is completed. Cut the thread on the pressing plate, lift the pressing plate, and gently pull out the fabric to tighten it. (Note: Since this machine uses only one thread spool, the thread under the pressing plate does not need to be cut—just pull it out, otherwise tightening cannot occur.)
5. This machine can automatically feed fabric and adjust the tension between stitches. Tension is adjusted using a nut.
6. Changing thread spool: If a larger thread spool is needed, connect a spare extension rod to the thread spool shaft, insert the larger thread spool, then rethread the fabric and adjust the tension before sewing.
7. Changing needles: Loosen the fixing screw, remove the broken needle, install a new needle. Ensure the flat side of the needle faces the fixing screw correctly; do not install it upside down. Needle type DHX = 1/4


Update time:


TOP