Search history
Clear allSearch by image
XDrag and drop an image here or upload an image
Max 5MB per image
UploadSign In | Join

Search history
Clear allSearch by image
XDrag and drop an image here or upload an image
Max 5MB per image
UploadSign In | Join
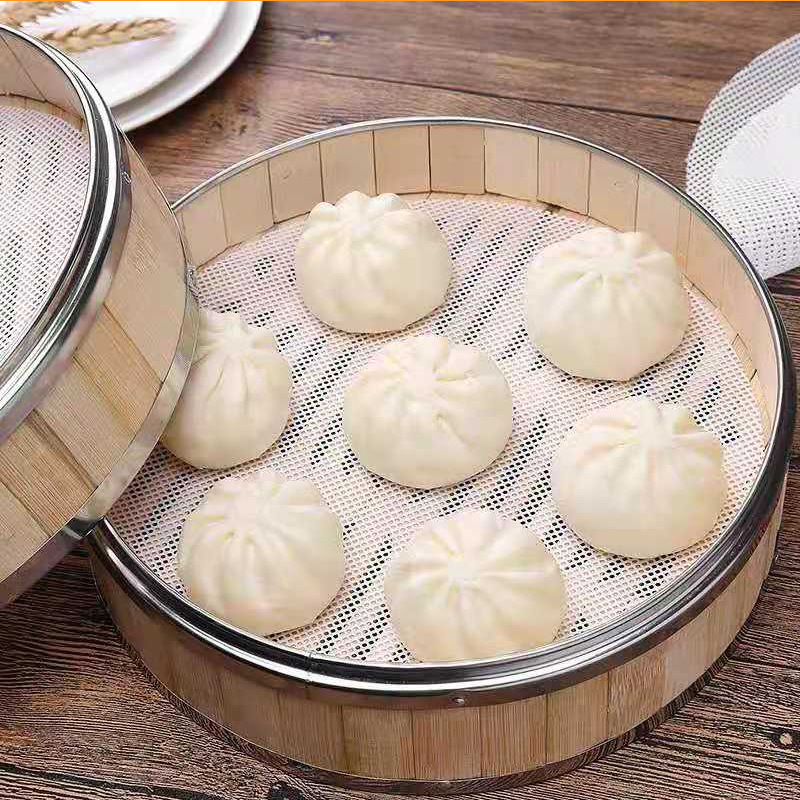
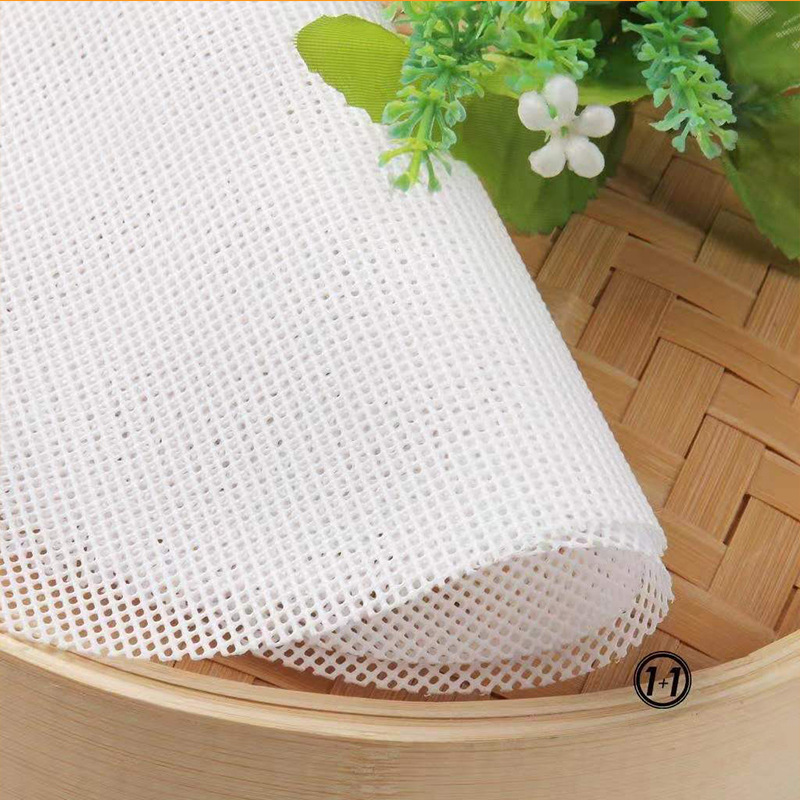
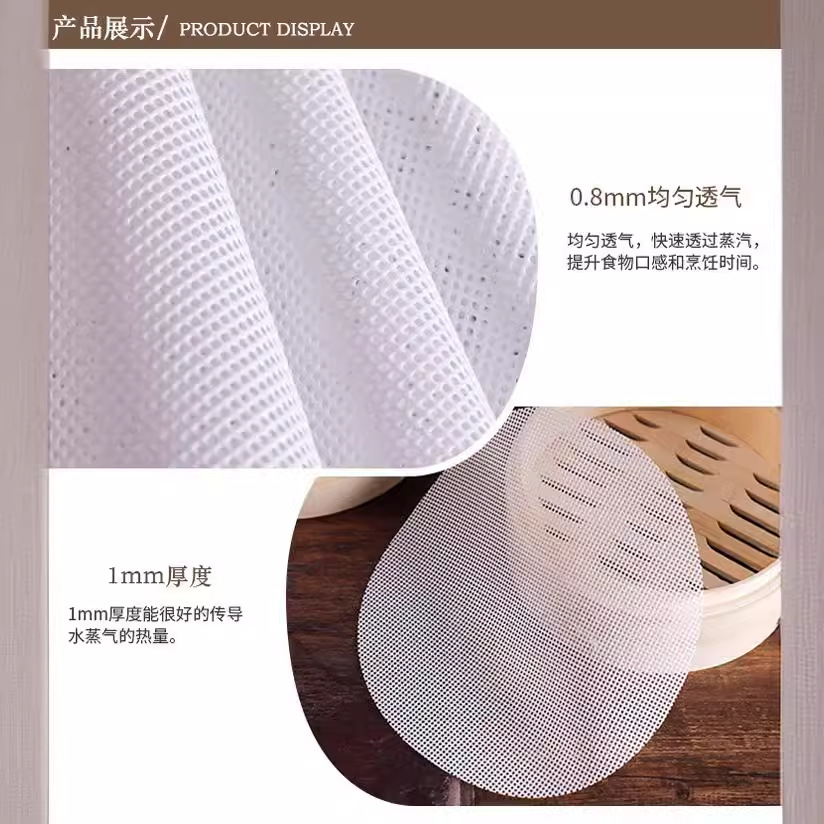
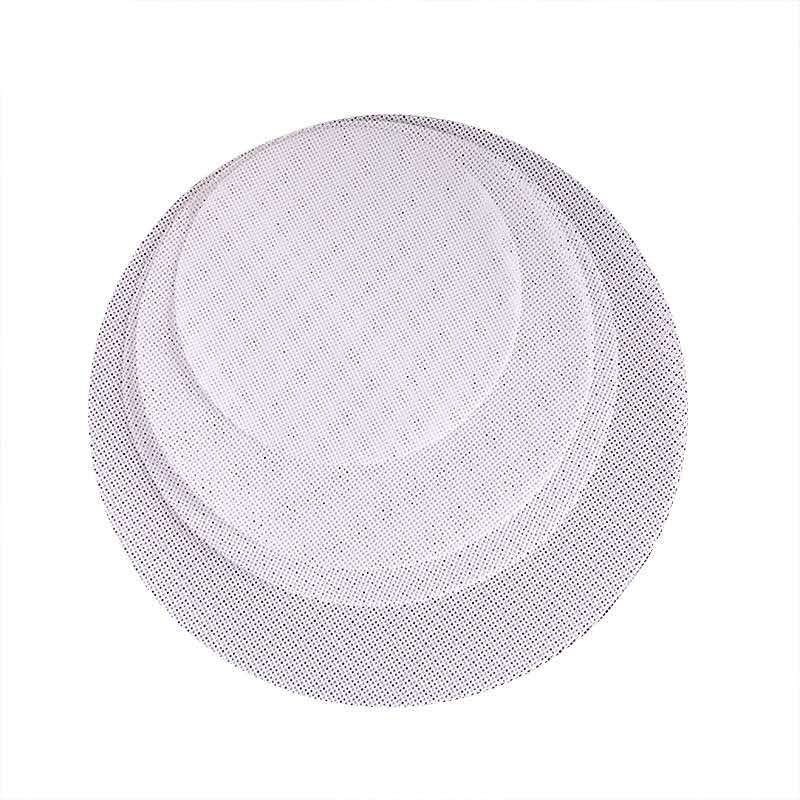
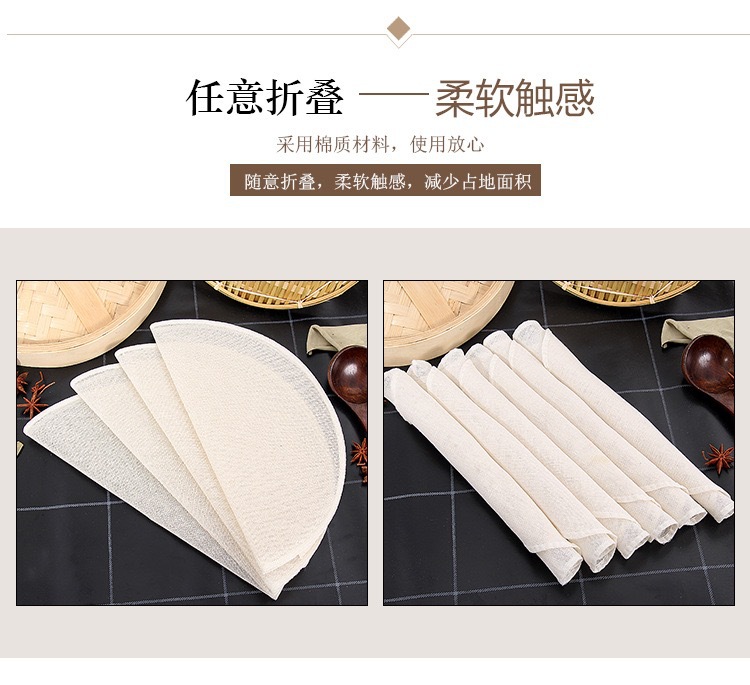
 dim sum mesh 20cm
硅胶蒸笼垫20cm |
CN¥ 0.5 |
 dim sum mesh 22cm
硅胶蒸笼垫22cm |
CN¥ 0.6 |
 dim sum mesh 24cm
硅胶蒸笼垫24cm |
CN¥ 0.7 |
 dim sum mesh 26cm
硅胶蒸笼垫26cm |
CN¥ 0.8 |
 dim sum mesh 28cm
硅胶蒸笼垫28cm |
CN¥ 0.9 |
 dim sum mesh 30cm
硅胶蒸笼垫30cm |
CN¥ 1.0 |
 dim sum mesh 32cm
硅胶蒸笼垫32cm |
CN¥ 1.2 |
 dim sum mesh 34cm
硅胶蒸笼垫34cm |
CN¥ 1.3 |
 dim sum mesh 36cm
硅胶蒸笼垫36cm |
CN¥ 1.5 |
 dim sum mesh 38cm
硅胶蒸笼垫38cm |
CN¥ 1.6 |
 dim sum mesh 40cm
硅胶蒸笼垫40cm |
CN¥ 1.8 |
 dim sum mesh 42cm
硅胶蒸笼垫42cm |
CN¥ 1.9 |
 dim sum mesh 46cm
硅胶蒸笼垫46cm |
CN¥ 2.3 |
 dim sum mesh 50cm
硅胶蒸笼垫50cm |
CN¥ 2.6 |
 dim sum mesh 55cm
硅胶蒸笼垫55cm |
CN¥ 3.3 |
 dim sum mesh 60cm
硅胶蒸笼垫60cm |
CN¥ 3.8 |
 dim sum mesh 70cm
硅胶蒸笼垫70cm |
CN¥ 5.2 |
Yongkang Zhoukang Industry and Trade Co., Ltd 2yr.
Contacts missjiang Chat
Mobile 15669539864
15669539864




Steps to Use
1. Mix the cake ingredients according to the cake recipe, and pour them into a silicone cake mold.
2. Fill the ingredients into the silicone cake mold according to the shape, and shape the cake.
3. Sprinkle the top of the cake with chocolate and raisins as decorations.
4. Place the cake silicone mold with the prepared ingredients into the oven.
5. After baking, remove the cake silicone mold and let it cool naturally.
6. Remove the finished cake from the silicone mold and complete the demolding process.
Notes
1. First time use, please clean the mold and apply a layer of butter on the mold. This operation can extend the service life of the mold. After that, you do not need to repeat this operation.
2. Do not directly contact open flame or heat sources, and do not approach sharp objects.
3. When baking, be sure to place the mold in the oven or slightly lower than the heating element to avoid direct contact with the oven's heating area.
4. Bake until completed, and be sure to wear insulating gloves and other insulating equipment to remove the mold from the oven. Wait for it to cool for a moment before attempting to remove the mold. To remove the mold, hold the mold firmly and gently tap the bottom of the mold, and it will easily come out.
5. Because silicone molds heat up quickly and evenly, baking times are different from traditional metal molds. Please adjust the baking time accordingly.
6. When cleaning the mold, please do not use steel wool or metal cleaning products to prevent damage to the mold and affect future use. Please refer to the oven usage instructions for use.
Maintenance Method
1. Silicone molds should be cleaned in time after each use.
2. Do not immediately rinse with cold water after taking it out of the oven to extend its service life.
3. Clean with hot water mixed with diluted dishwashing detergent, or place in the dishwasher for cleaning.
4. Do not use corrosive cleaners or sponge cleaning.
5. Ensure that the silicone mold is dry before each use and storage.
6. When baking, silicone molds should be placed separately on a flat baking tray. Do not allow the molds to dry-bake. For example, if you have a six-piece mold, you should only fill three of the molds completely, and for the other three empty molds, please fill them with water.
7. When baking is complete, remove the entire baking tray from the oven and place the baked goods on a cooling rack until completely cooled.
8. Cake silicone molds, chocolate silicone molds, and ice cube silicone molds are only suitable for use in the oven, toaster, and microwave, and should not be directly used on gas or electric stoves, or directly above the heating pan or below the grill.
9. Do not use sharp tools to scratch or scrape the silicone mold, and do not pull violently.
10. Silicone molds are easily attracted to dust due to static electricity. If they are not used for a long time, please store them in a paper box and keep them in a cool place.
Our shop operates on a small scale, and we will try to resolve any issues through consultation. We do not support unreasonable returns or exchanges without a reason.
Update time:


TOP