
Search history
Clear allSearch by image
XDrag and drop an image here or upload an image
Max 5MB per image
UploadSign In | Join

Search history
Clear allSearch by image
XDrag and drop an image here or upload an image
Max 5MB per image
UploadSign In | Join
| 16.8*6.8*9.7 | CN¥ 0.0 |
| 16.8*6.8*9.7 | CN¥ 0.0 |
| 16.8*6.8*9.7 | CN¥ 0.0 |
Note: Please contact customer service before taking the photo.
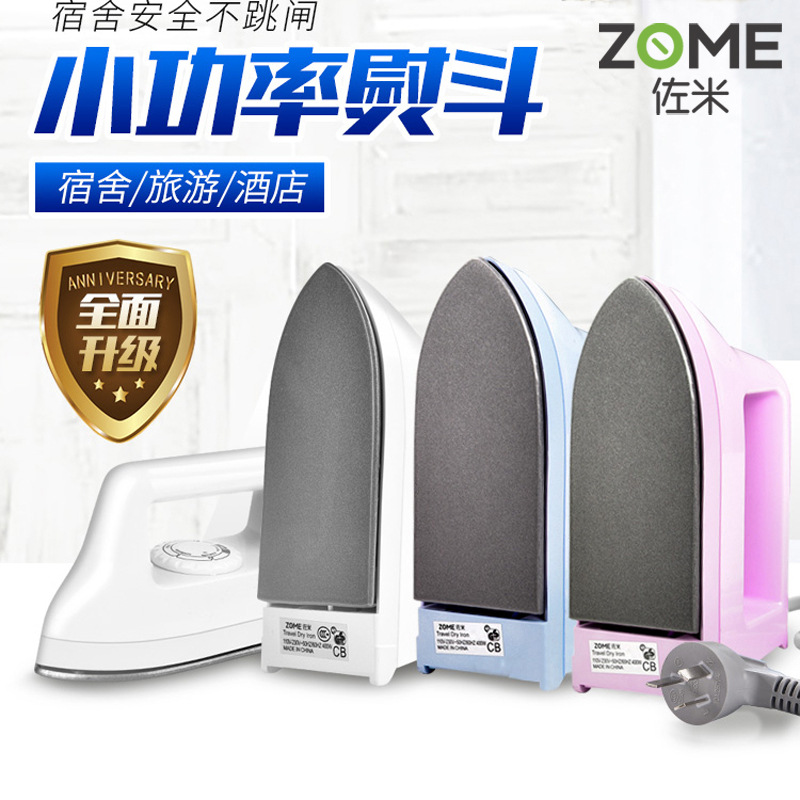
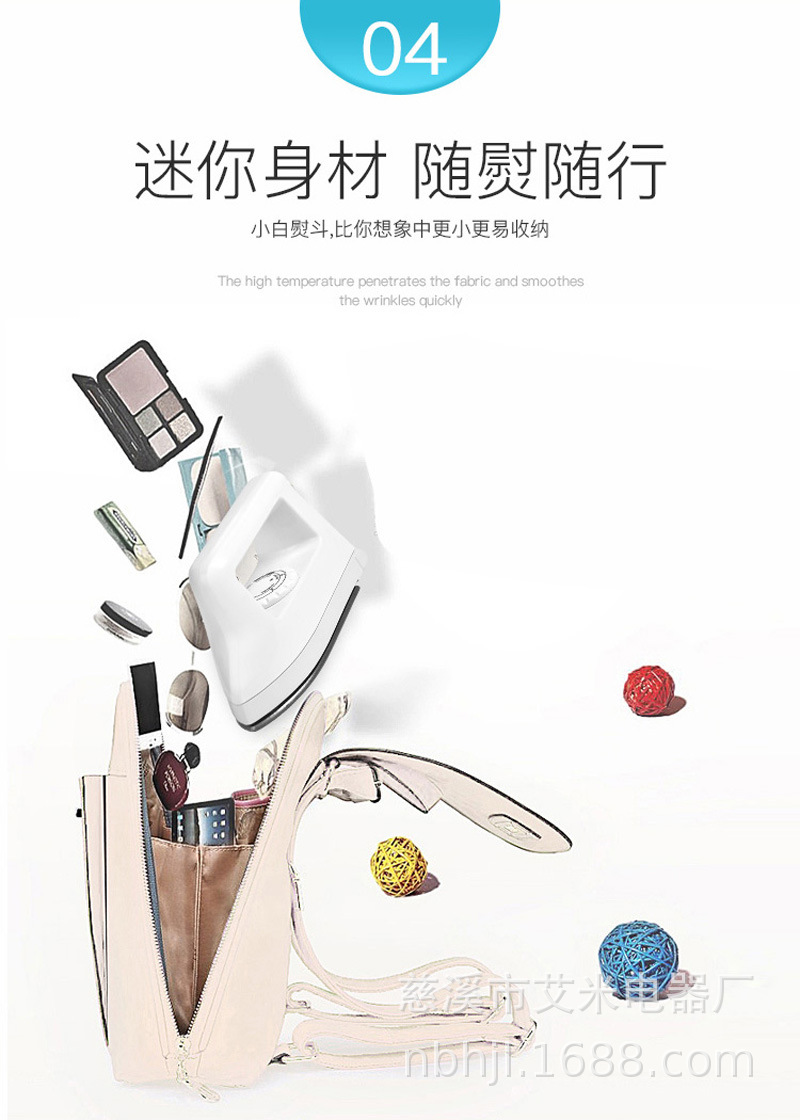
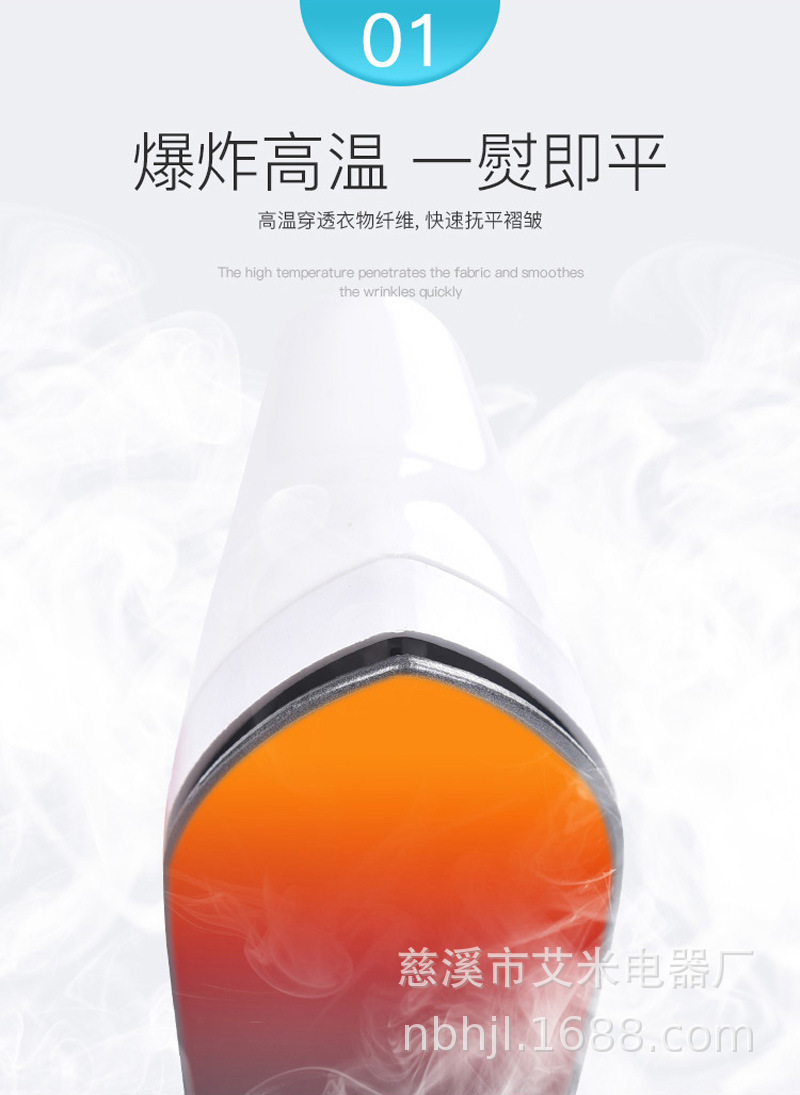
Student dormitory mini ironing device DIY handmade ironing tool for puck assembly, special electric iron
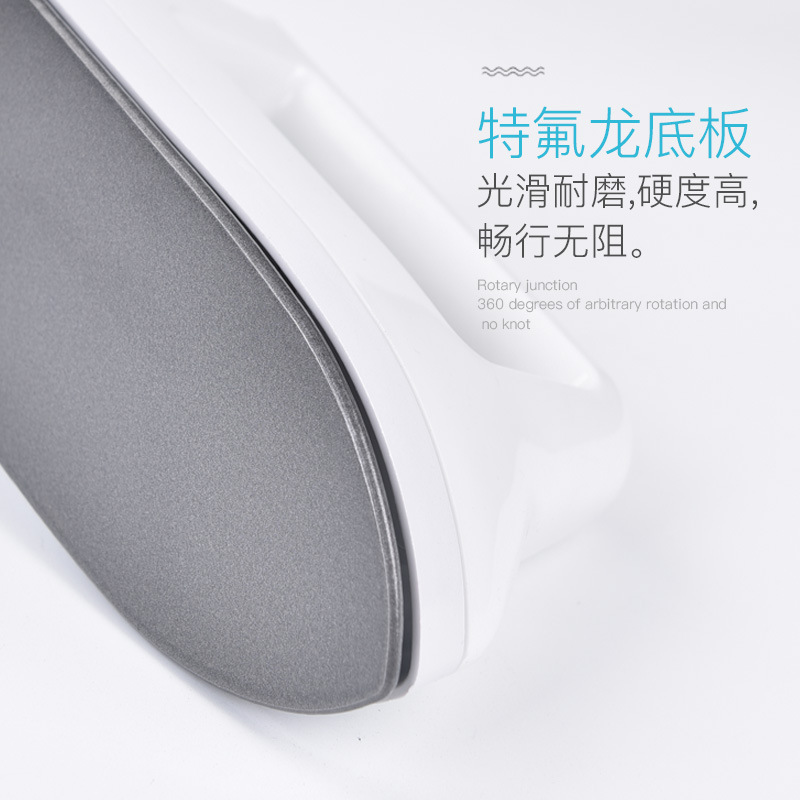
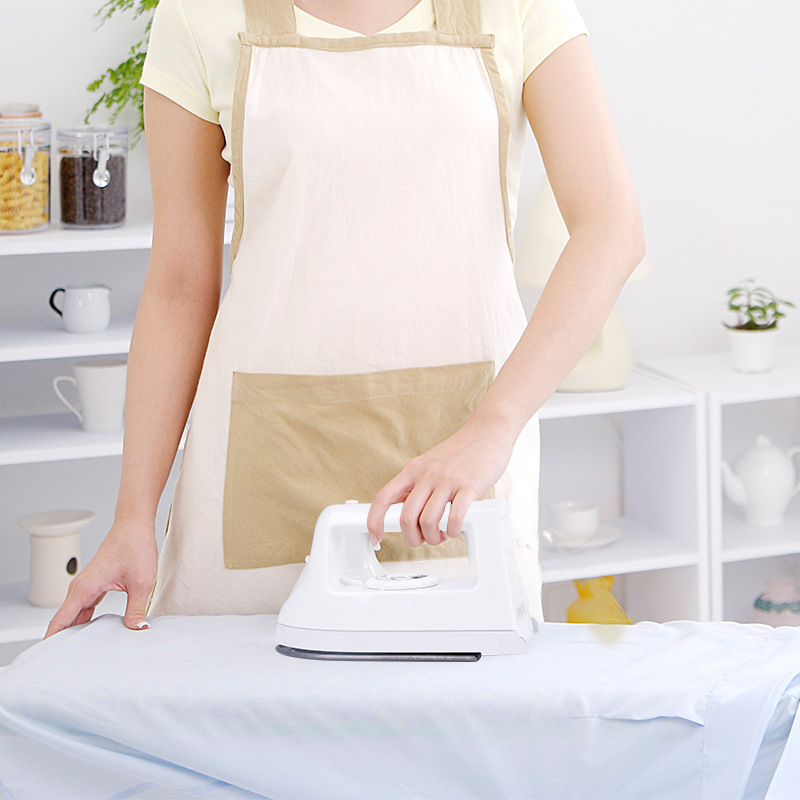
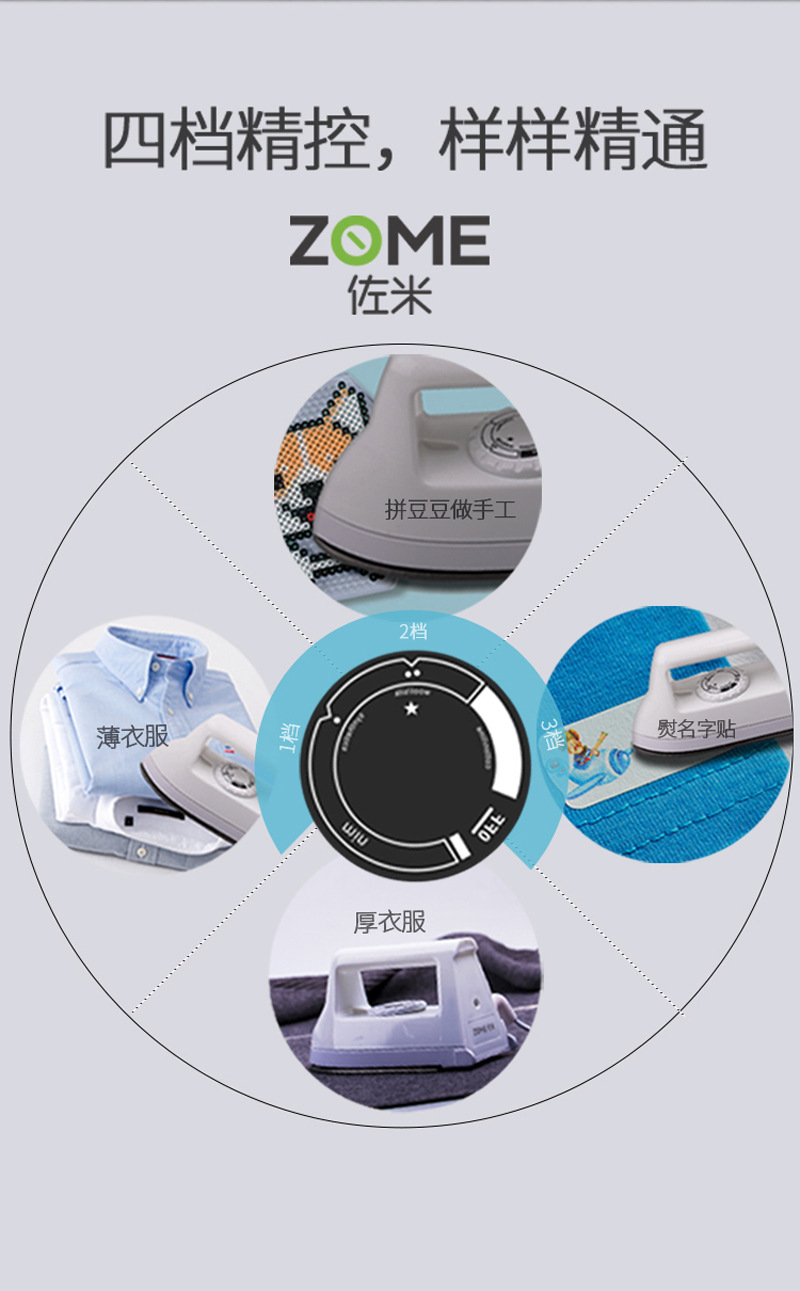
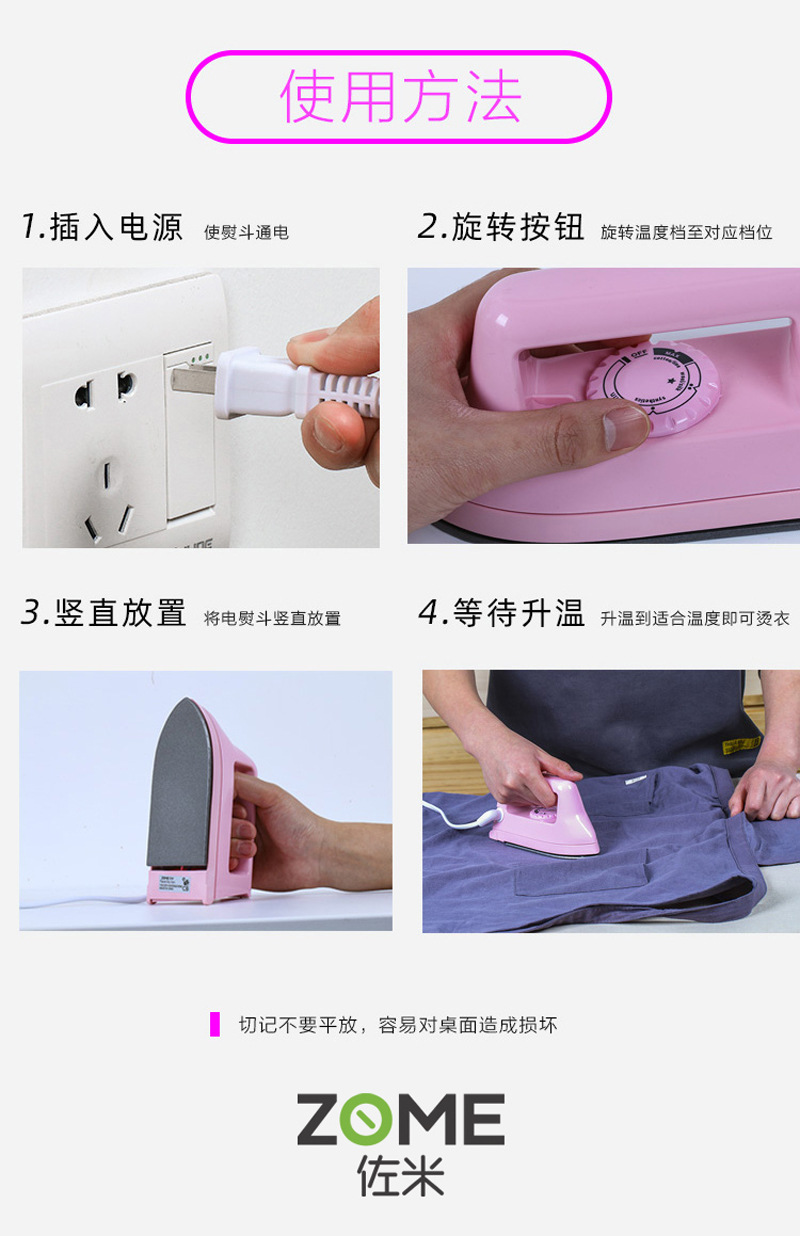
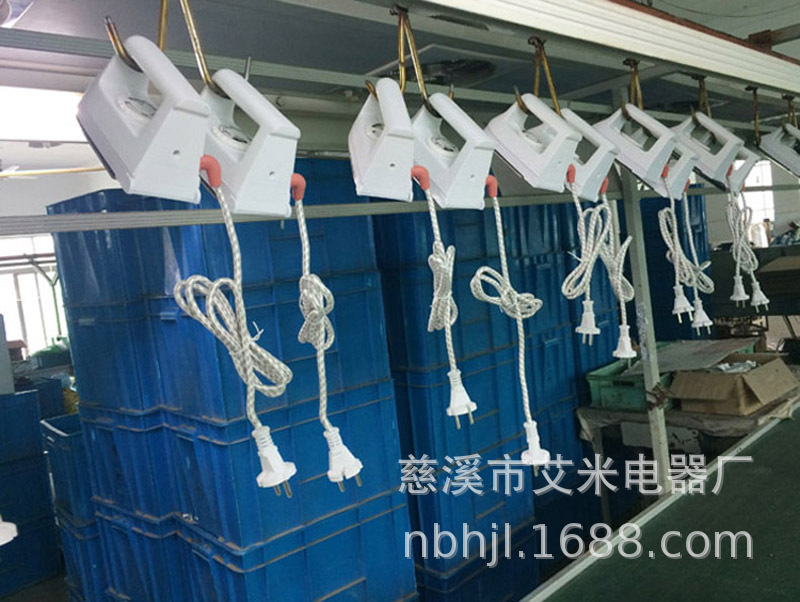
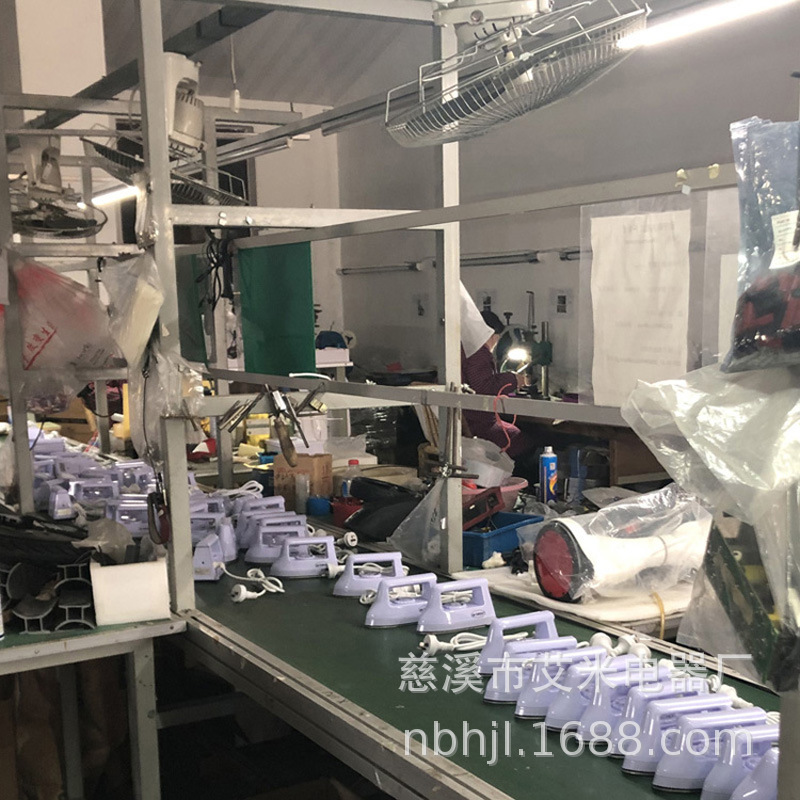
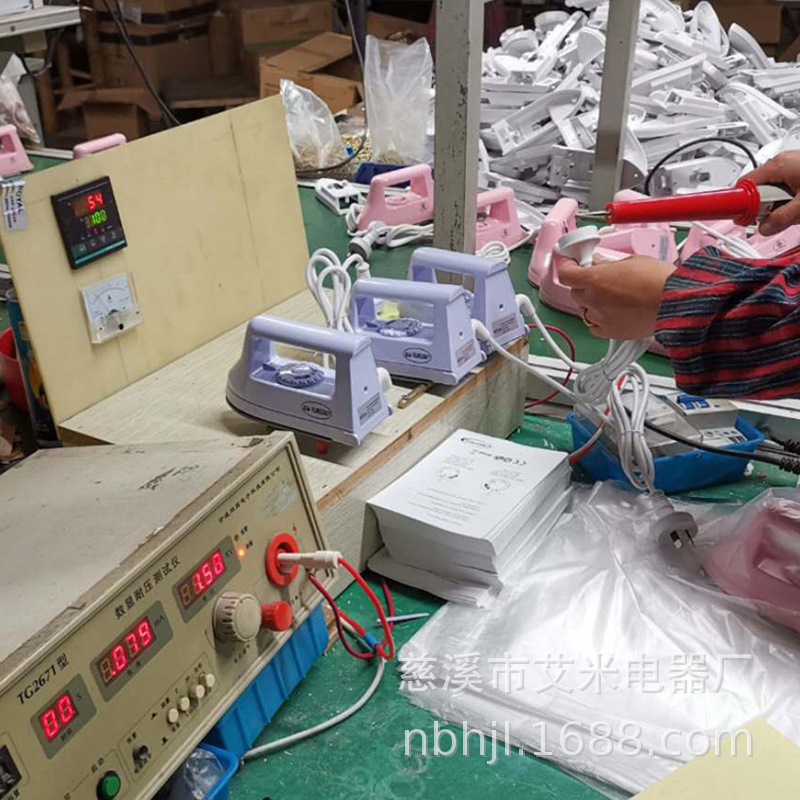
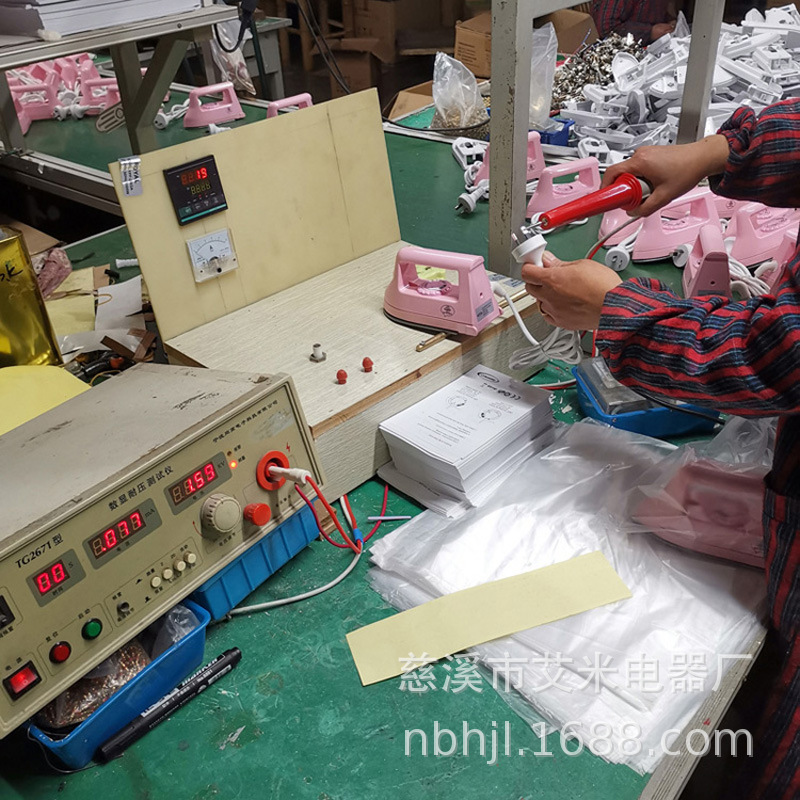
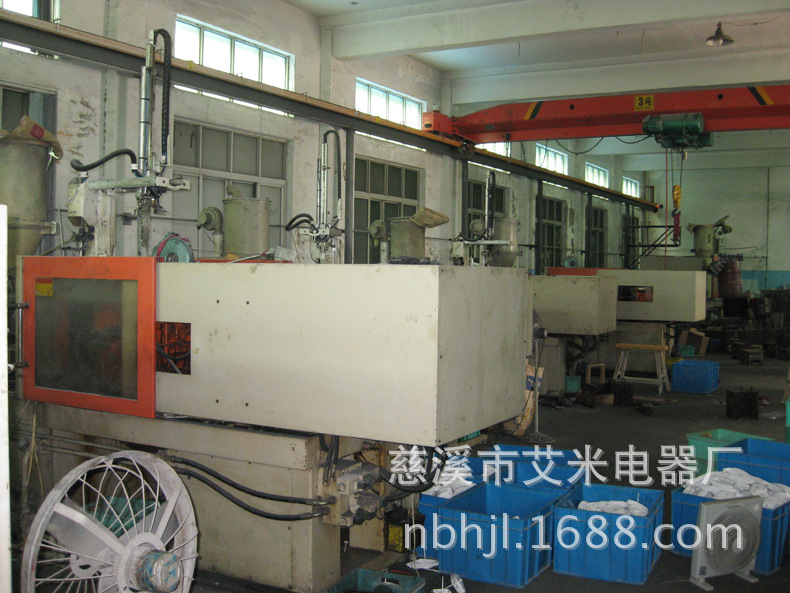
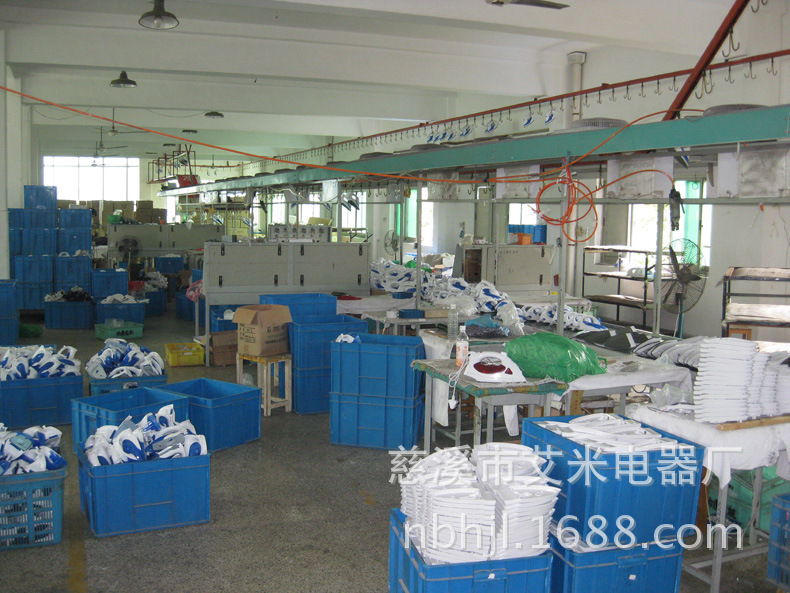
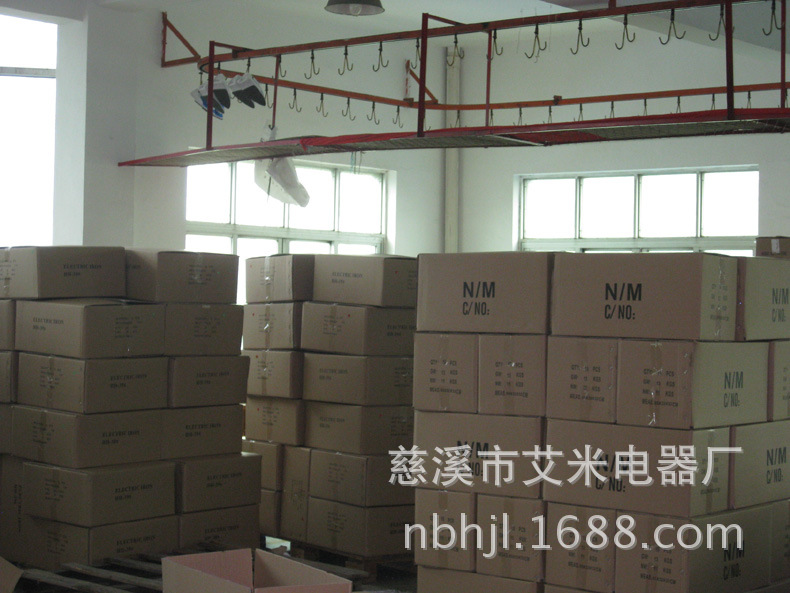
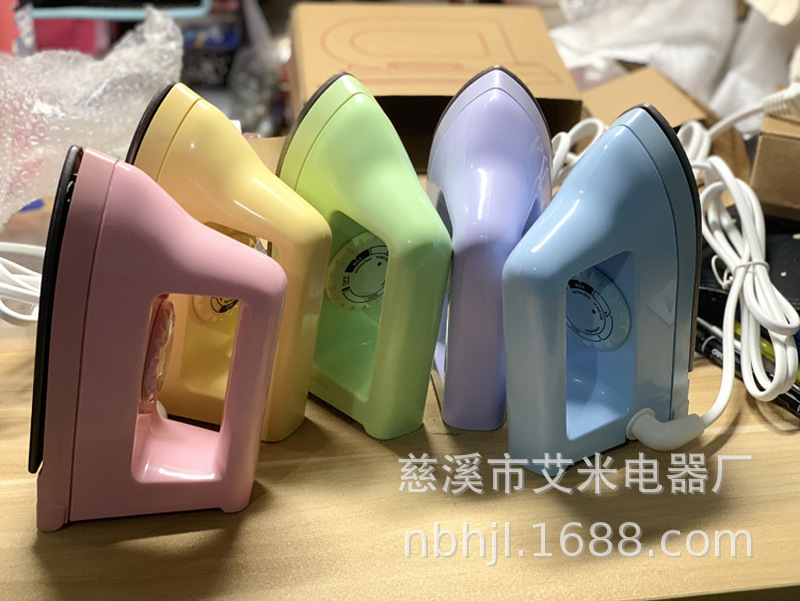
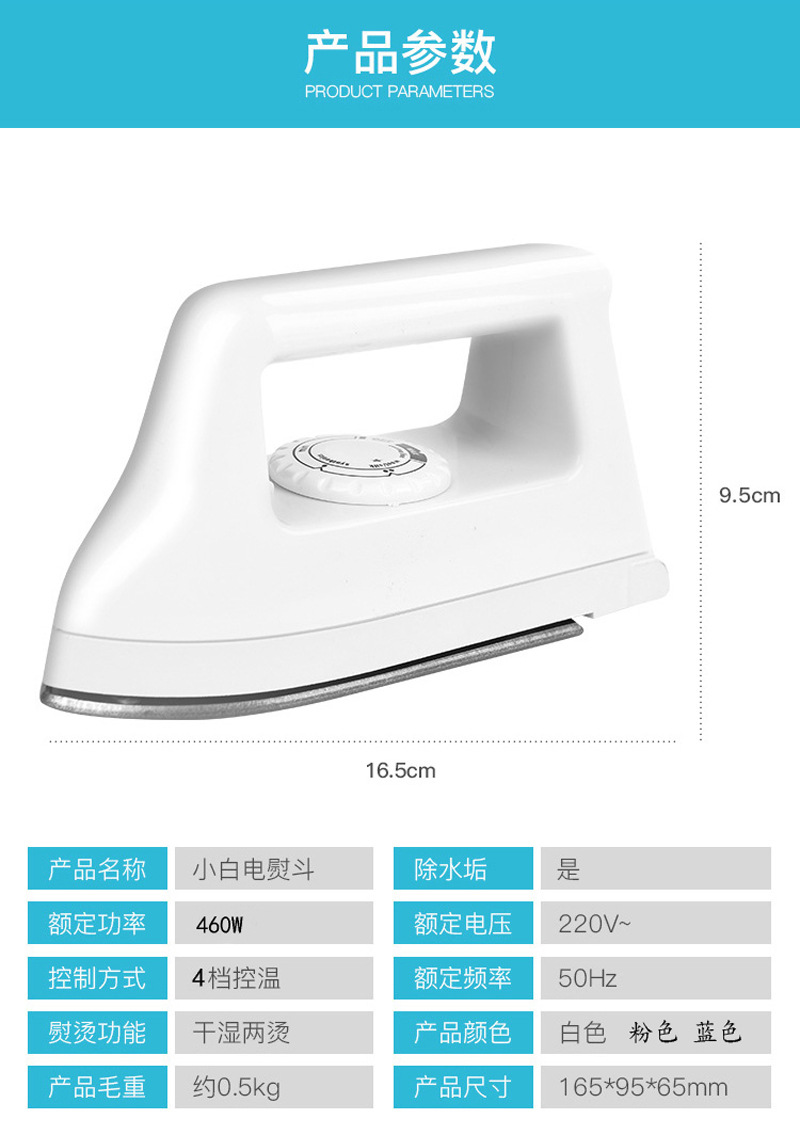
[Product Name] Travel-style Mini Electric Iron
【Model Number】:IM-818
【Product Size】16.8*6.8*9.7cm
【Individual Packaging Size】: 17.8*10*11 cm
【Weight of a single item]: 0.39kg
【Outer Box Size】: 4.5*37*36 cm
【Full box weight]: 1.5 kg
【Packaging Quantity]: 24 units
[Plug/Power Cord Length]: 1.2M
【Product Power]: 460W
【Product Features】Multiple temperature settings, standing design
【Product Attachments】Plastic bubble paper bags, user manual, power label
How to use the steam iron correctly:
1. Before use, ground the yellow and green wires in the power core cable to prevent electric shock in case of leakage.
Dangerous.
2. Lift the front end so the water inlet is upward, and use a measuring cup to slowly pour the boiled water through the water inlet.
The amount of water can be determined based on the capacity of the iron water reservoir.
3. For an electric iron with a water level indicator glass, stand the iron upright and observe the water level inside the reservoir.
Add water as needed.
4. On the fabric label of the steam iron, the labeling of fabric names is basically similar to that of temperature-adjusting irons
Same. The difference is an additional "steam" tag.
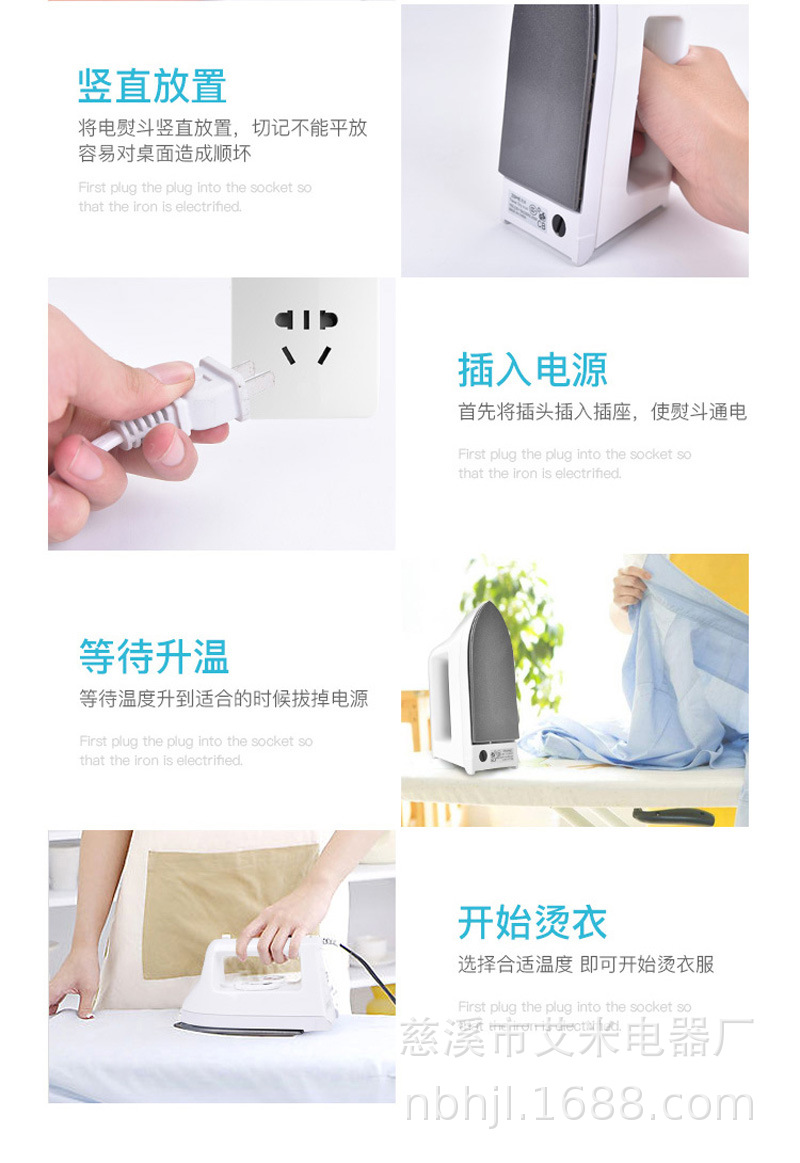
5. Turn on the electric iron and adjust the temperature knob to between "wool" and "cotton" settings.
, the indicator light should illuminate. When the indicator light goes off, it indicates that the iron plate temperature has reached the required level.
If water has been added to the iron, steam should "emerge" so that ironing can be performed.
6. Dry ironing can be performed using a steam iron. The method involves adjusting the temperature according to the type of fabric being ironed.
Control knob, select the appropriate baseplate temperature. Afterwards, adjust the steam knob to the "0" position.
7. After use, pour out the remaining water in the water storage tank from the water inlet port, and when pouring, ensure the front end of the iron is facing down.
Meanwhile, shake the electric trading device, and the water will flow out. Then, adjust the temperature knob to the highest setting and power it on for a few minutes.
The minutes allow all internal moisture to evaporate. Then turn off the power and rotate the temperature control knob to the lowest setting.
Store after natural cooling.
Four ways to remove stains when using an electric iron daily:
When ironing clothes, excessive heat or improper operation often causes the smooth base plate to get dirty.
Affects the ironing effect of clothes.
Method for removing dirt:
① Apply a small amount of toothpaste to the dirty area, then wipe it vigorously with a clean cotton cloth; the dirt will be removed.
② Turn on the electric iron and preheat it to around 100°C. Then turn off the power. Use a cloth soaked in vinegar to wipe the dirty surface several times, and finally wash it with clean water.
③ Turn on the electric iron and preheat it to around 100°C. Then turn off the power. Apply a small amount of baking soda on the dirty areas, and wipe them back and forth with a clean cloth—the dirt will be removed.
④ For severely dirty bottoms, polish it with cloth dipped in polishing paste to protect the electroplated layer.
Mini iron with beads - DIY mini electric iron for bead assembly

Update time:


TOP


