Search history
Clear allSearch by image
XDrag and drop an image here or upload an image
Max 5MB per image
UploadSign In | Join

Search history
Clear allSearch by image
XDrag and drop an image here or upload an image
Max 5MB per image
UploadSign In | Join
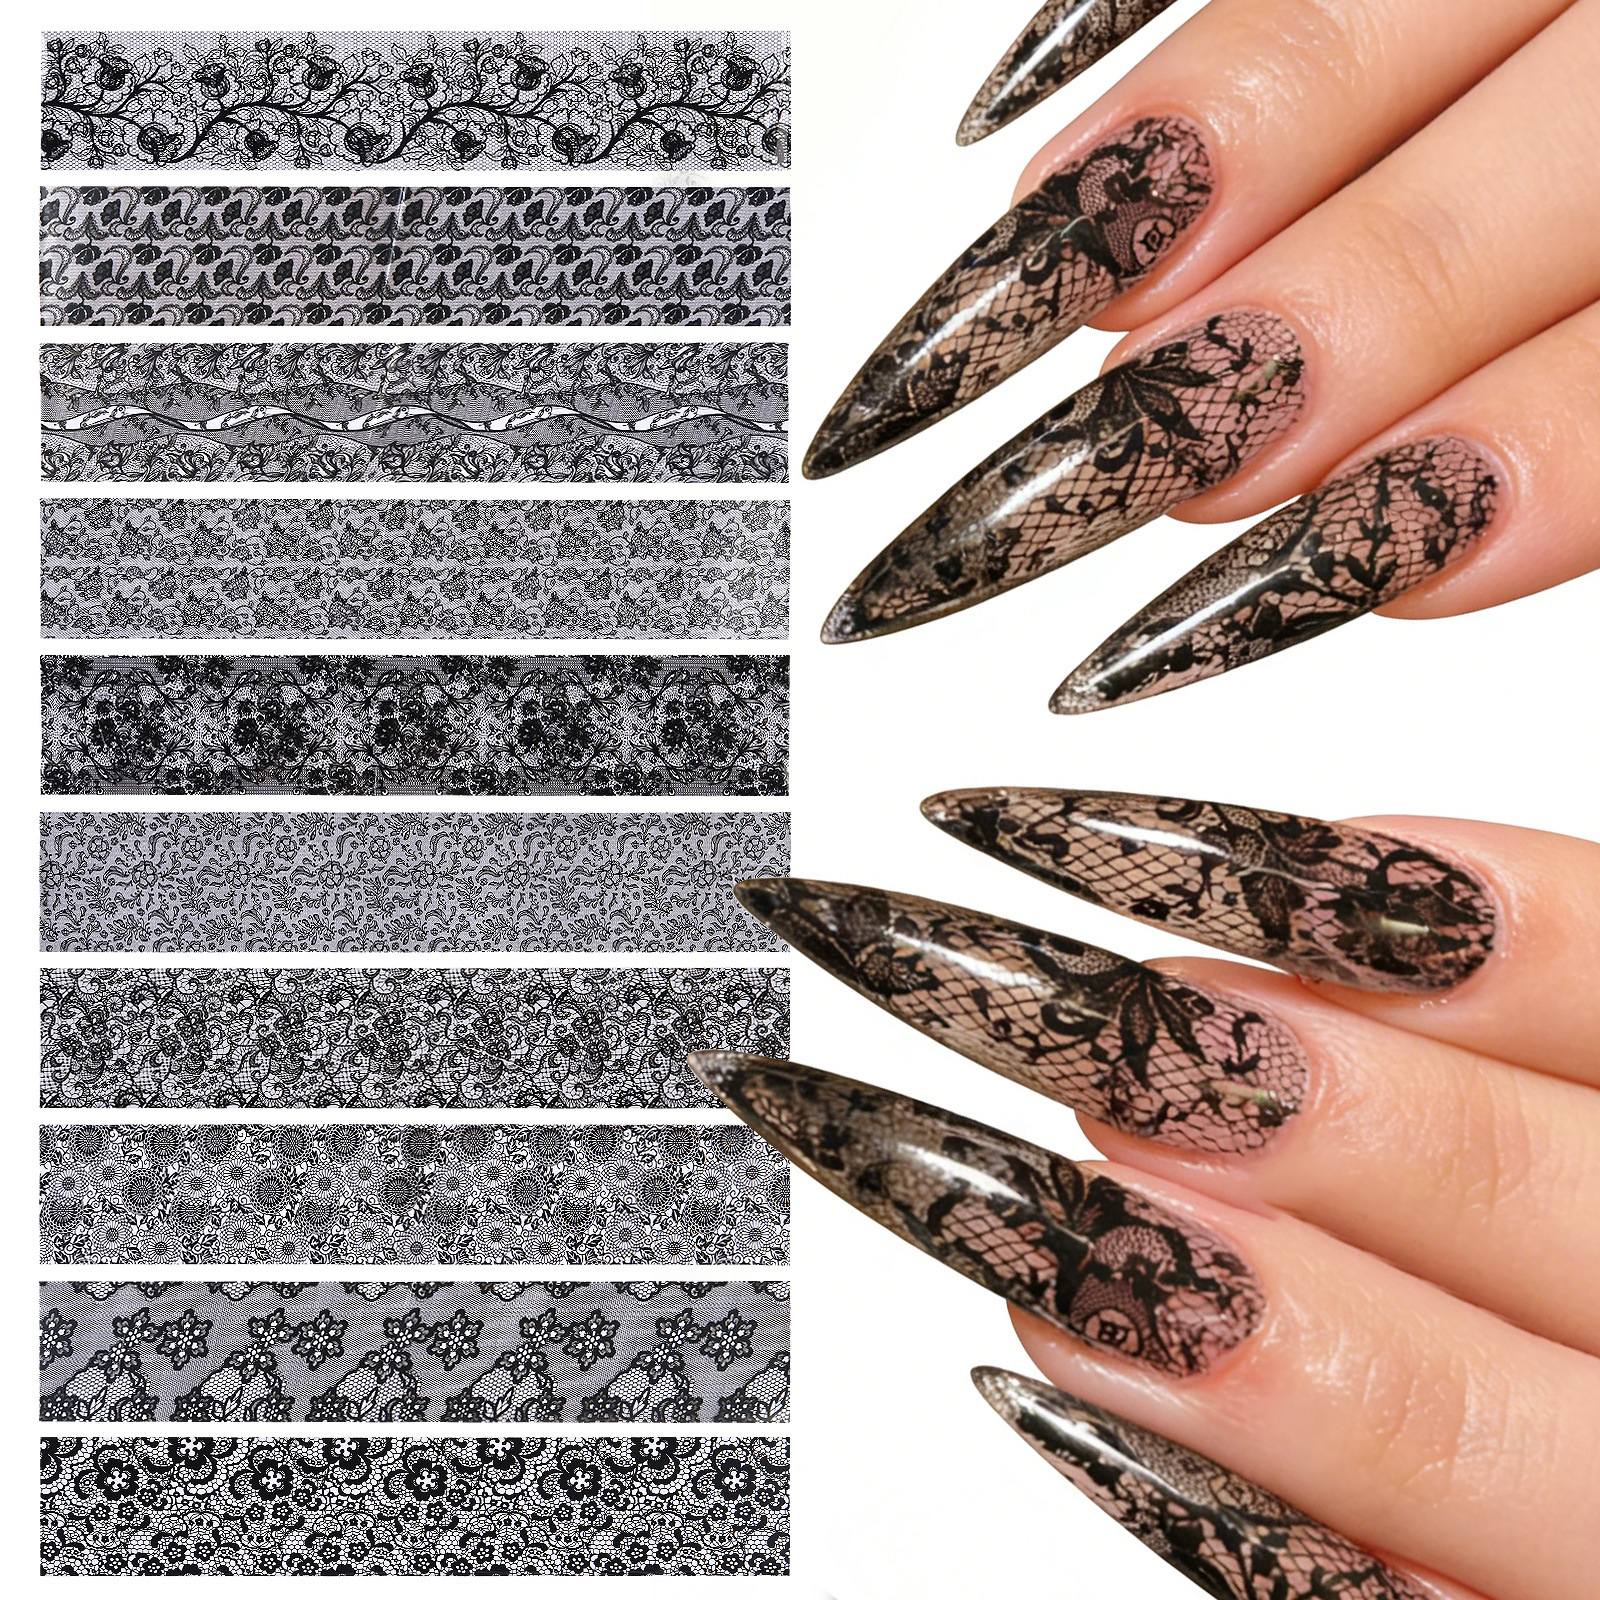
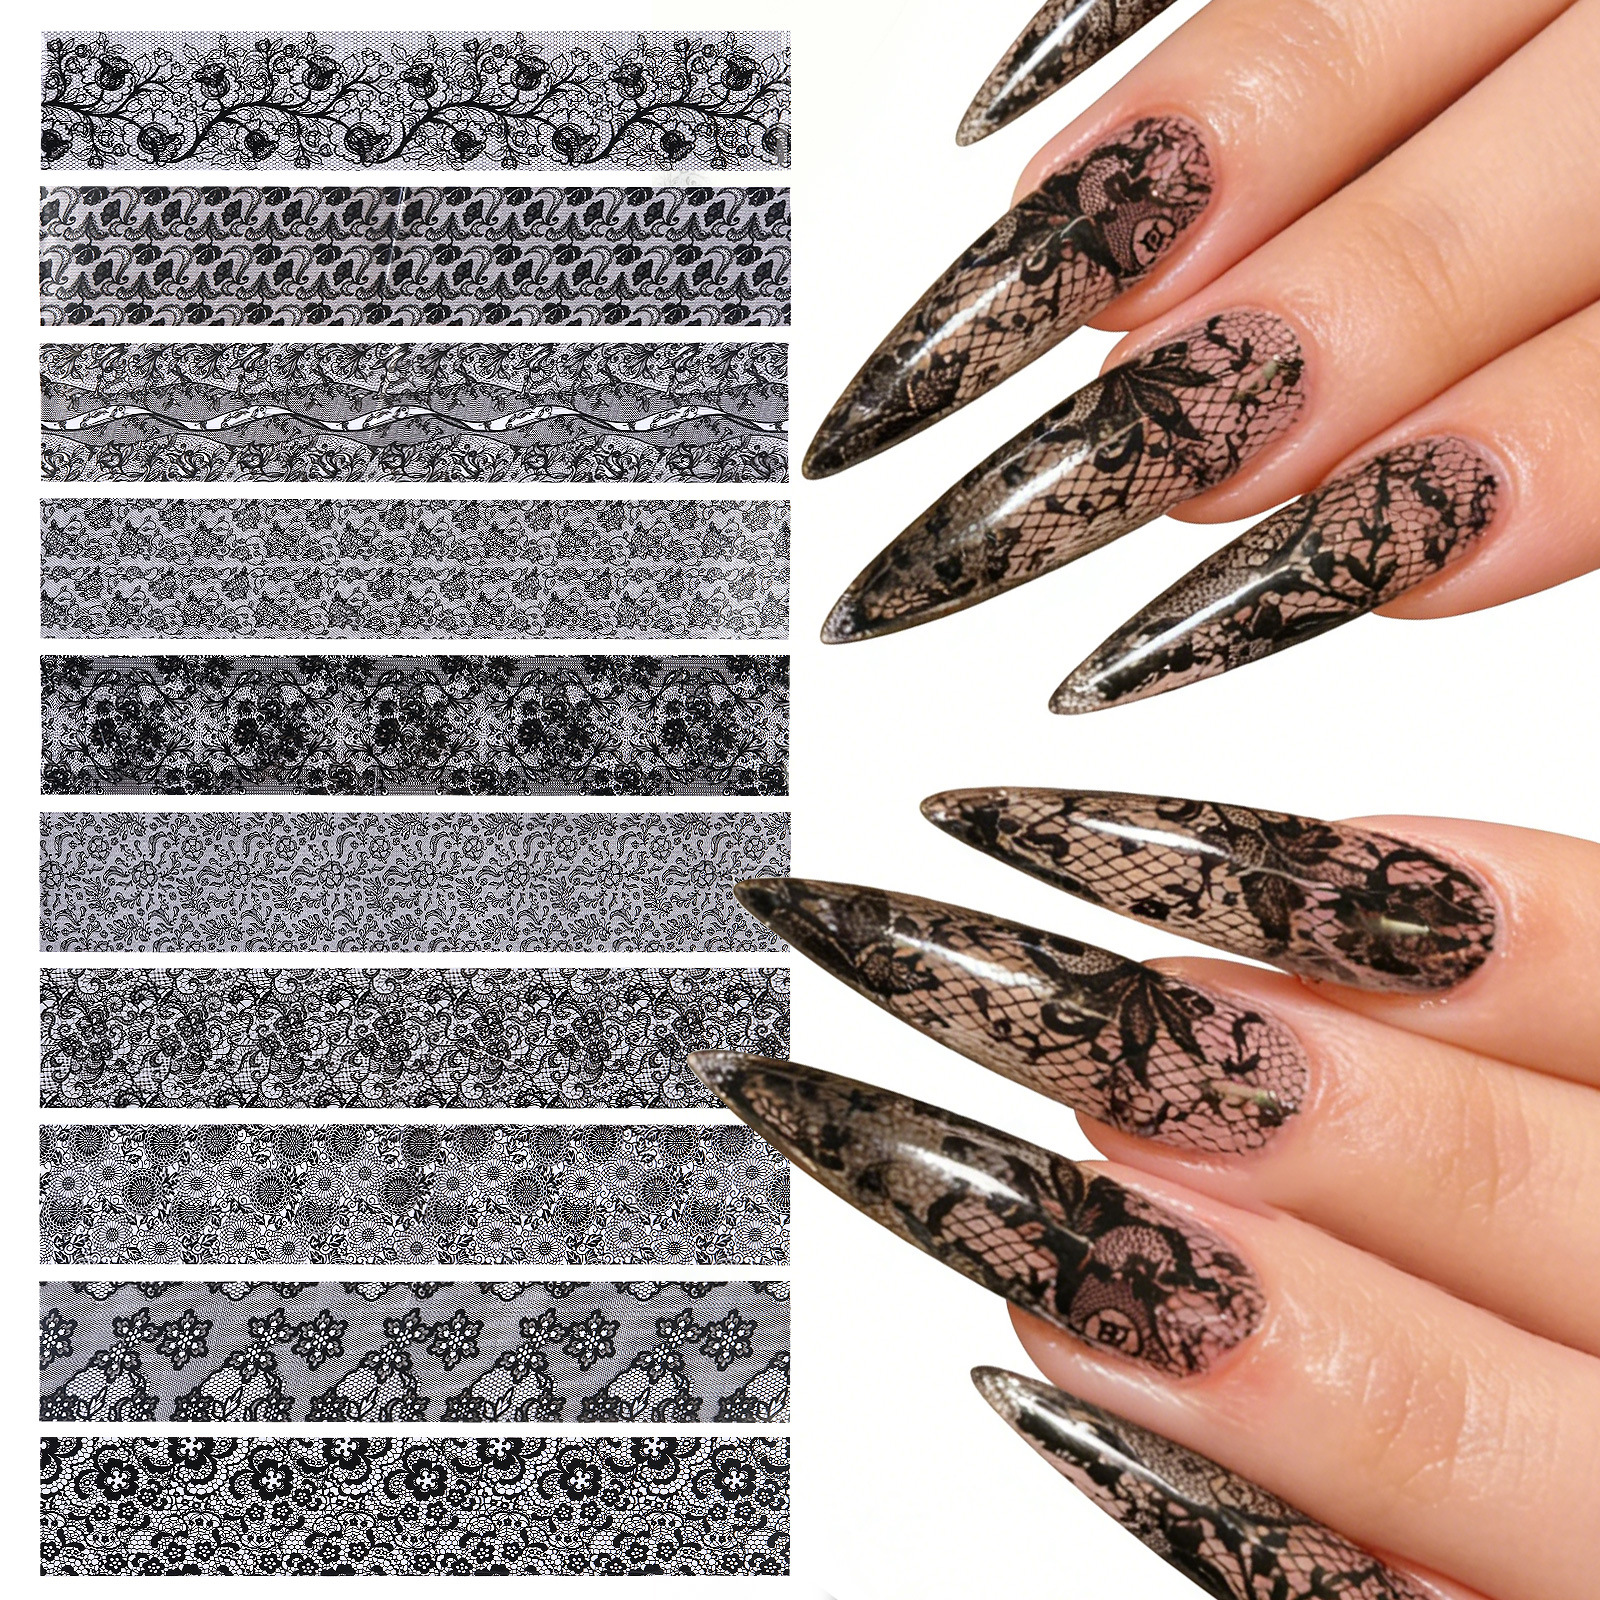
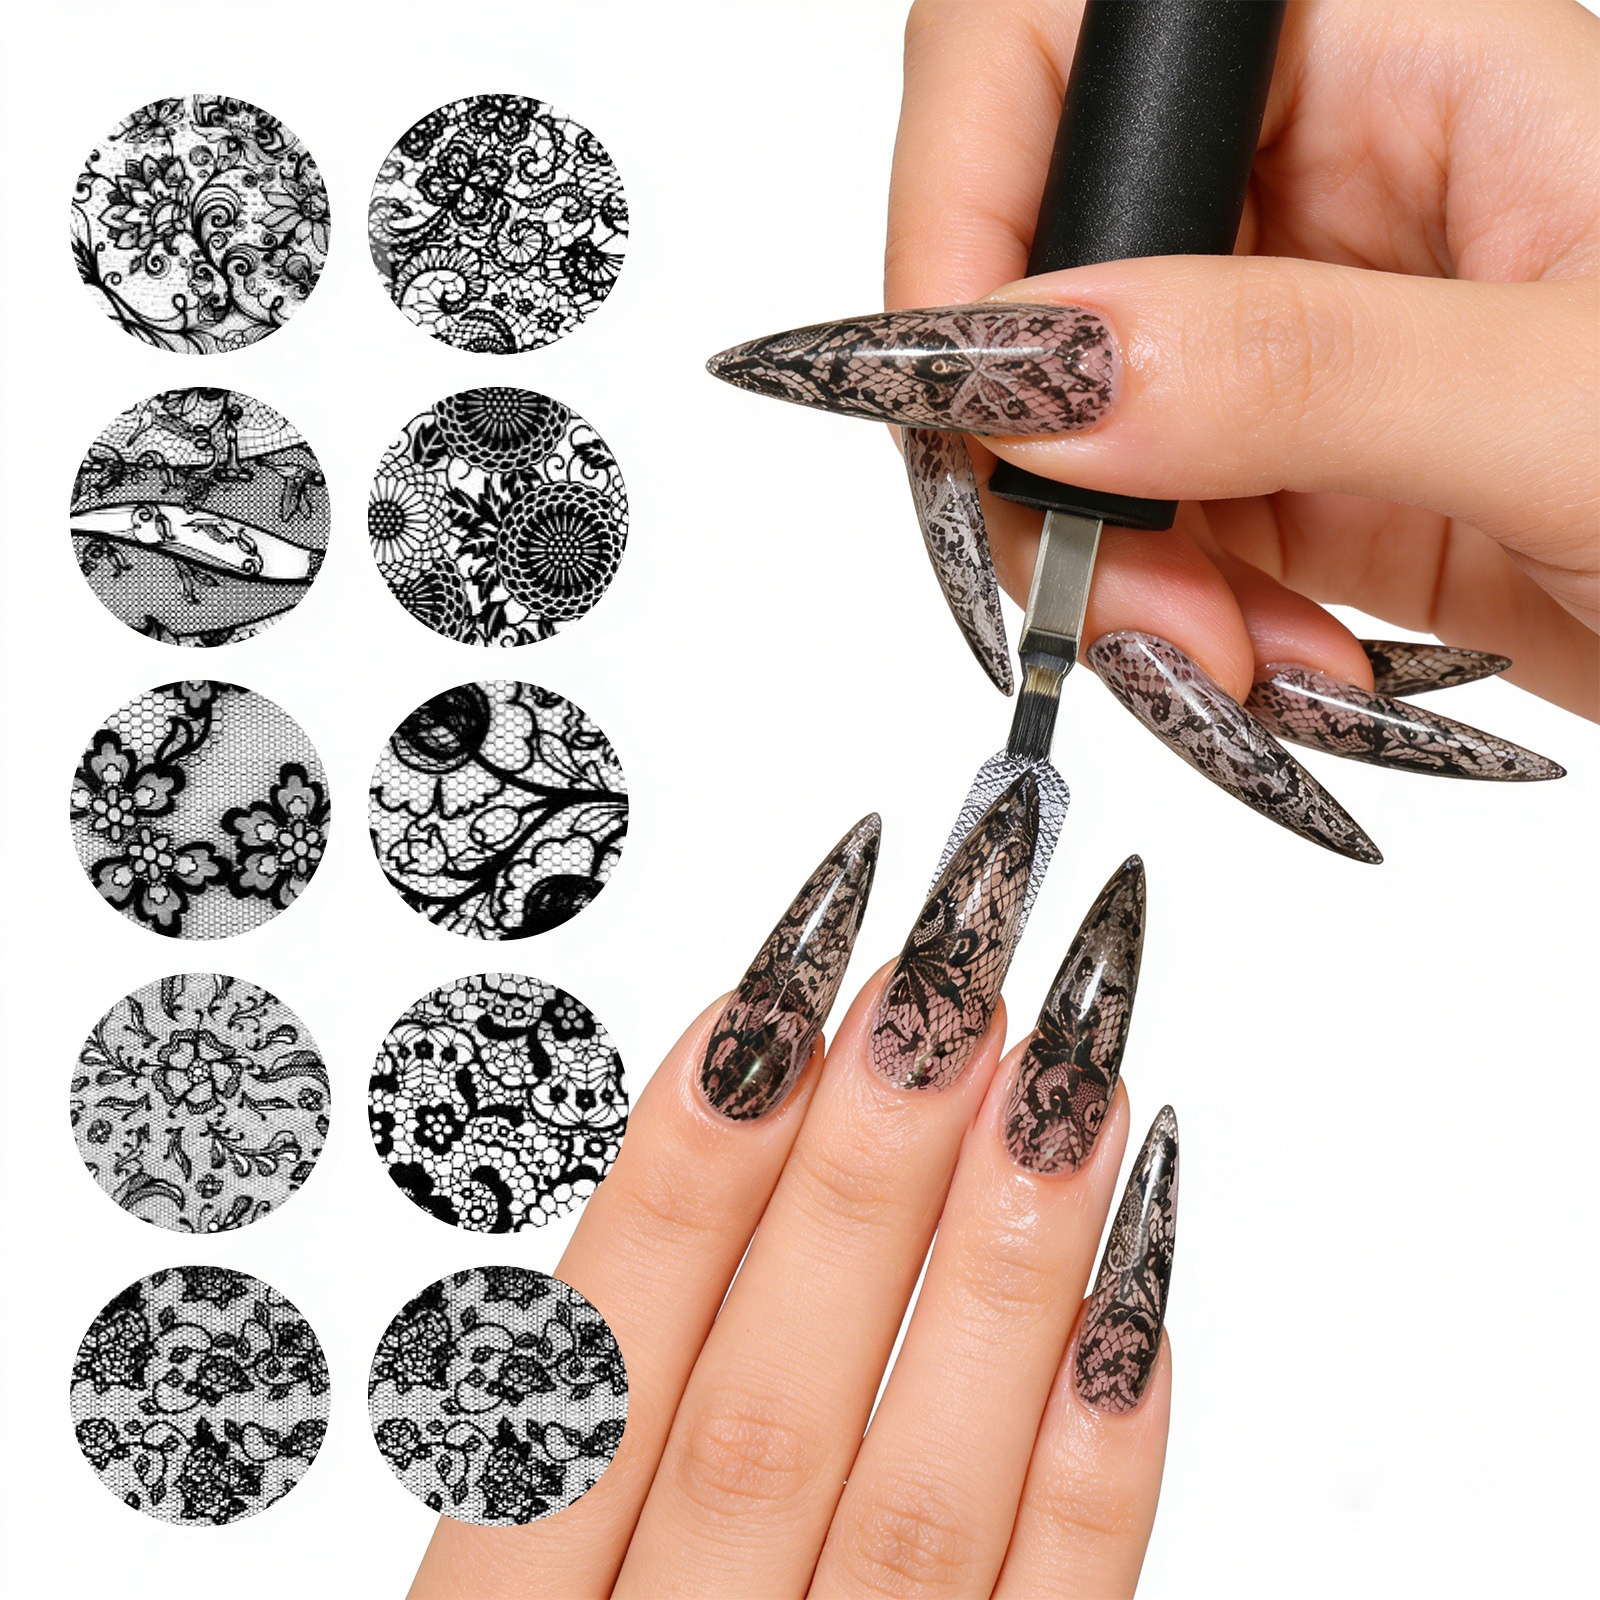
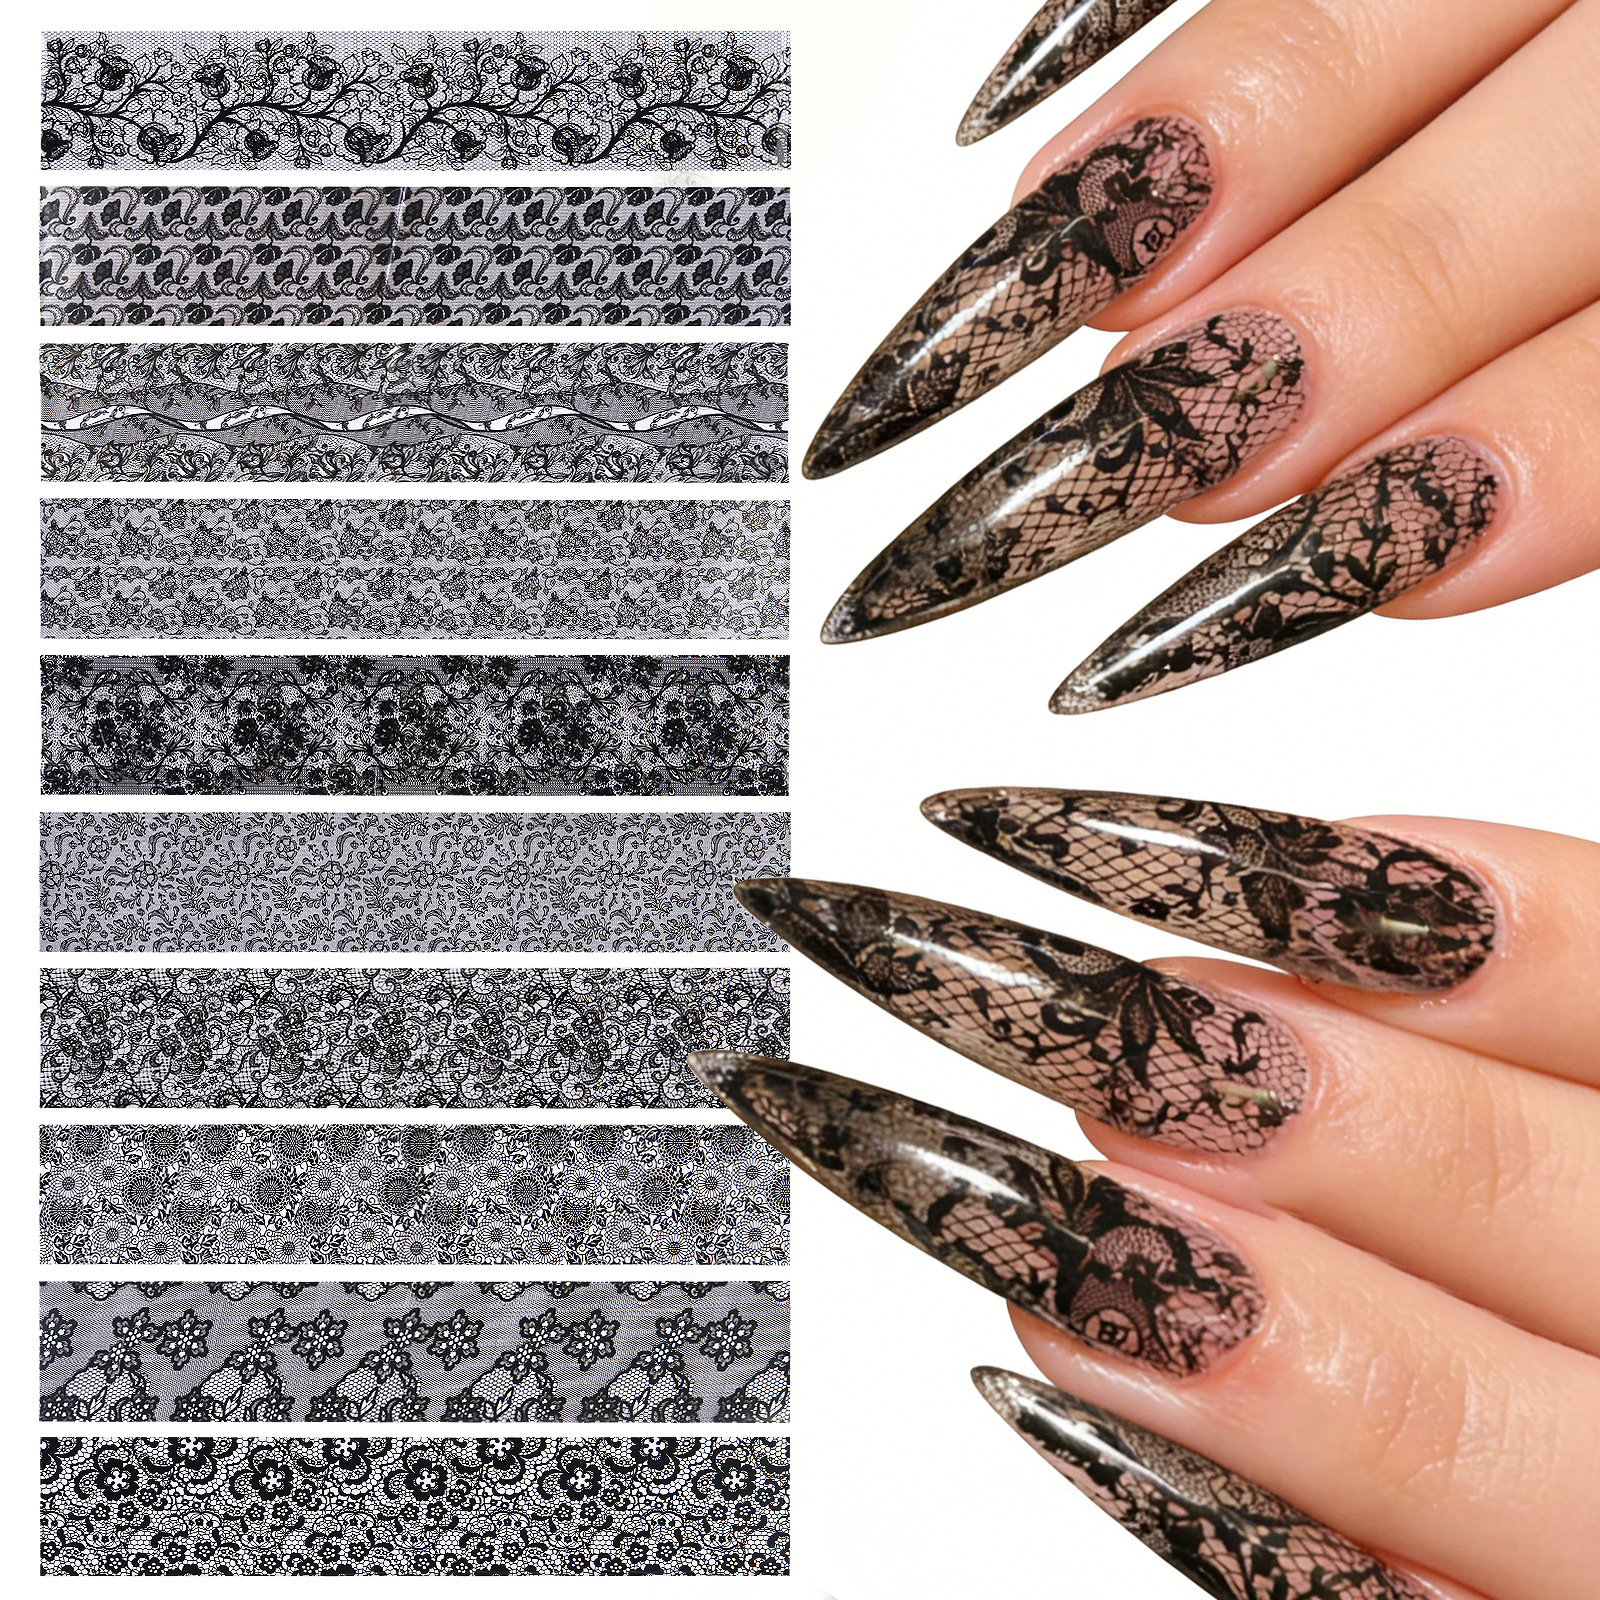
 10 mixed black lace star sky stickers
10张混黑色蕾丝星空贴 |
CN¥ 0.0 |
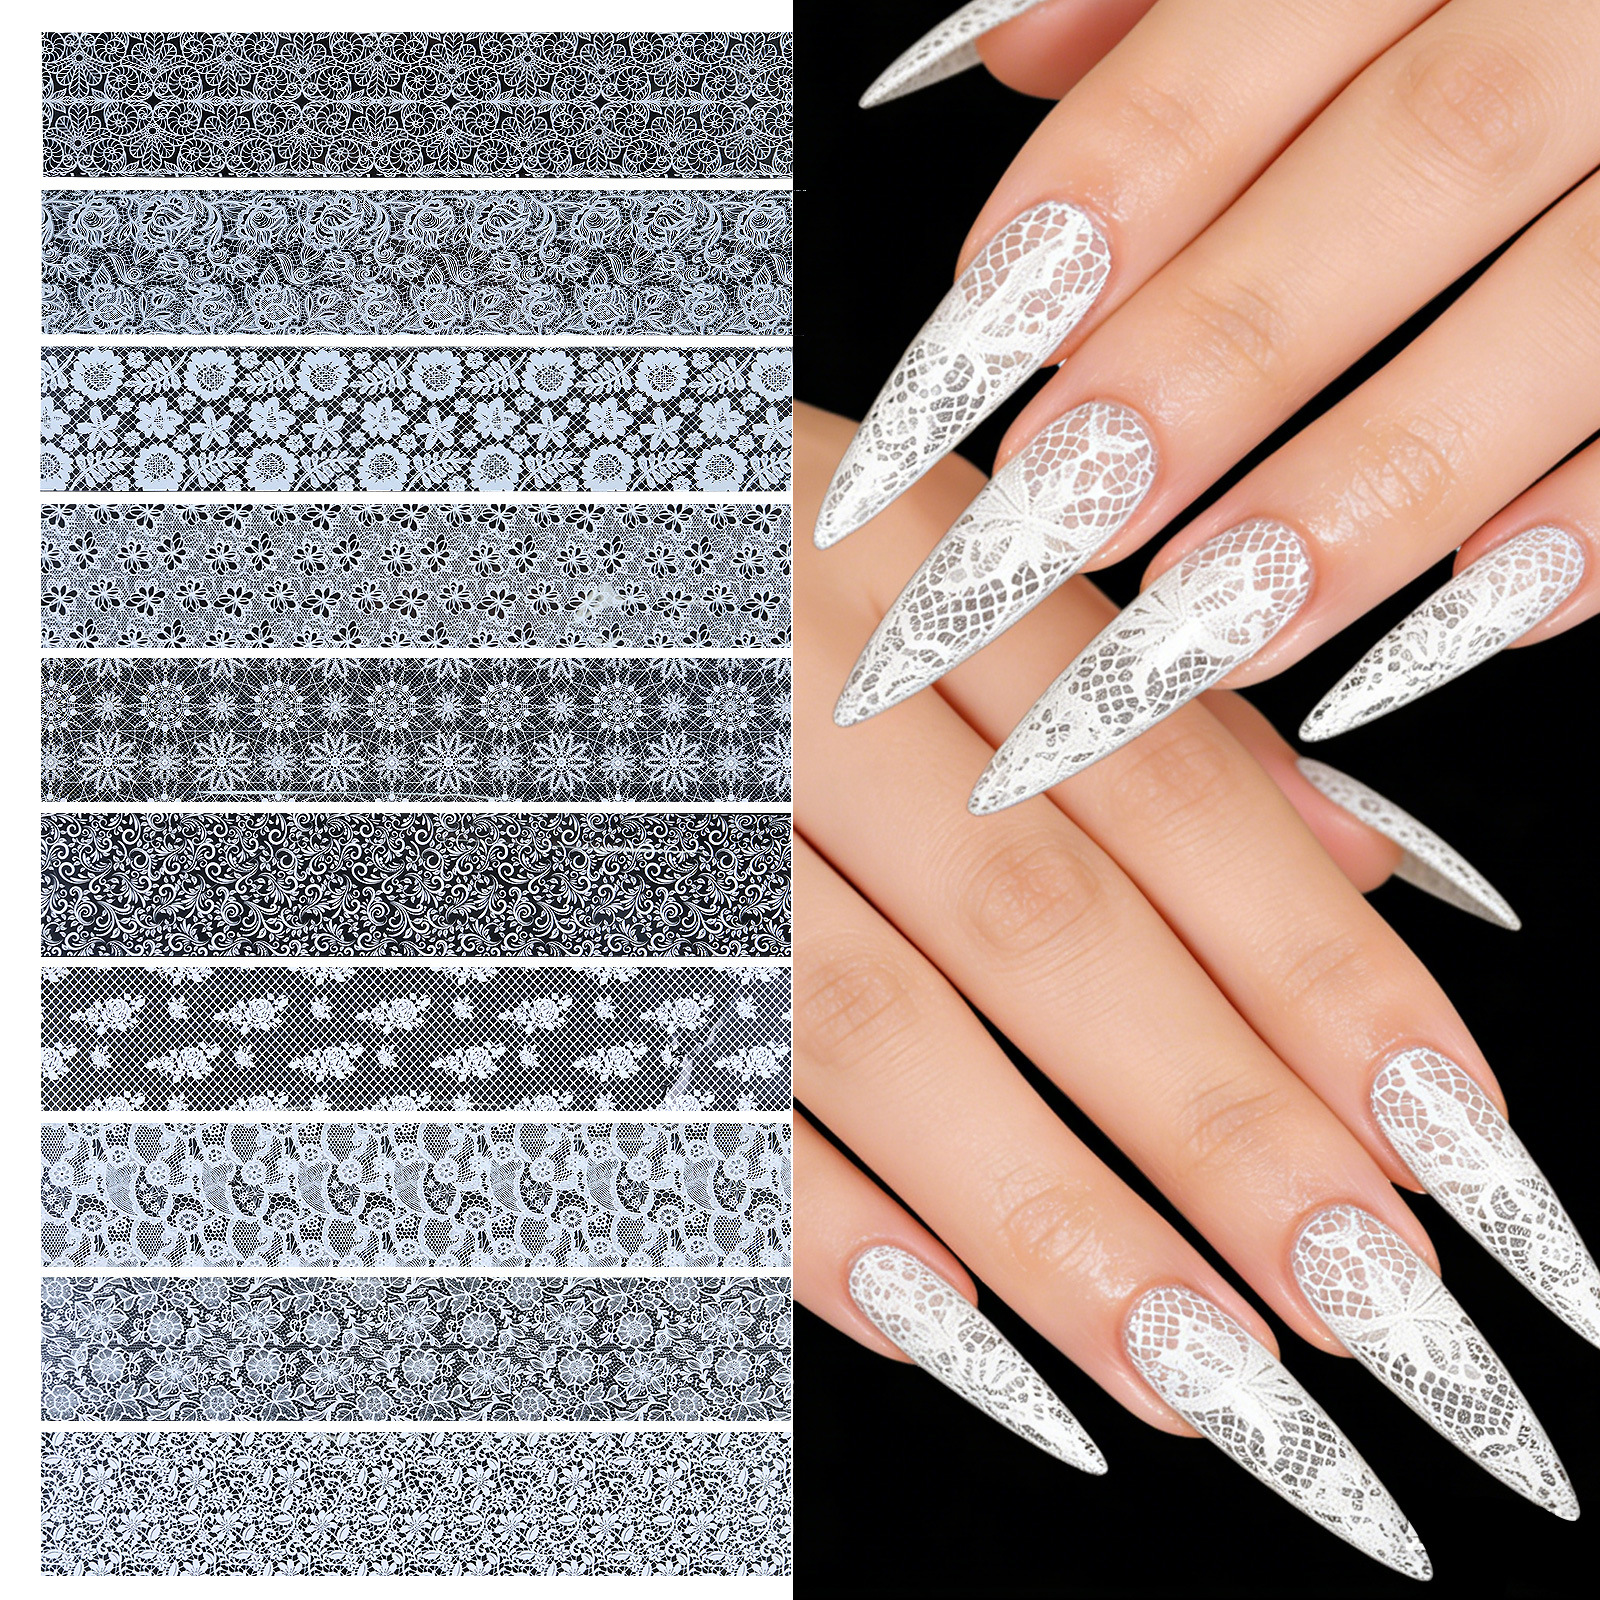
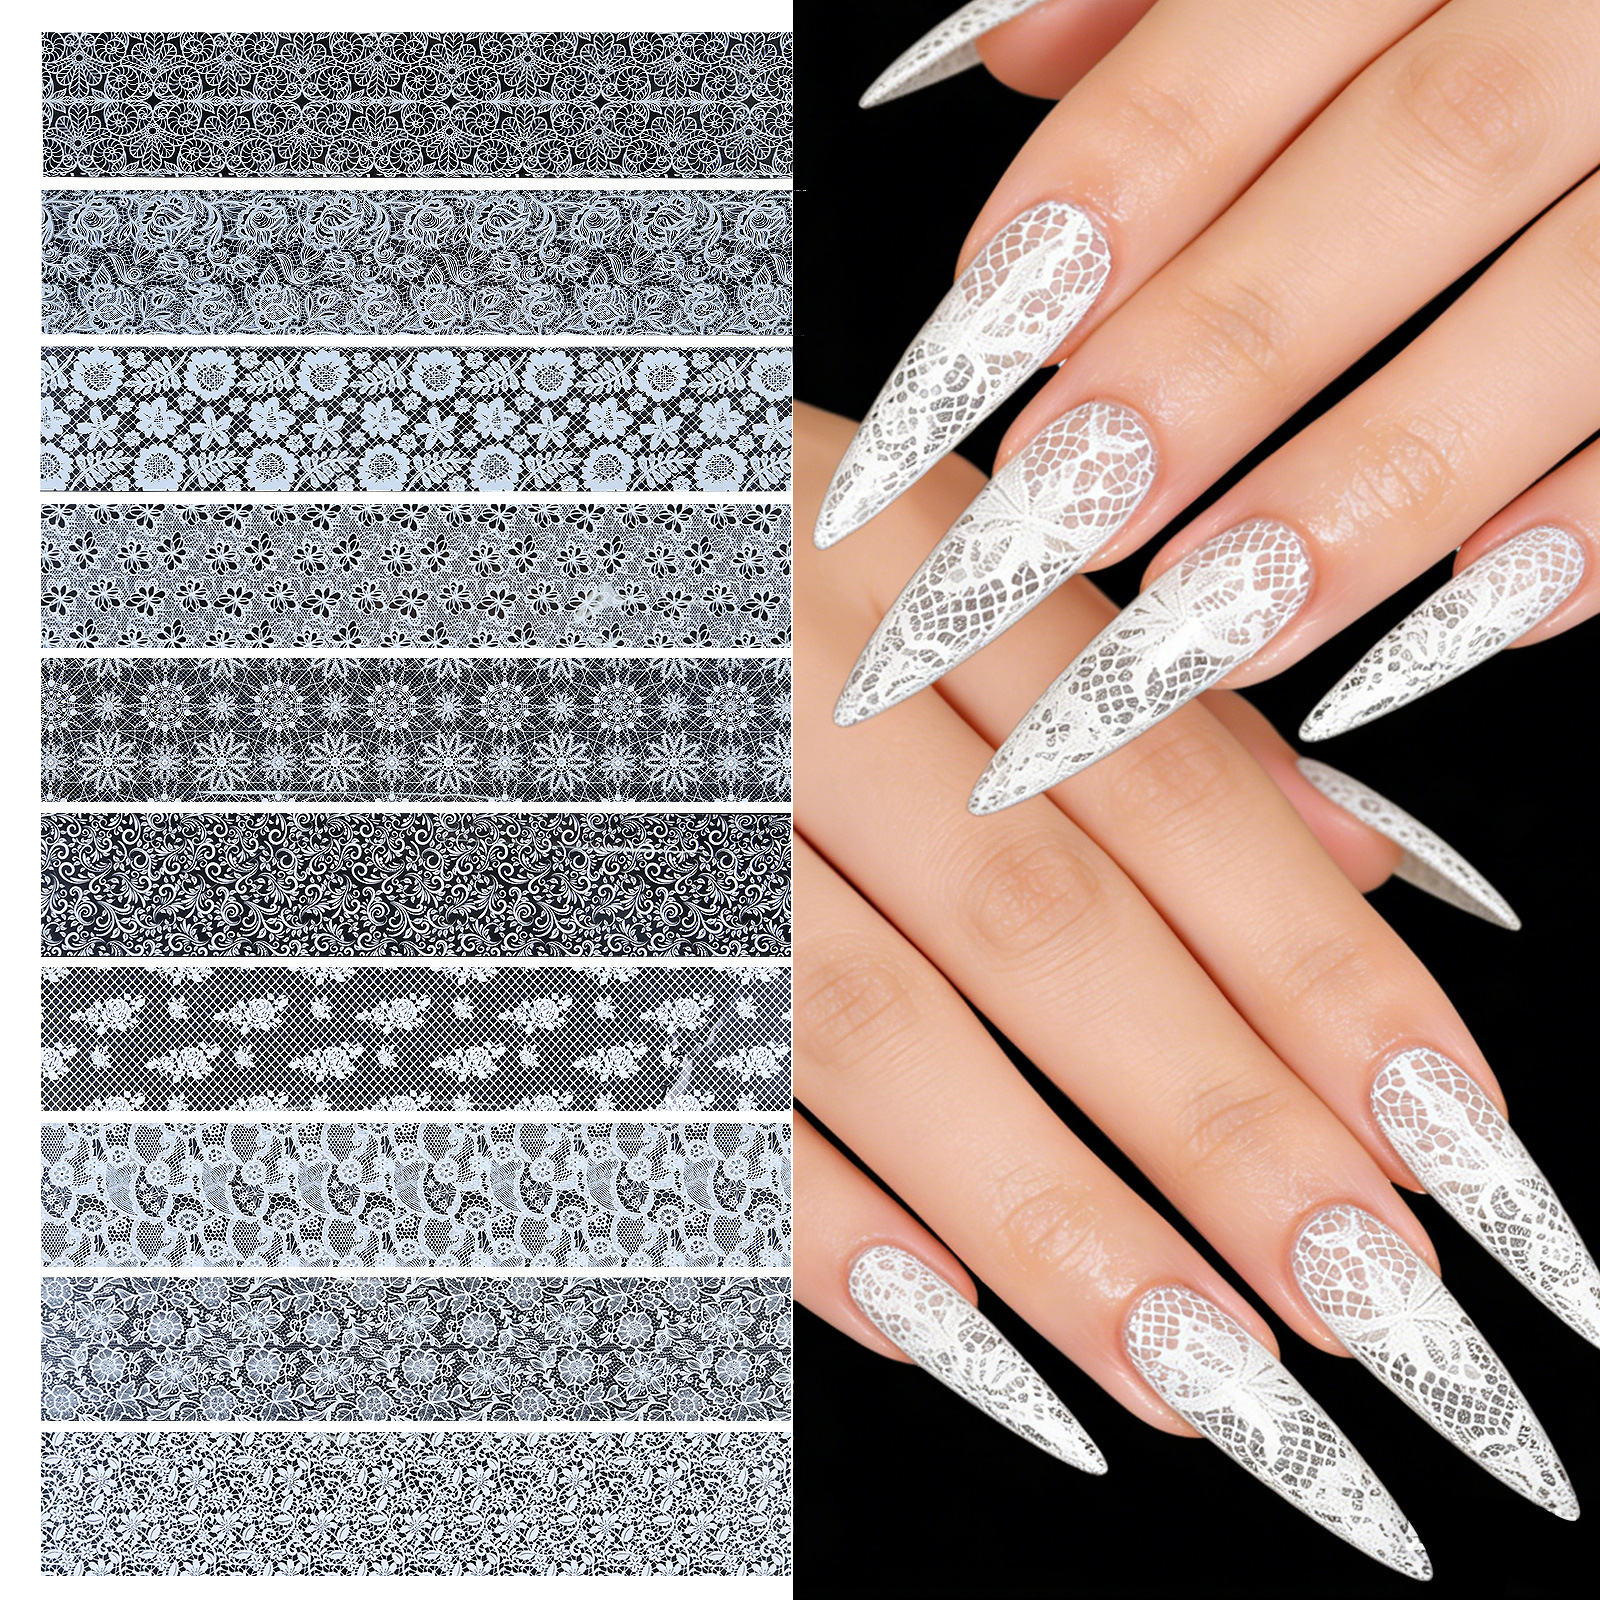
 10 sheets mixed white lace star sky stickers
10张混白色蕾丝星空贴 |
CN¥ 0.0 |
Nail art professional one-stop wholesale, eaby, AliExpress, Amazon, Tmall sellers, e-commerce platforms, nail salons, retail and domestic and international wholesale. If you need business discussions for large orders, please contact us directly. We will offer you competitive prices.
Steps to Make Nail Polish
1. Apply a thin layer of base oil as a primer. The advantage of the base oil is that it allows pigments to settle, enhancing the adhesion between the nail and nail polish.
2. After the base oil dries, apply color nail polish. The color combination for Starry Nail is black, which looks great.
3. You need to control the viscosity yourself. Feel it with your finger—it should be slightly dry on the surface, but have a little bit of viscosity for it to be appropriate.
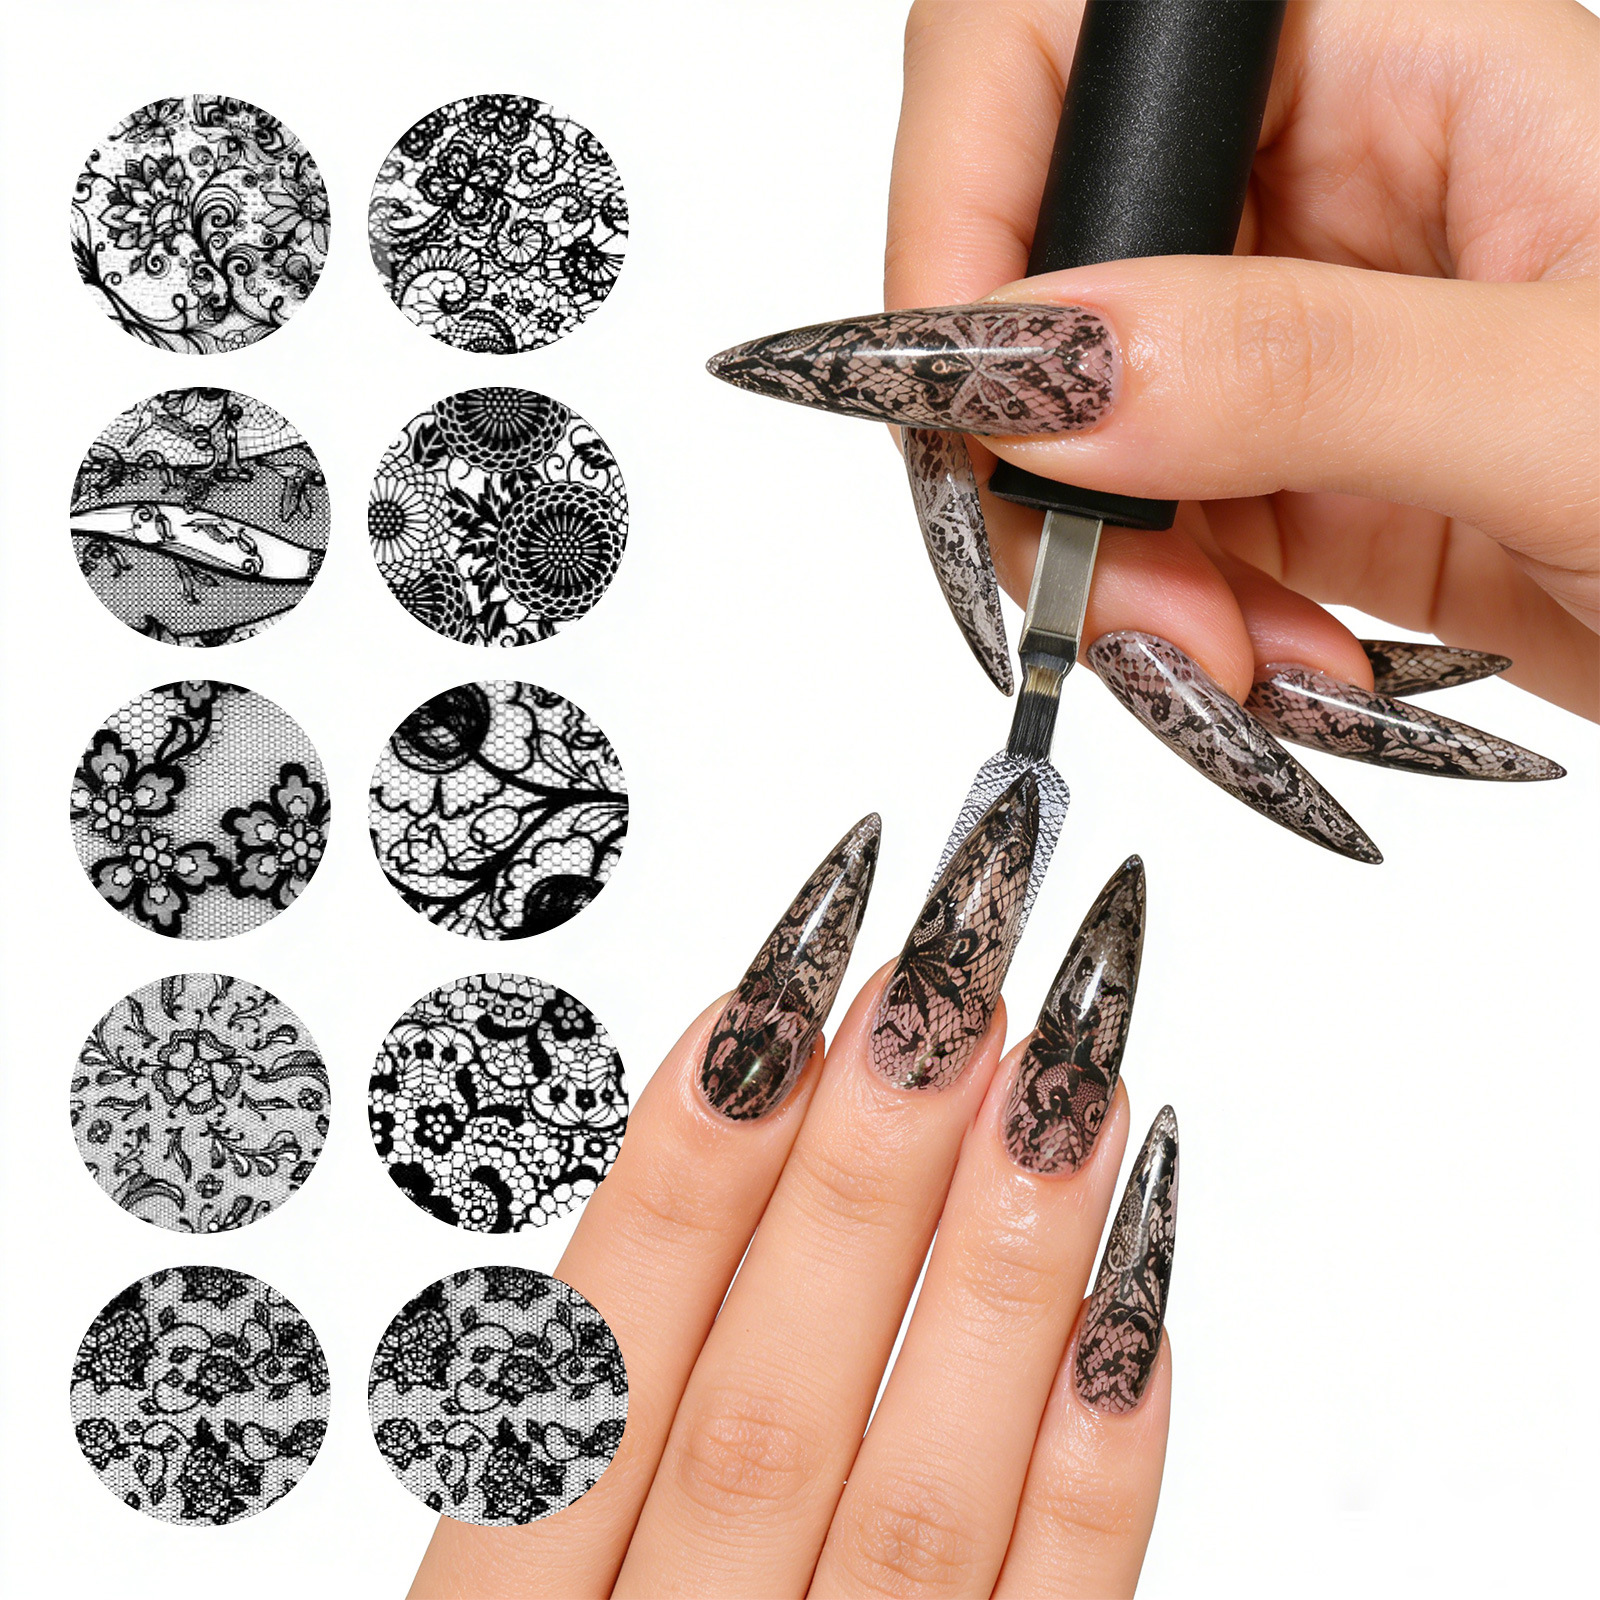
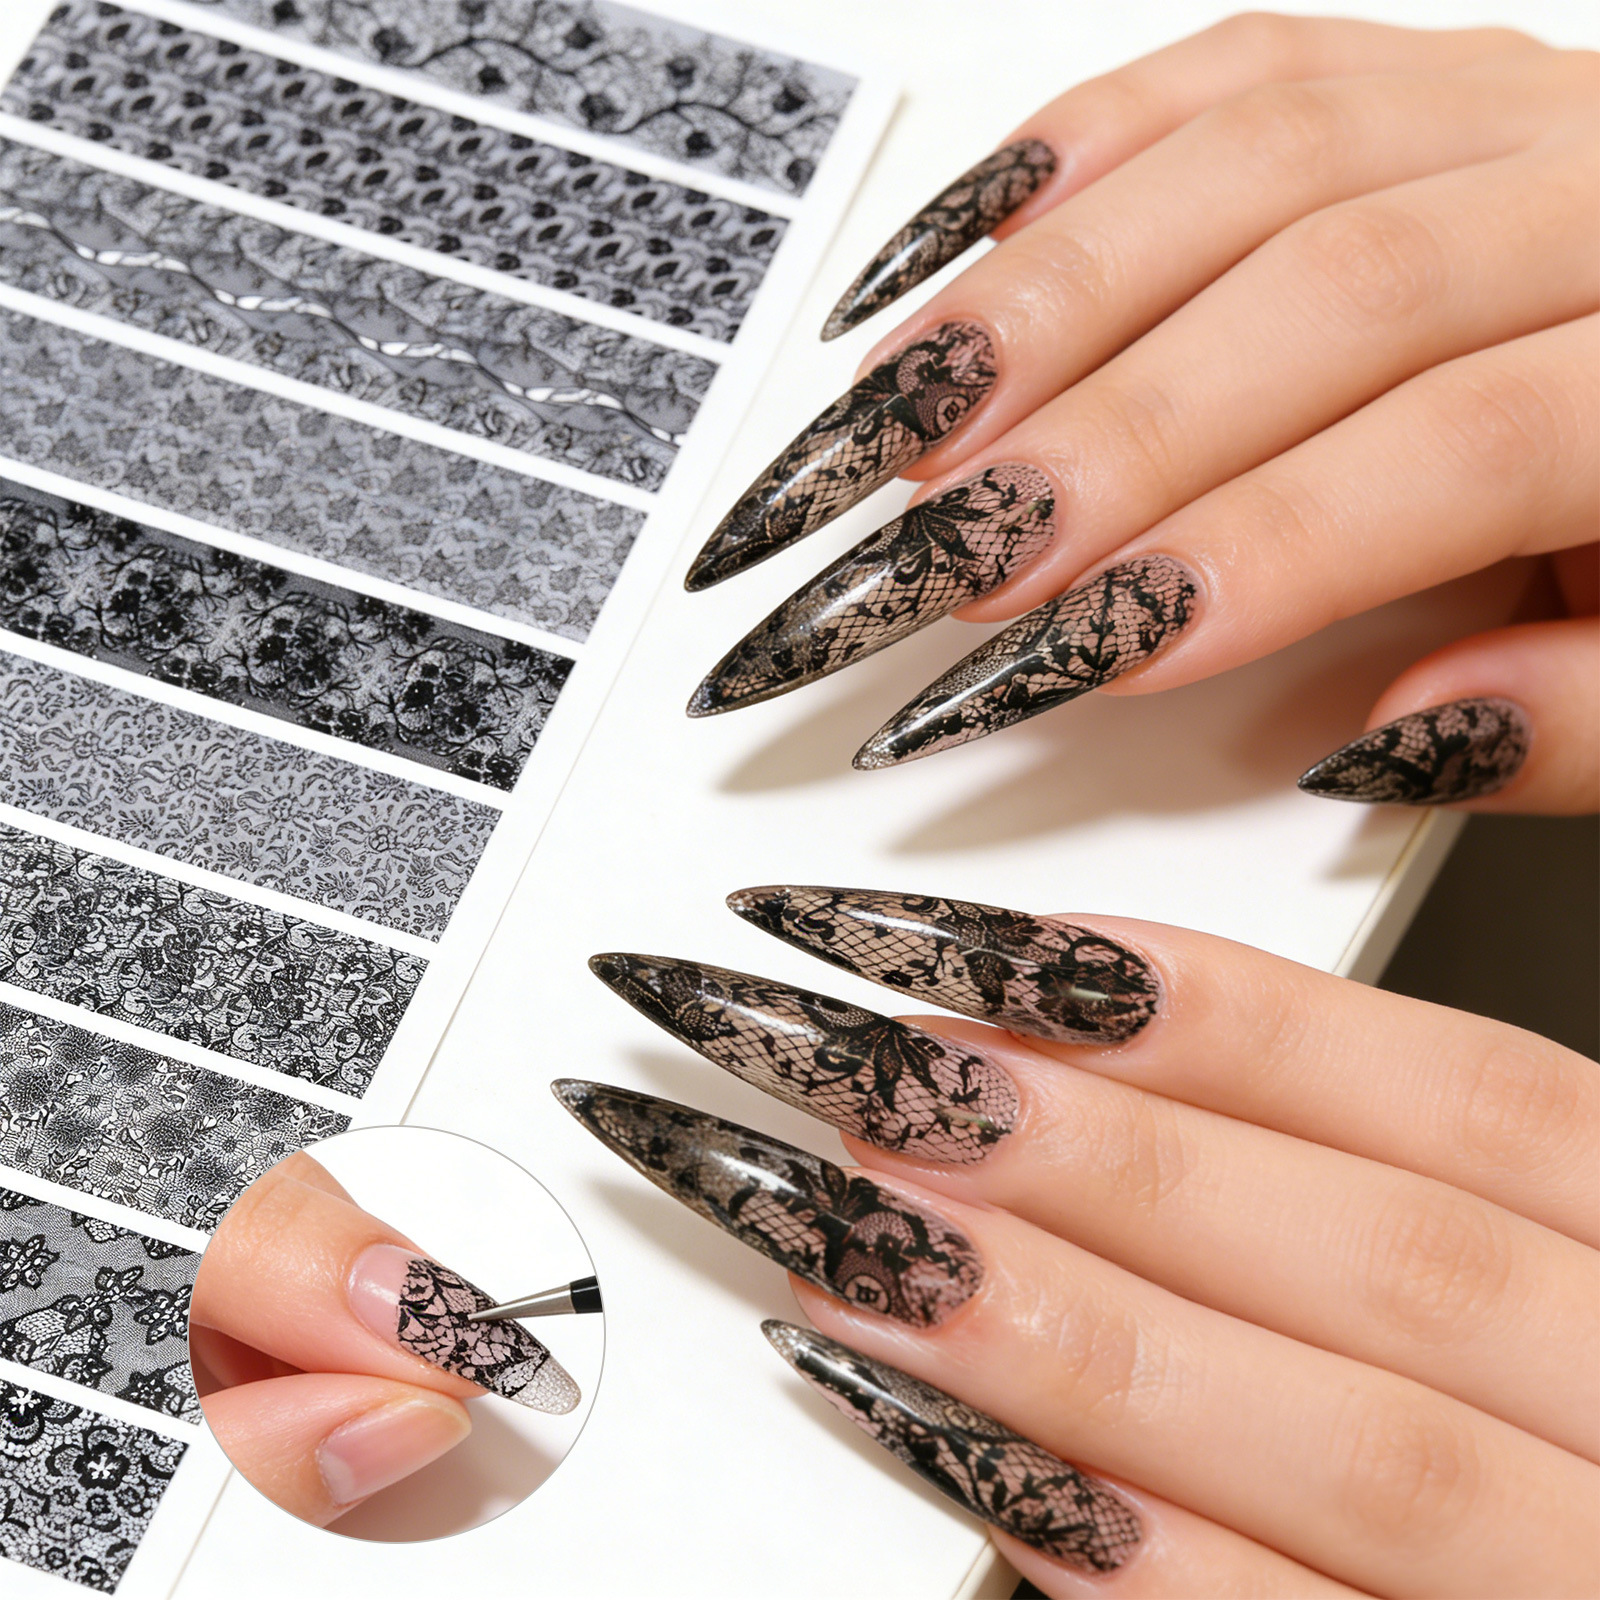
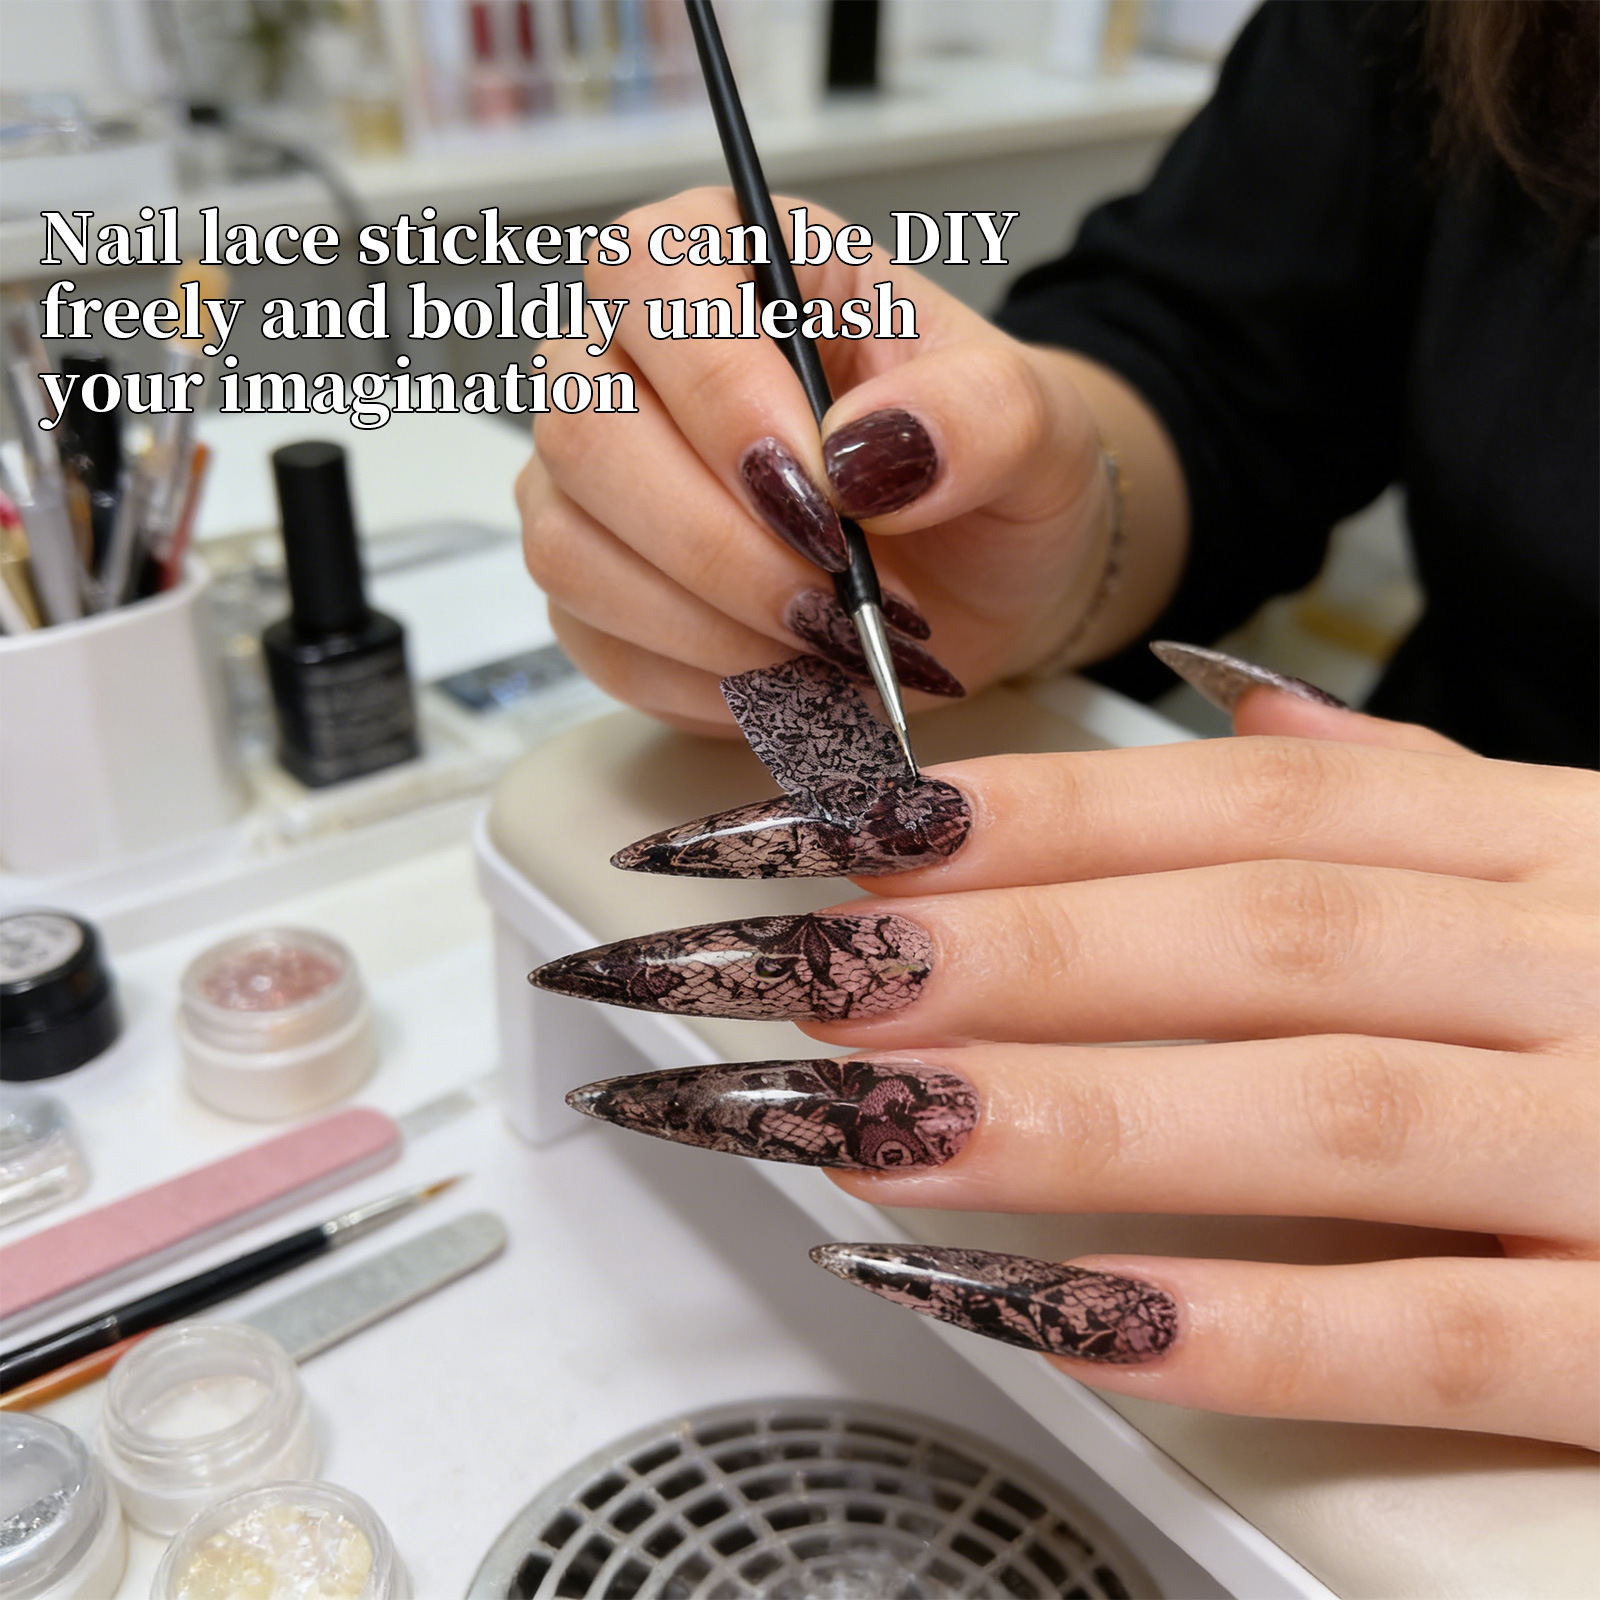
4. Place the sticker on the nail surface, select the desired color, and use three methods—press, press, or pick—to achieve different sizes and effects.
Note: The glossy coating will affect the effect of the starry sky sticker; try to avoid applying it, but it lasts longer after application.
Steps for Making Makeup Base Gel
1. First, cut the starry paper into small pieces with scissors. They don’t need to be very large—about 2–4 CM per piece is sufficient. Follow the same steps as when using phototherapy nail polish: apply a base coat first, then let it dry under a phototherapy lamp.
2. Choose dark-colored nail polish (such as black, sapphire blue, bright red, etc.) and apply two layers, then dry it under a light therapy lamp;
3. There is floating glue on the nail lacquer. Remove the star paper and apply it to the nail surface with floating glue (be quick during application).
The colors can be mixed and matched as desired; using two or three colors together can create a starry, glowing effect.
4. After applying the color, apply a layer of sealant, and the beautiful starry sky armor is complete... Simple, right!!
Steps for Making Starry Sky Resin
1. First, cut the starry paper into small pieces with scissors. They don’t need to be too large—about 2–4 CM per piece is sufficient. Follow the same steps as when using phototherapy nail polish: apply a base coat first, then let it dry under a phototherapy lamp.
2. Apply Starry Sky adhesive; once the surface becomes transparent, no lighting is required.
3. Apply starry sky paper
4. Turn on the light, clean it for 3 minutes, and your beautiful starry armor is ready... Simple, right!!







Update time:


TOP