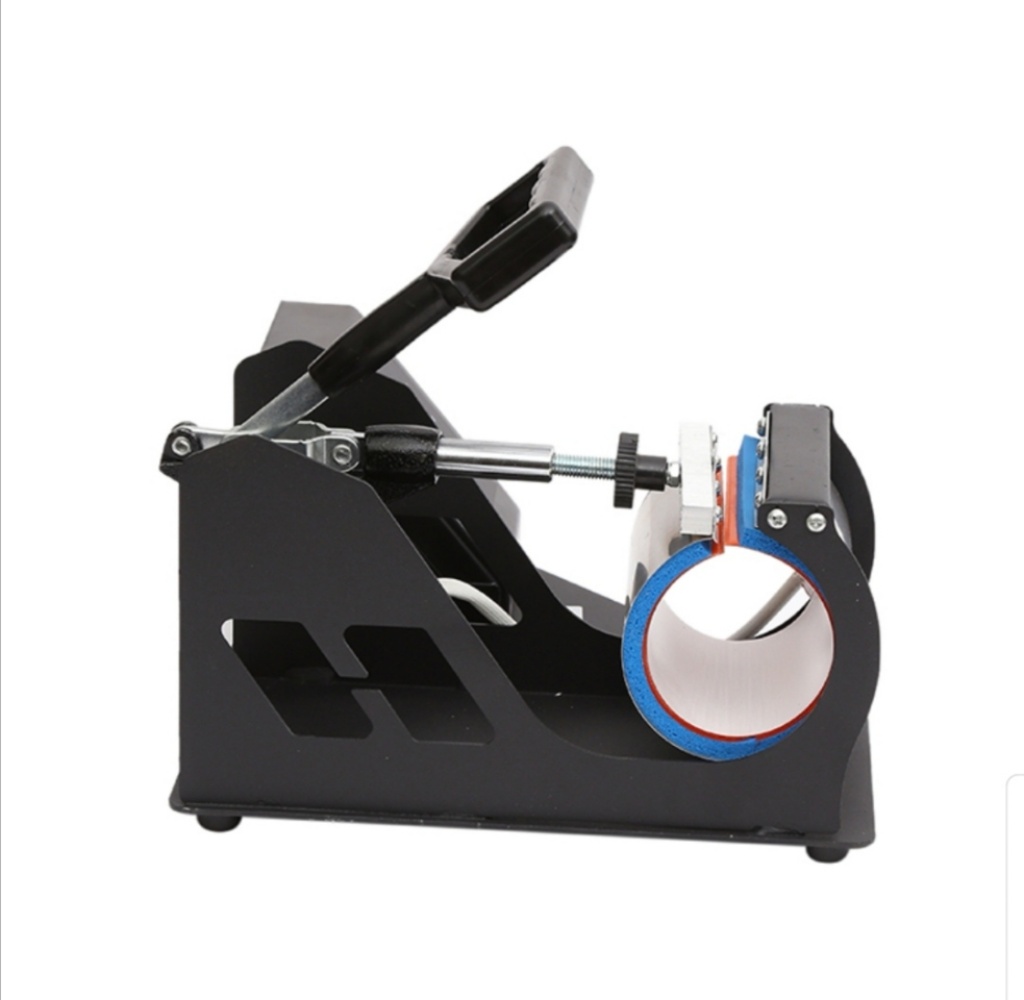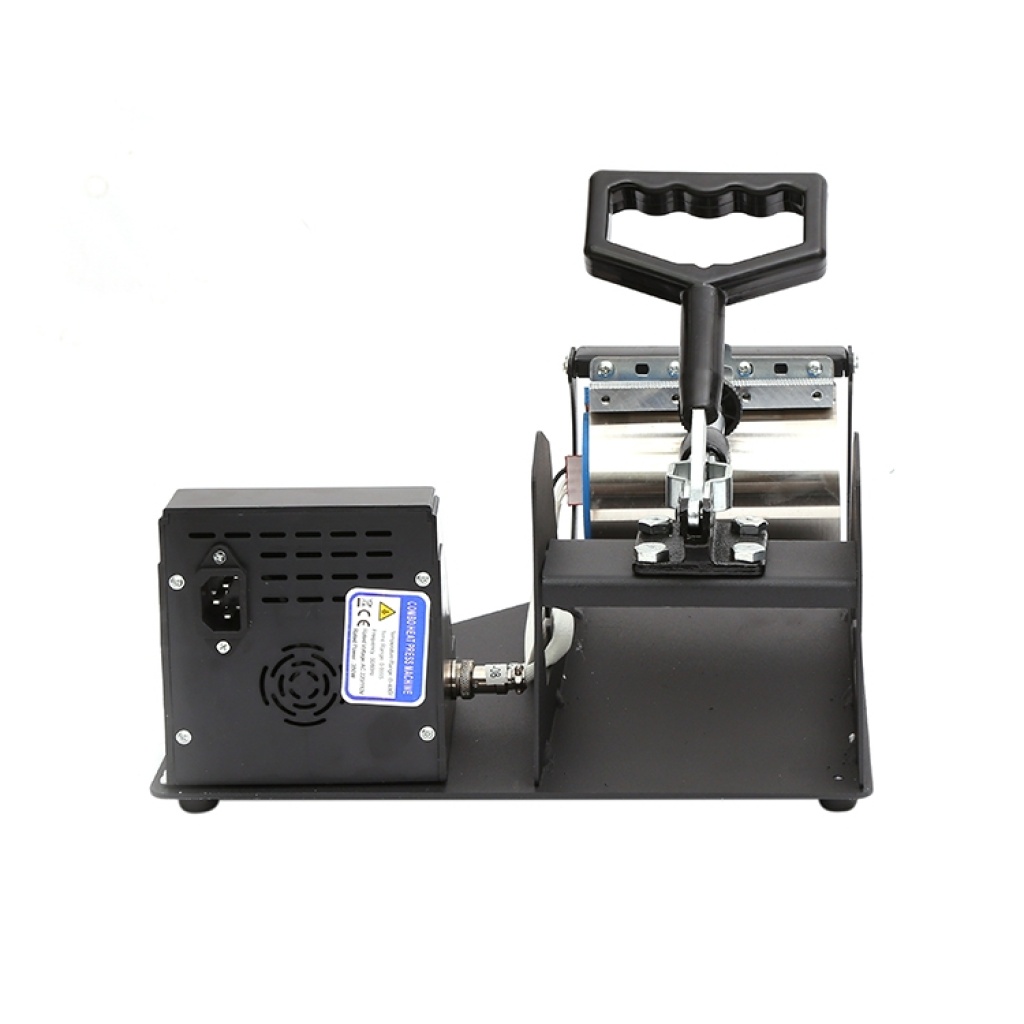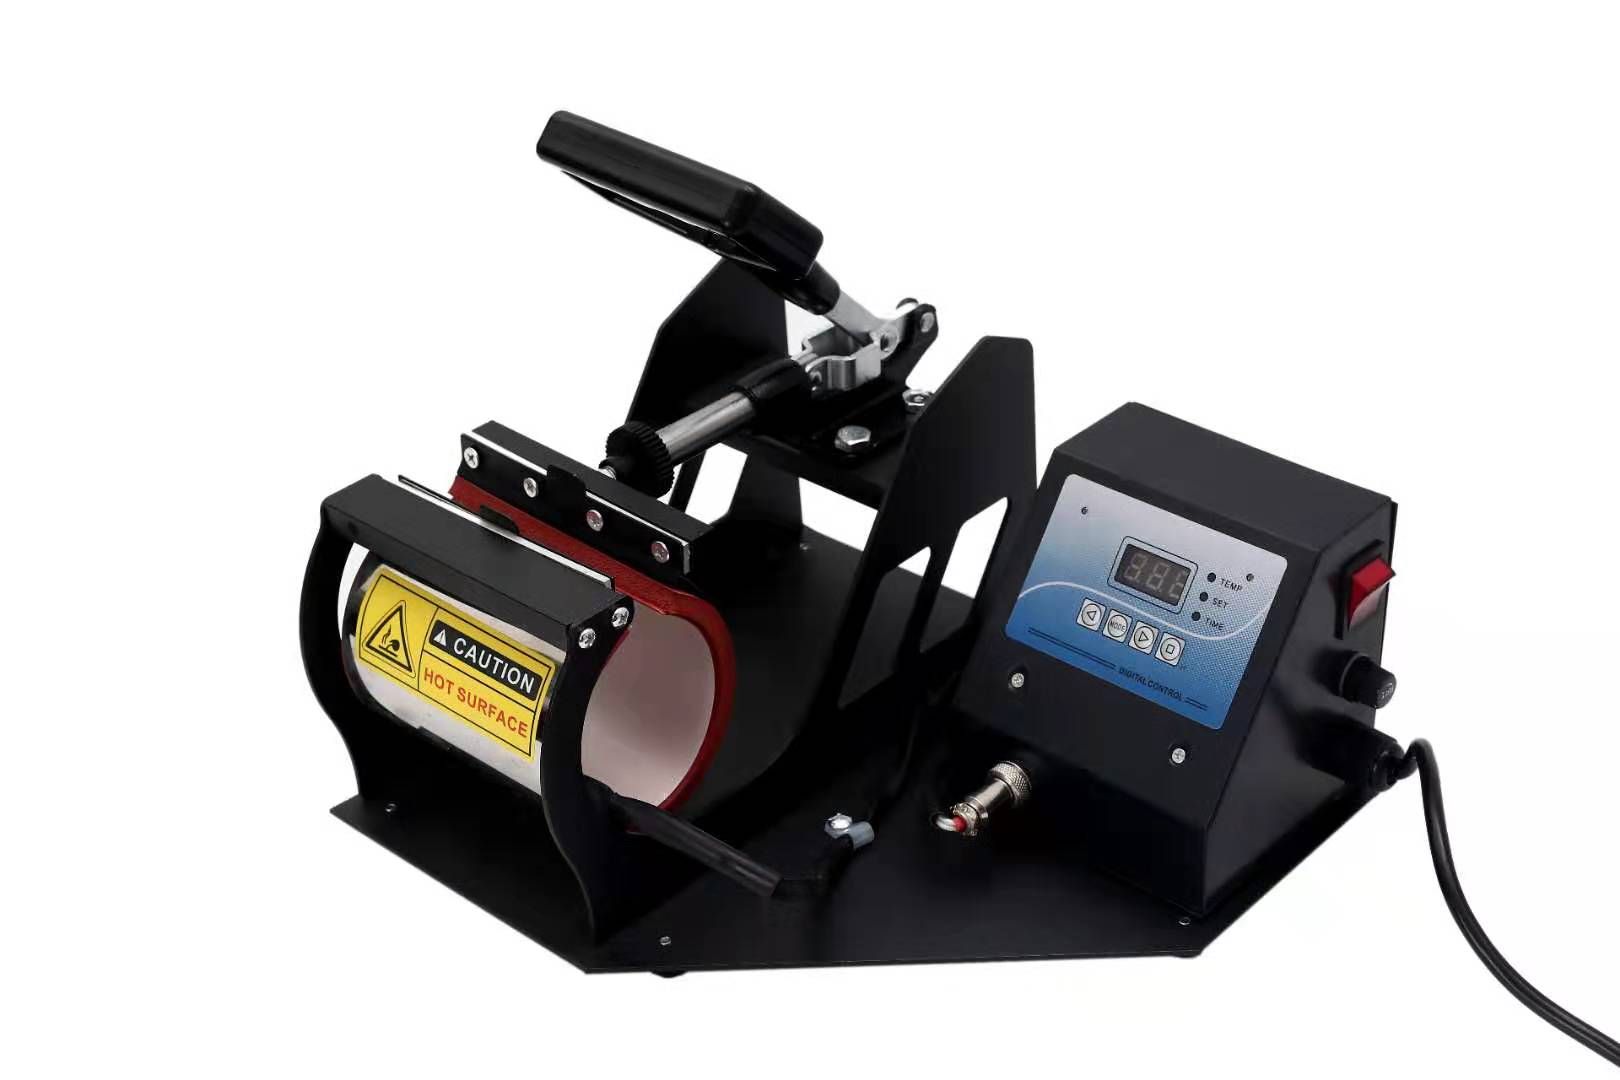


)
The process of making a personalized cup:
Print the drawings with heat transfer ink onto the color jet paper (smooth side) or sublimation paper (rough side, which needs to be dried after printing), cut the drawings to size, wrap them around the cup's surface, and secure them with high-temperature tape.
4
Turn on the cup baking machine, set the temperature, place the cups in the baking mat, press the handle to adjust the pressure, press the execution button once, wait for the temperature to rise and the countdown to complete, and when the machine emits a long buzz, remove the cup, tear off the pattern, but do not immediately use cold water to avoid bursting!
1
If the color of the printed cups is very light or the colors are uneven, this is due to the temperature being too low or the time being too short, or the pressure being too small or uneven. To correct this, increase the temperature, time, and pressure accordingly. The temperature should be increased by a certain amount each time.
5
Adjust the temperature to the appropriate level!
2
If the printed cups have good color but the image is blurry or there are problems like paper sticking, this is due to excessive temperature, time, or pressure. Adjust accordingly!
3
If after printing, the surface of the cup shows the texture of the paper, this is due to excessive pressure or prolonged time, which requires adjustment (Note: customers who use sublimation paper to print cups must dry the print after completing the design before printing!)
4
The local blurring of the printed pattern is due to an uneven pressure or an uneven distribution of heat in the heat transfer area!
In conclusion, to print a perfect cup, the following factors are all essential: the model and settings of the printer, the quality of the ink, the choice of paper, the time in the cup baking machine, the temperature, pressure, and the quality of the cup coating.


 )
)