
Search history
Clear allSearch by image
XDrag and drop an image here or upload an image
Max 5MB per image
UploadSign In | Join

Search history
Clear allSearch by image
XDrag and drop an image here or upload an image
Max 5MB per image
UploadSign In | Join
X Email Mobile
| fj511 bird of paradise | CN¥ 0.0 | 49384 box available |
|
A new item has been added to your Shopping Cart. You now have items in your Shopping Cart.
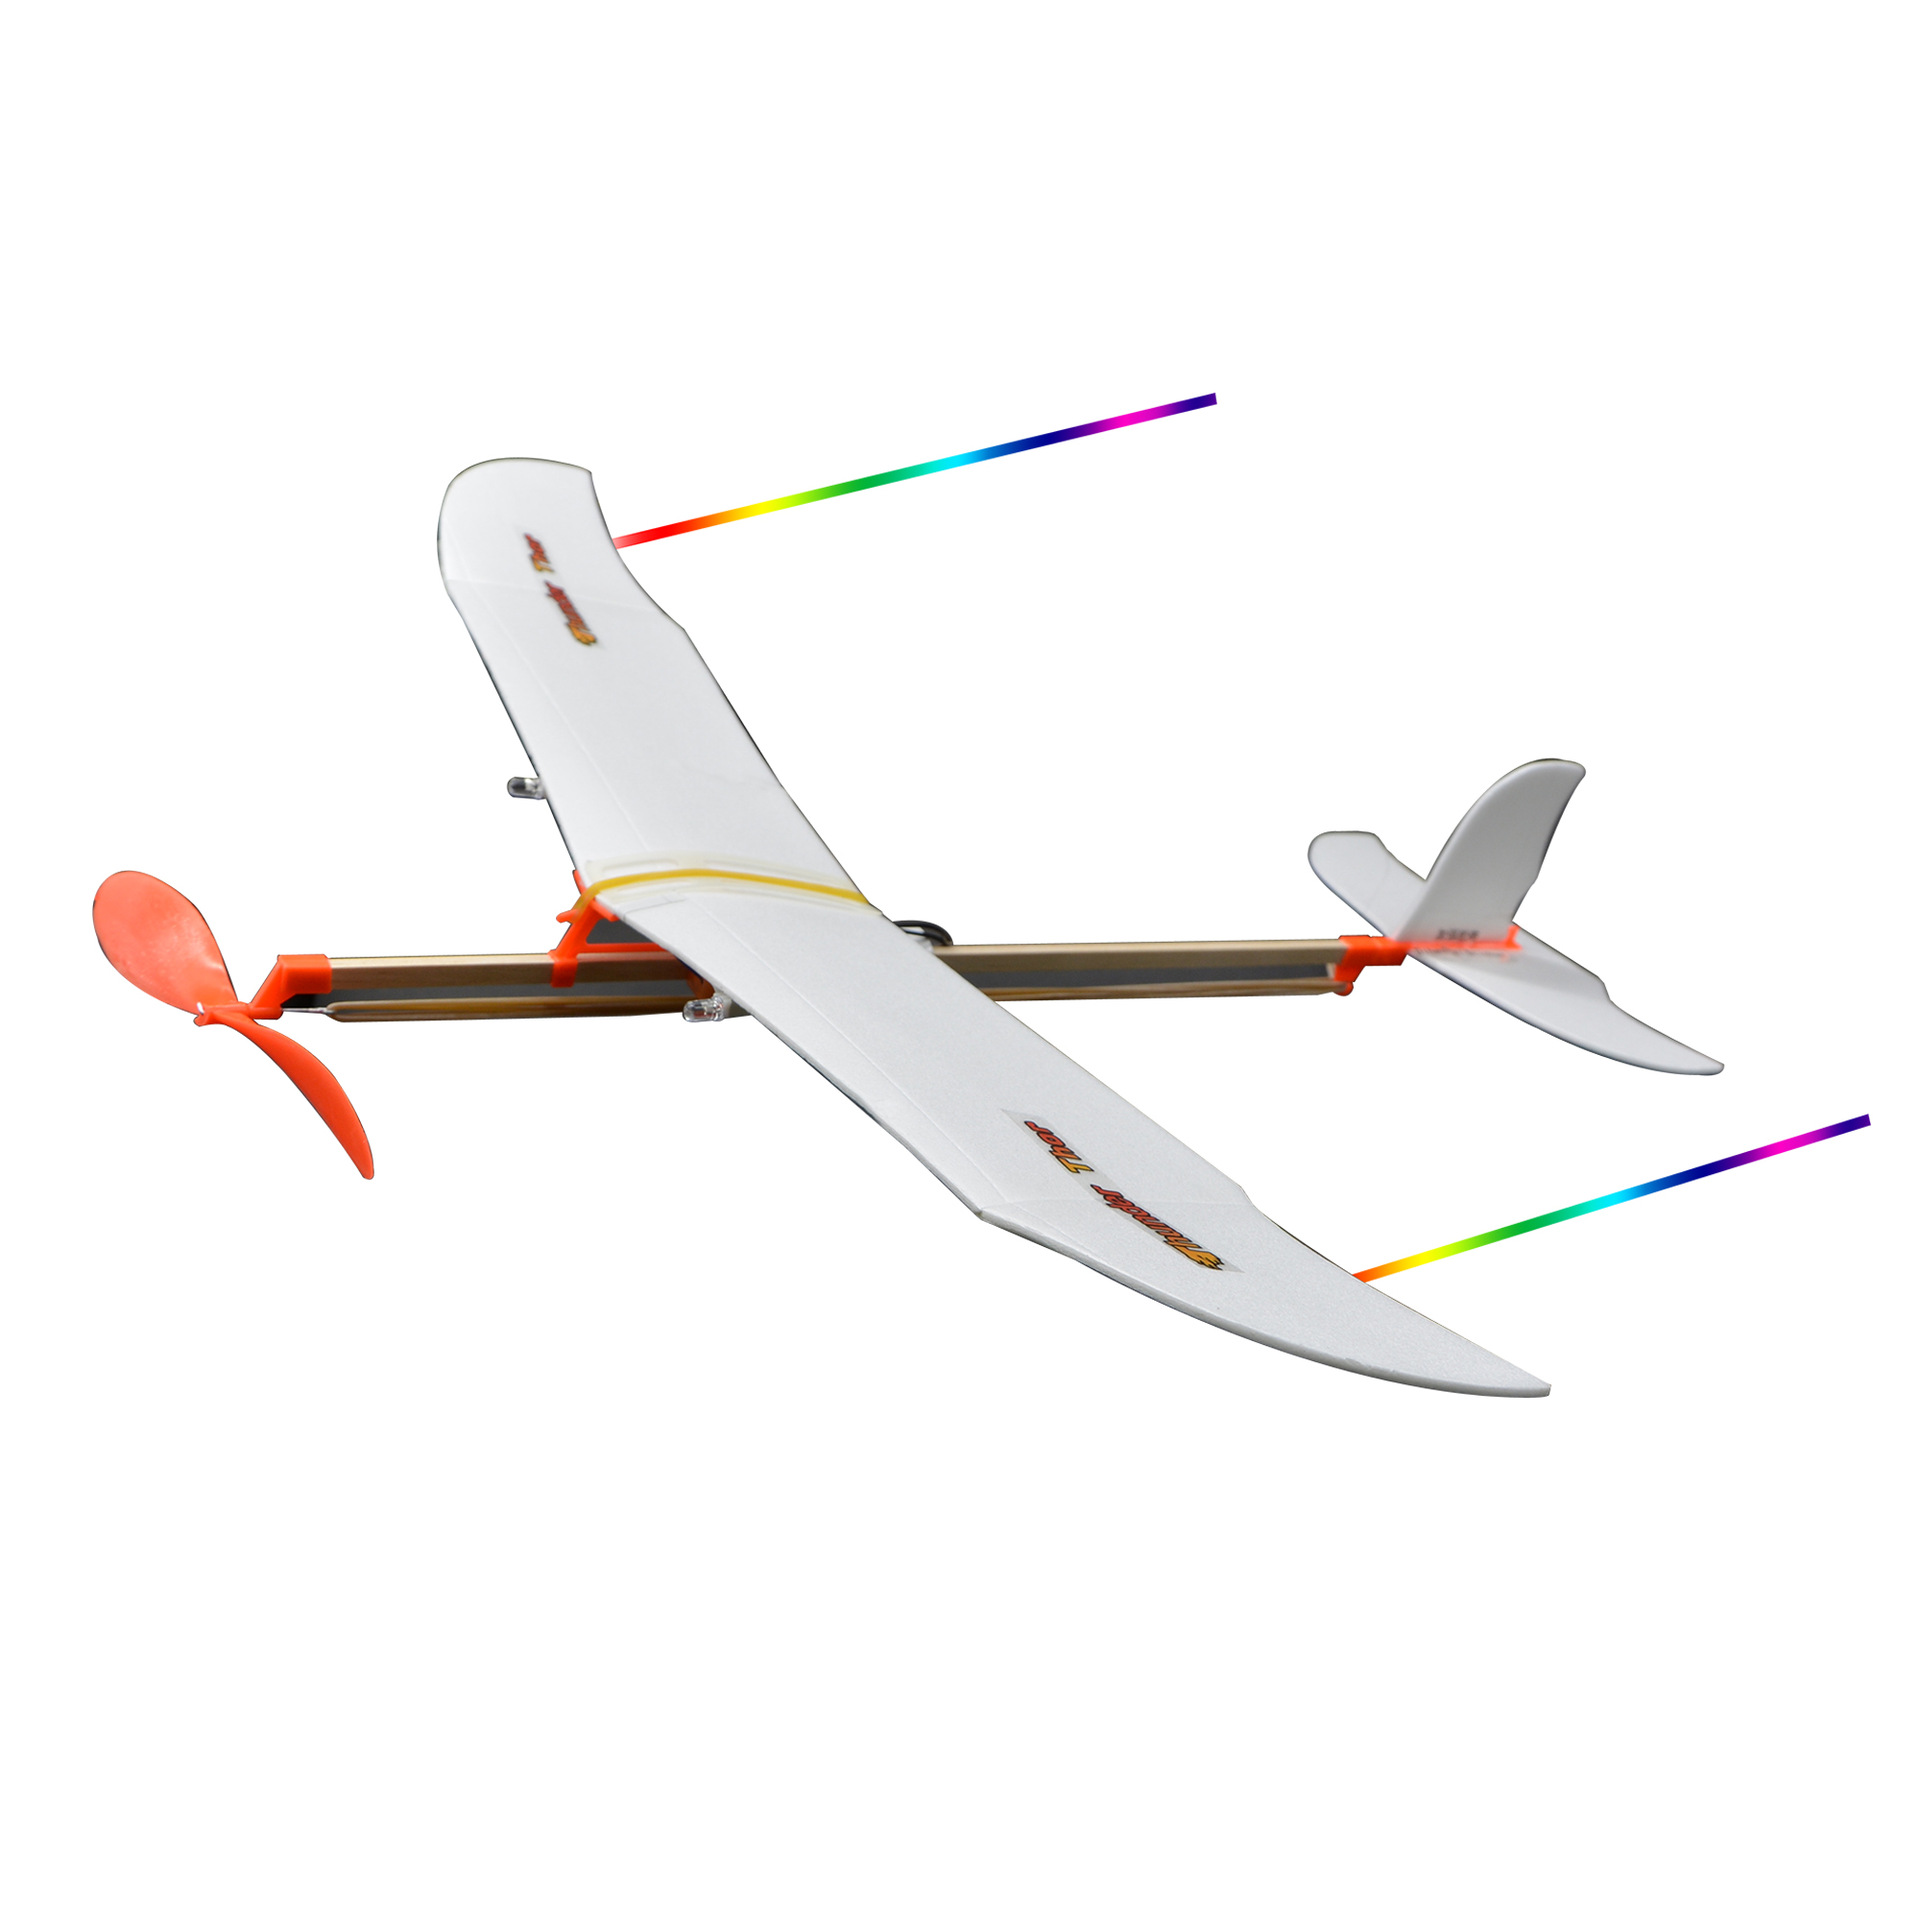
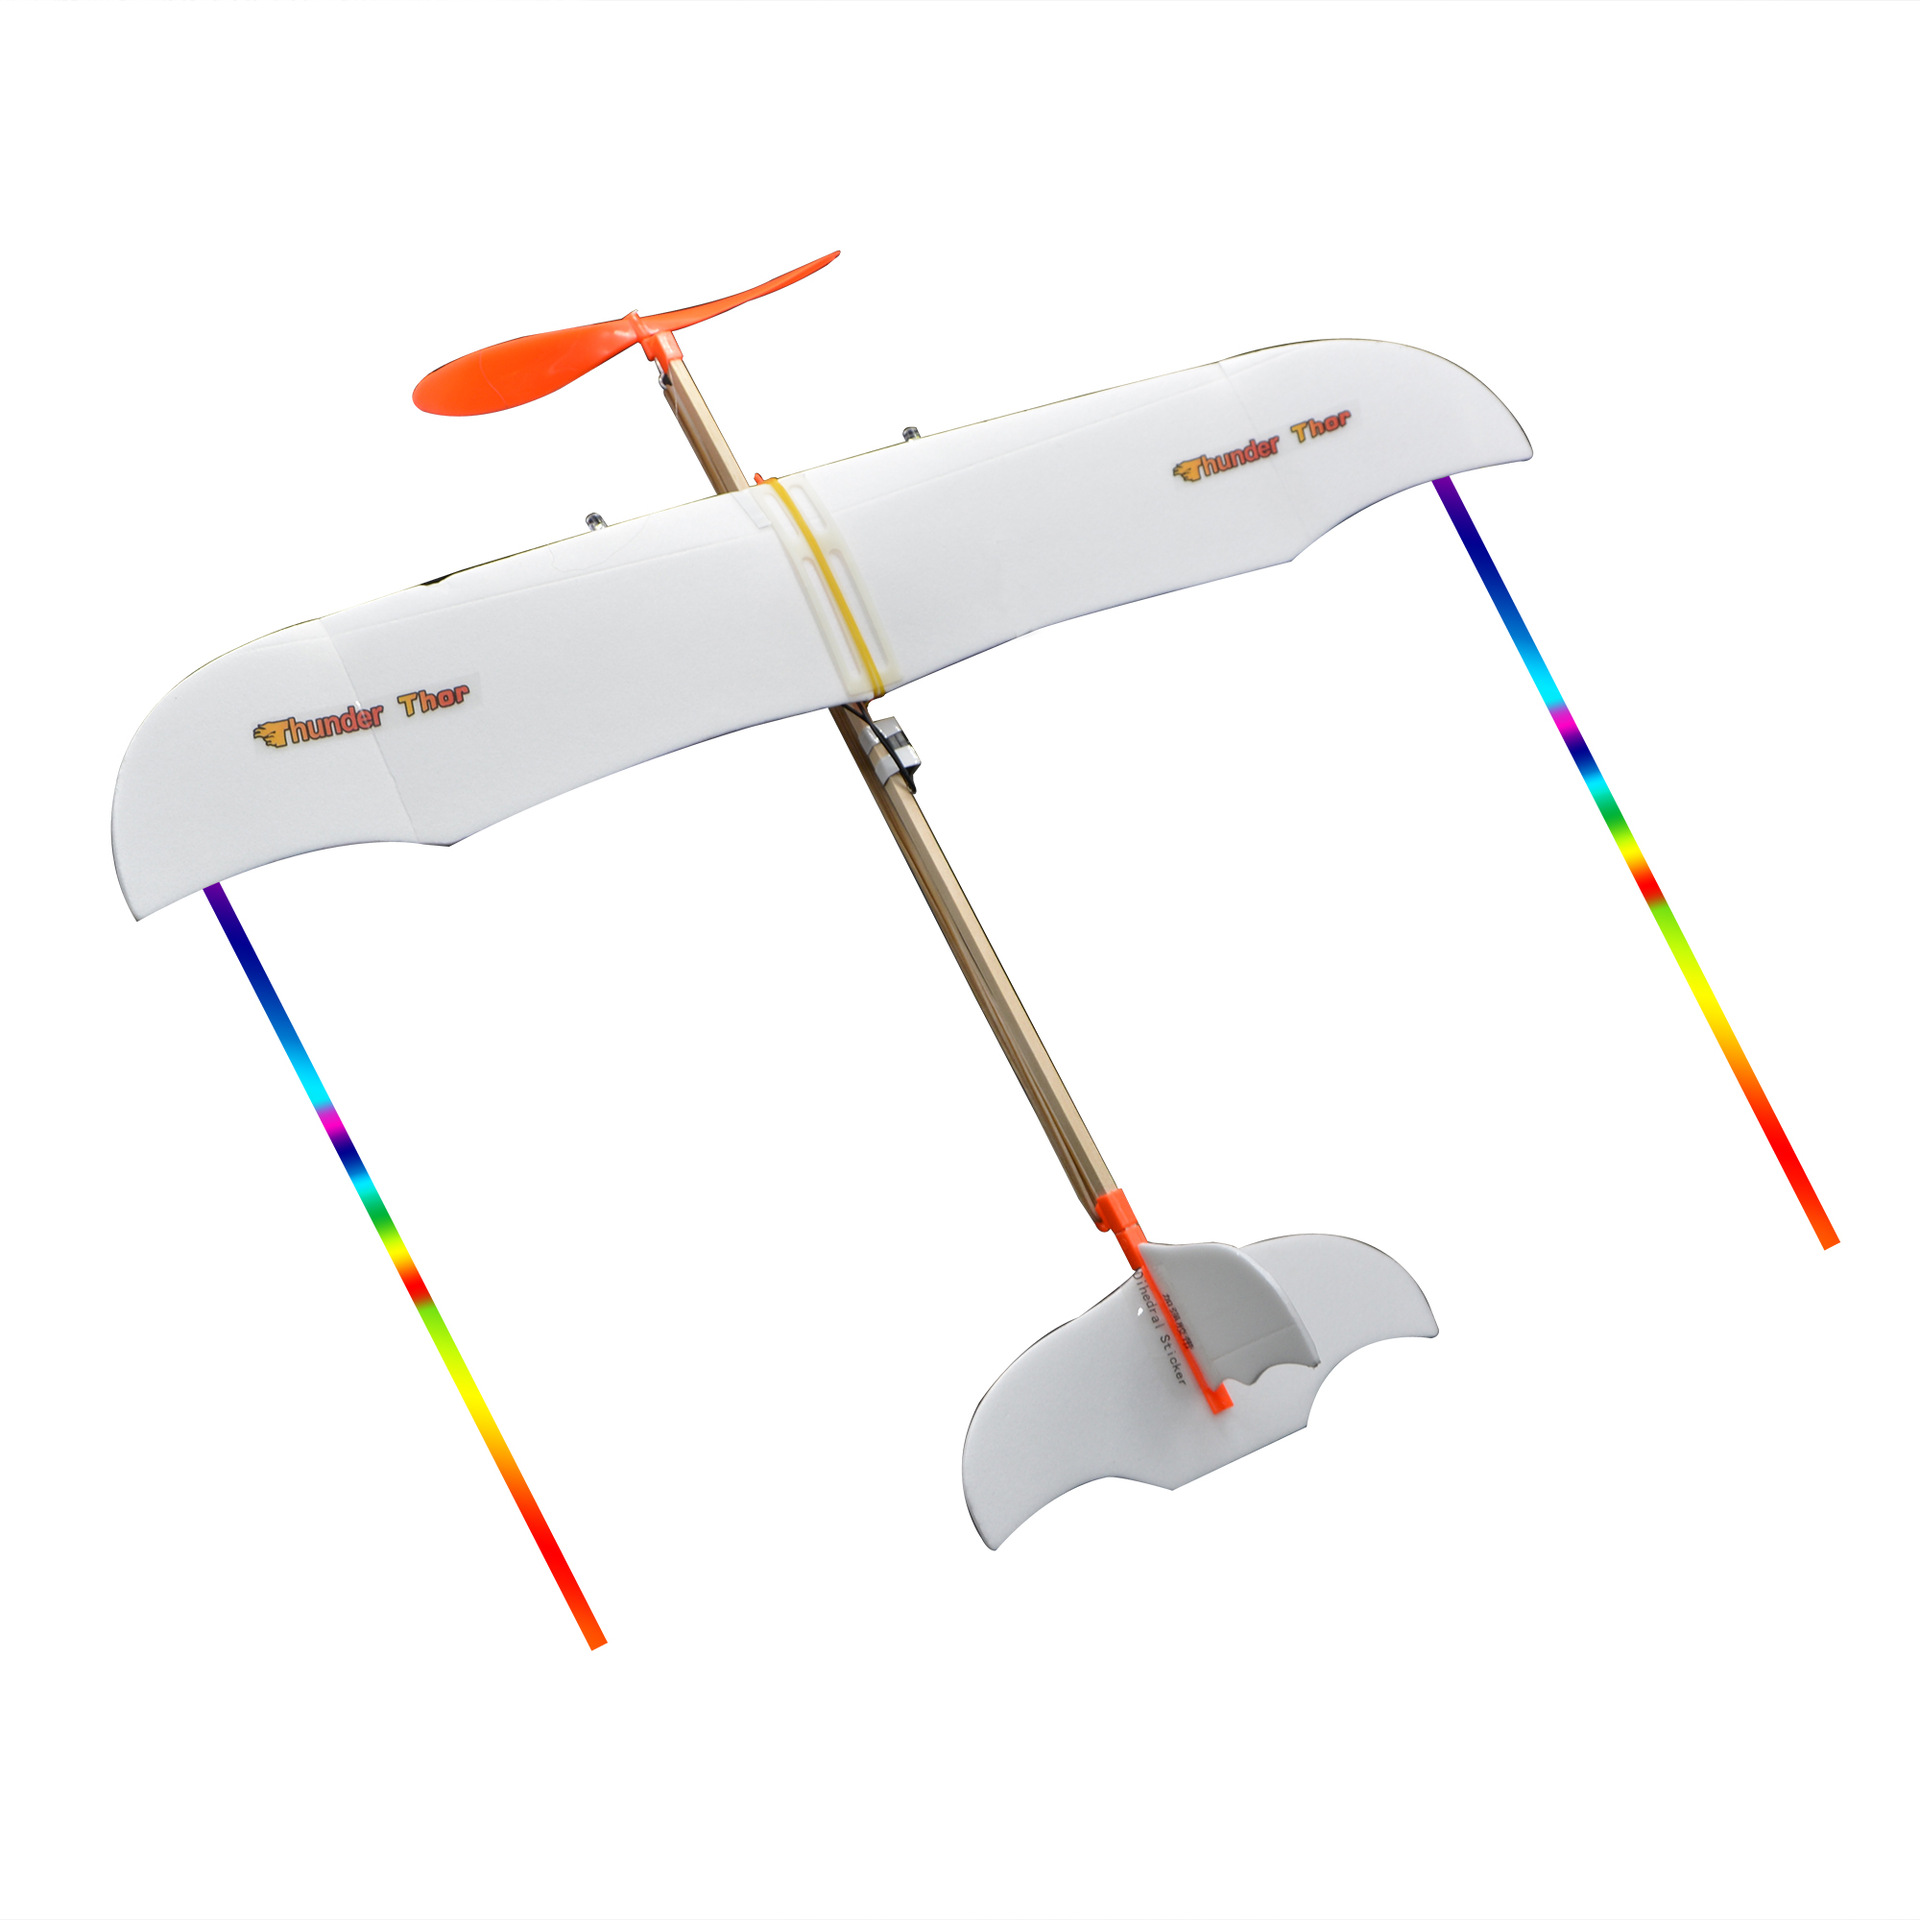
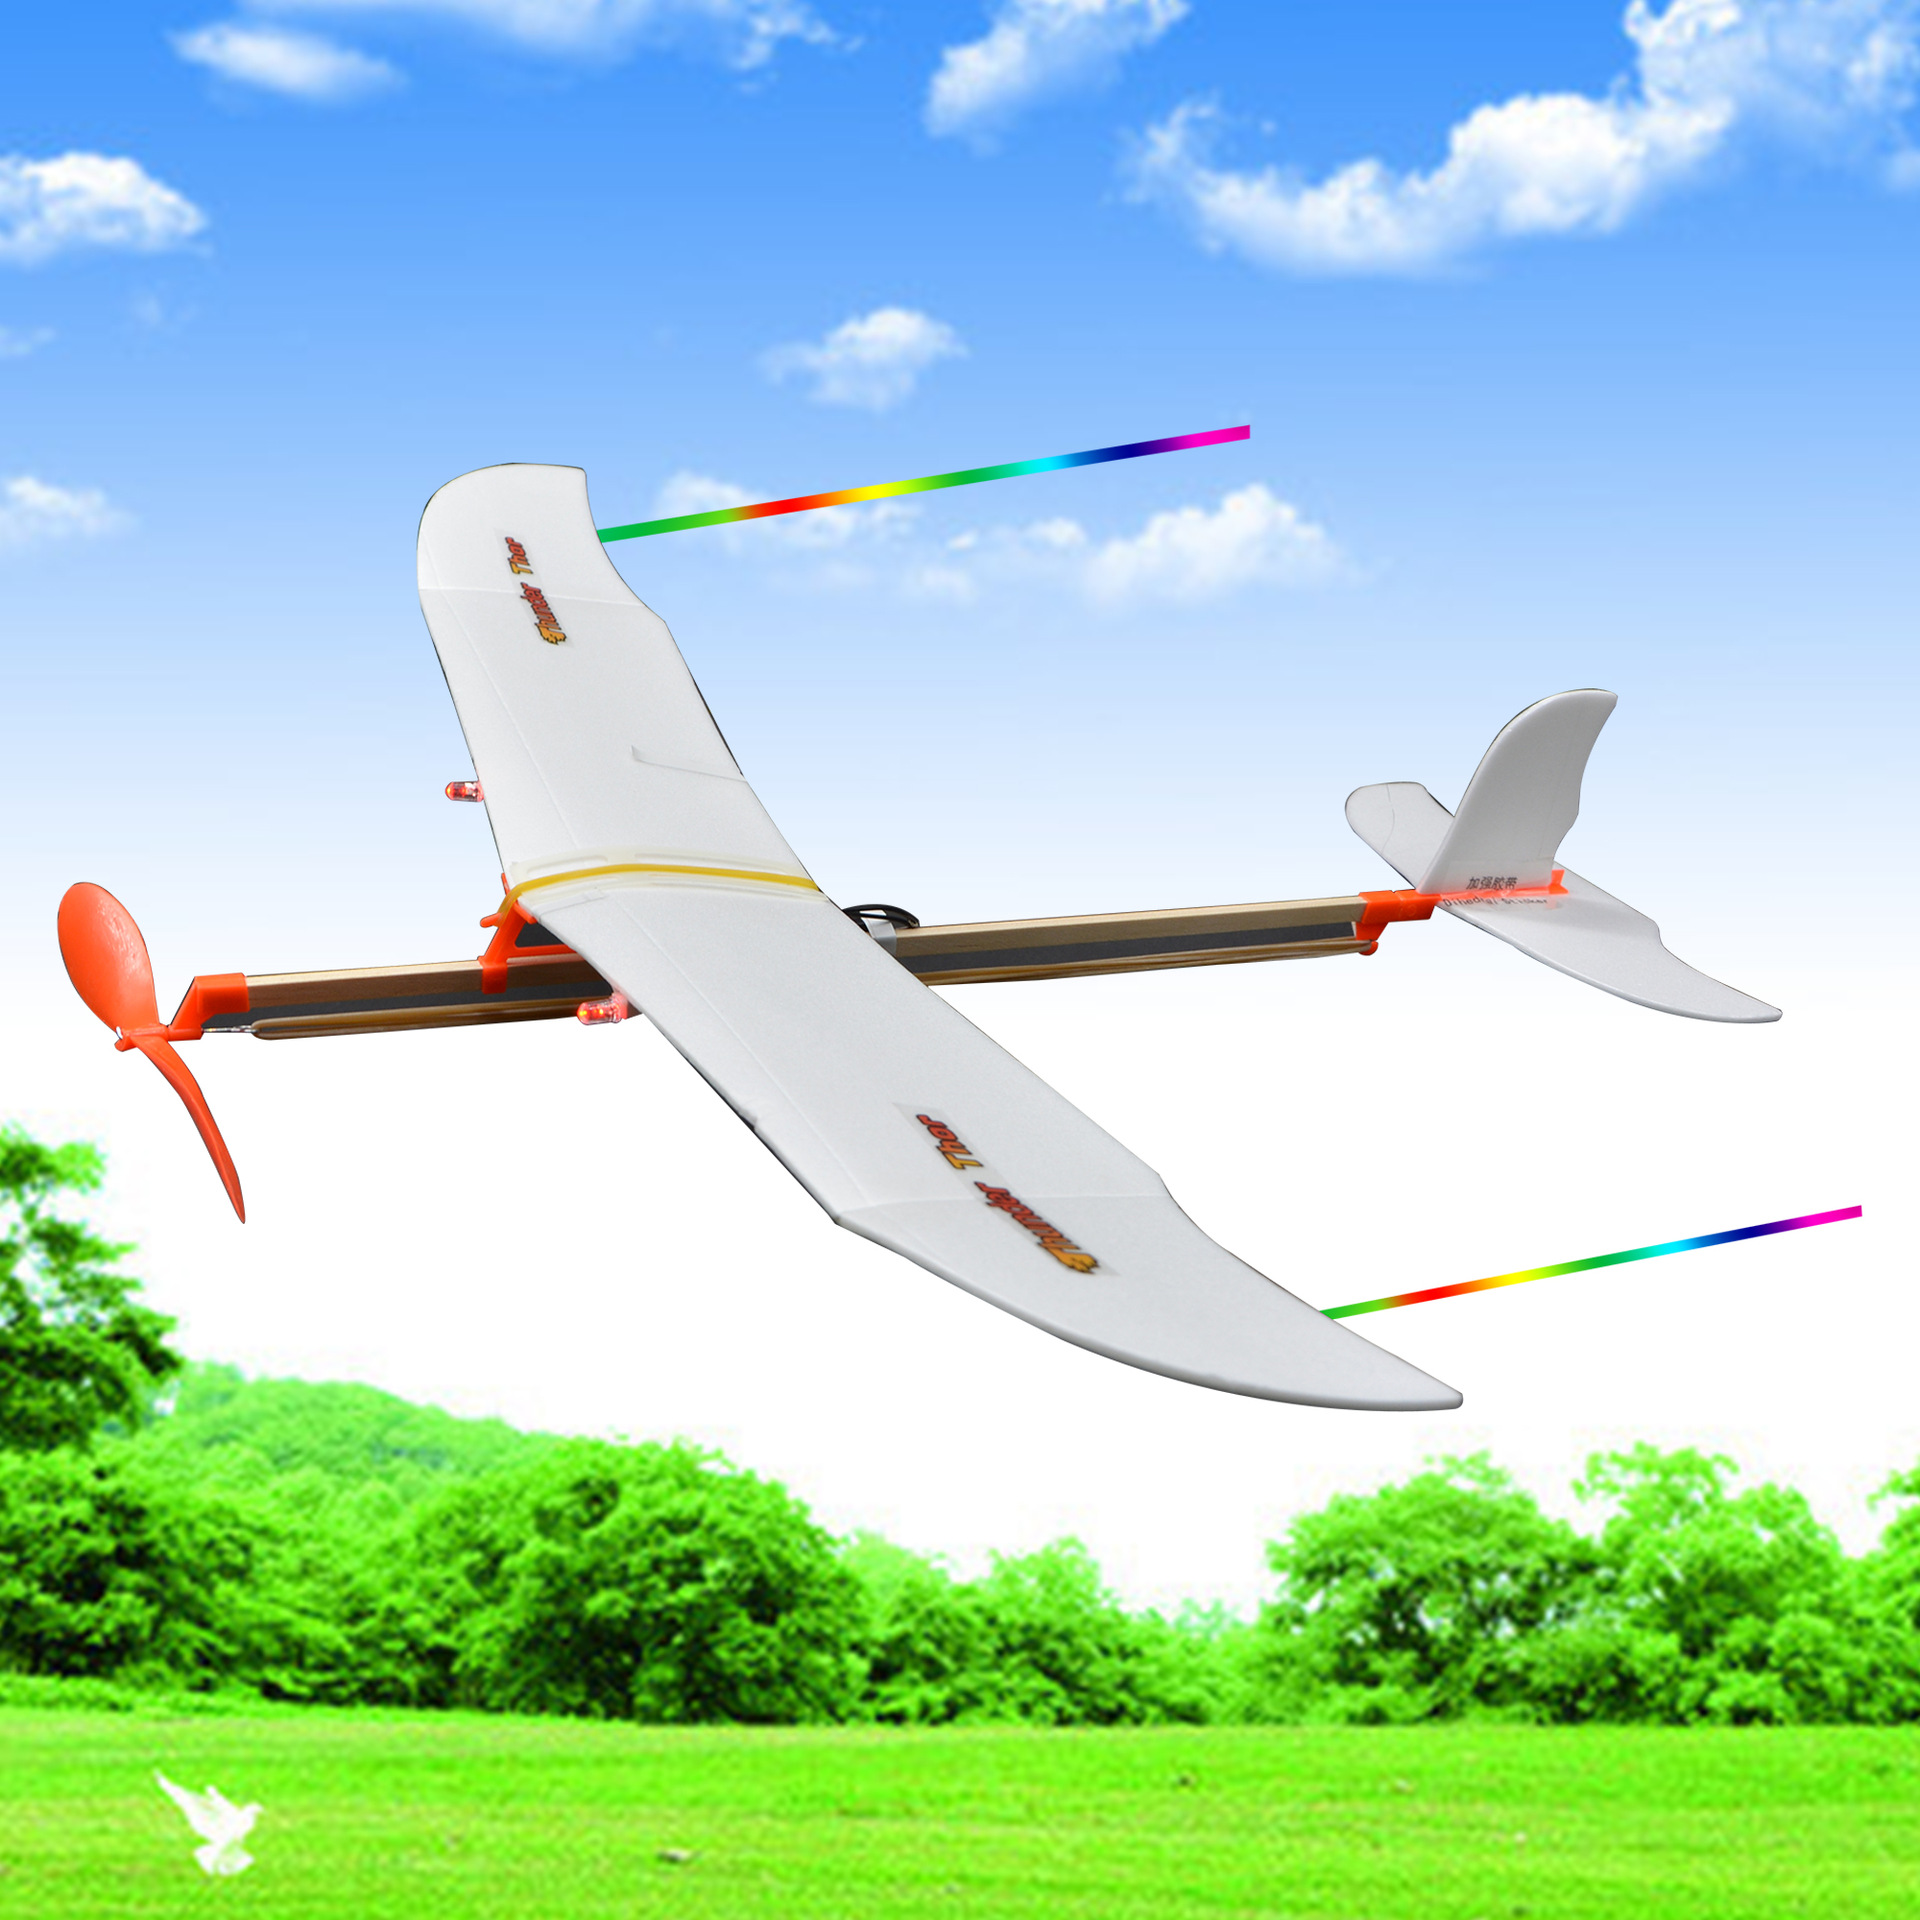
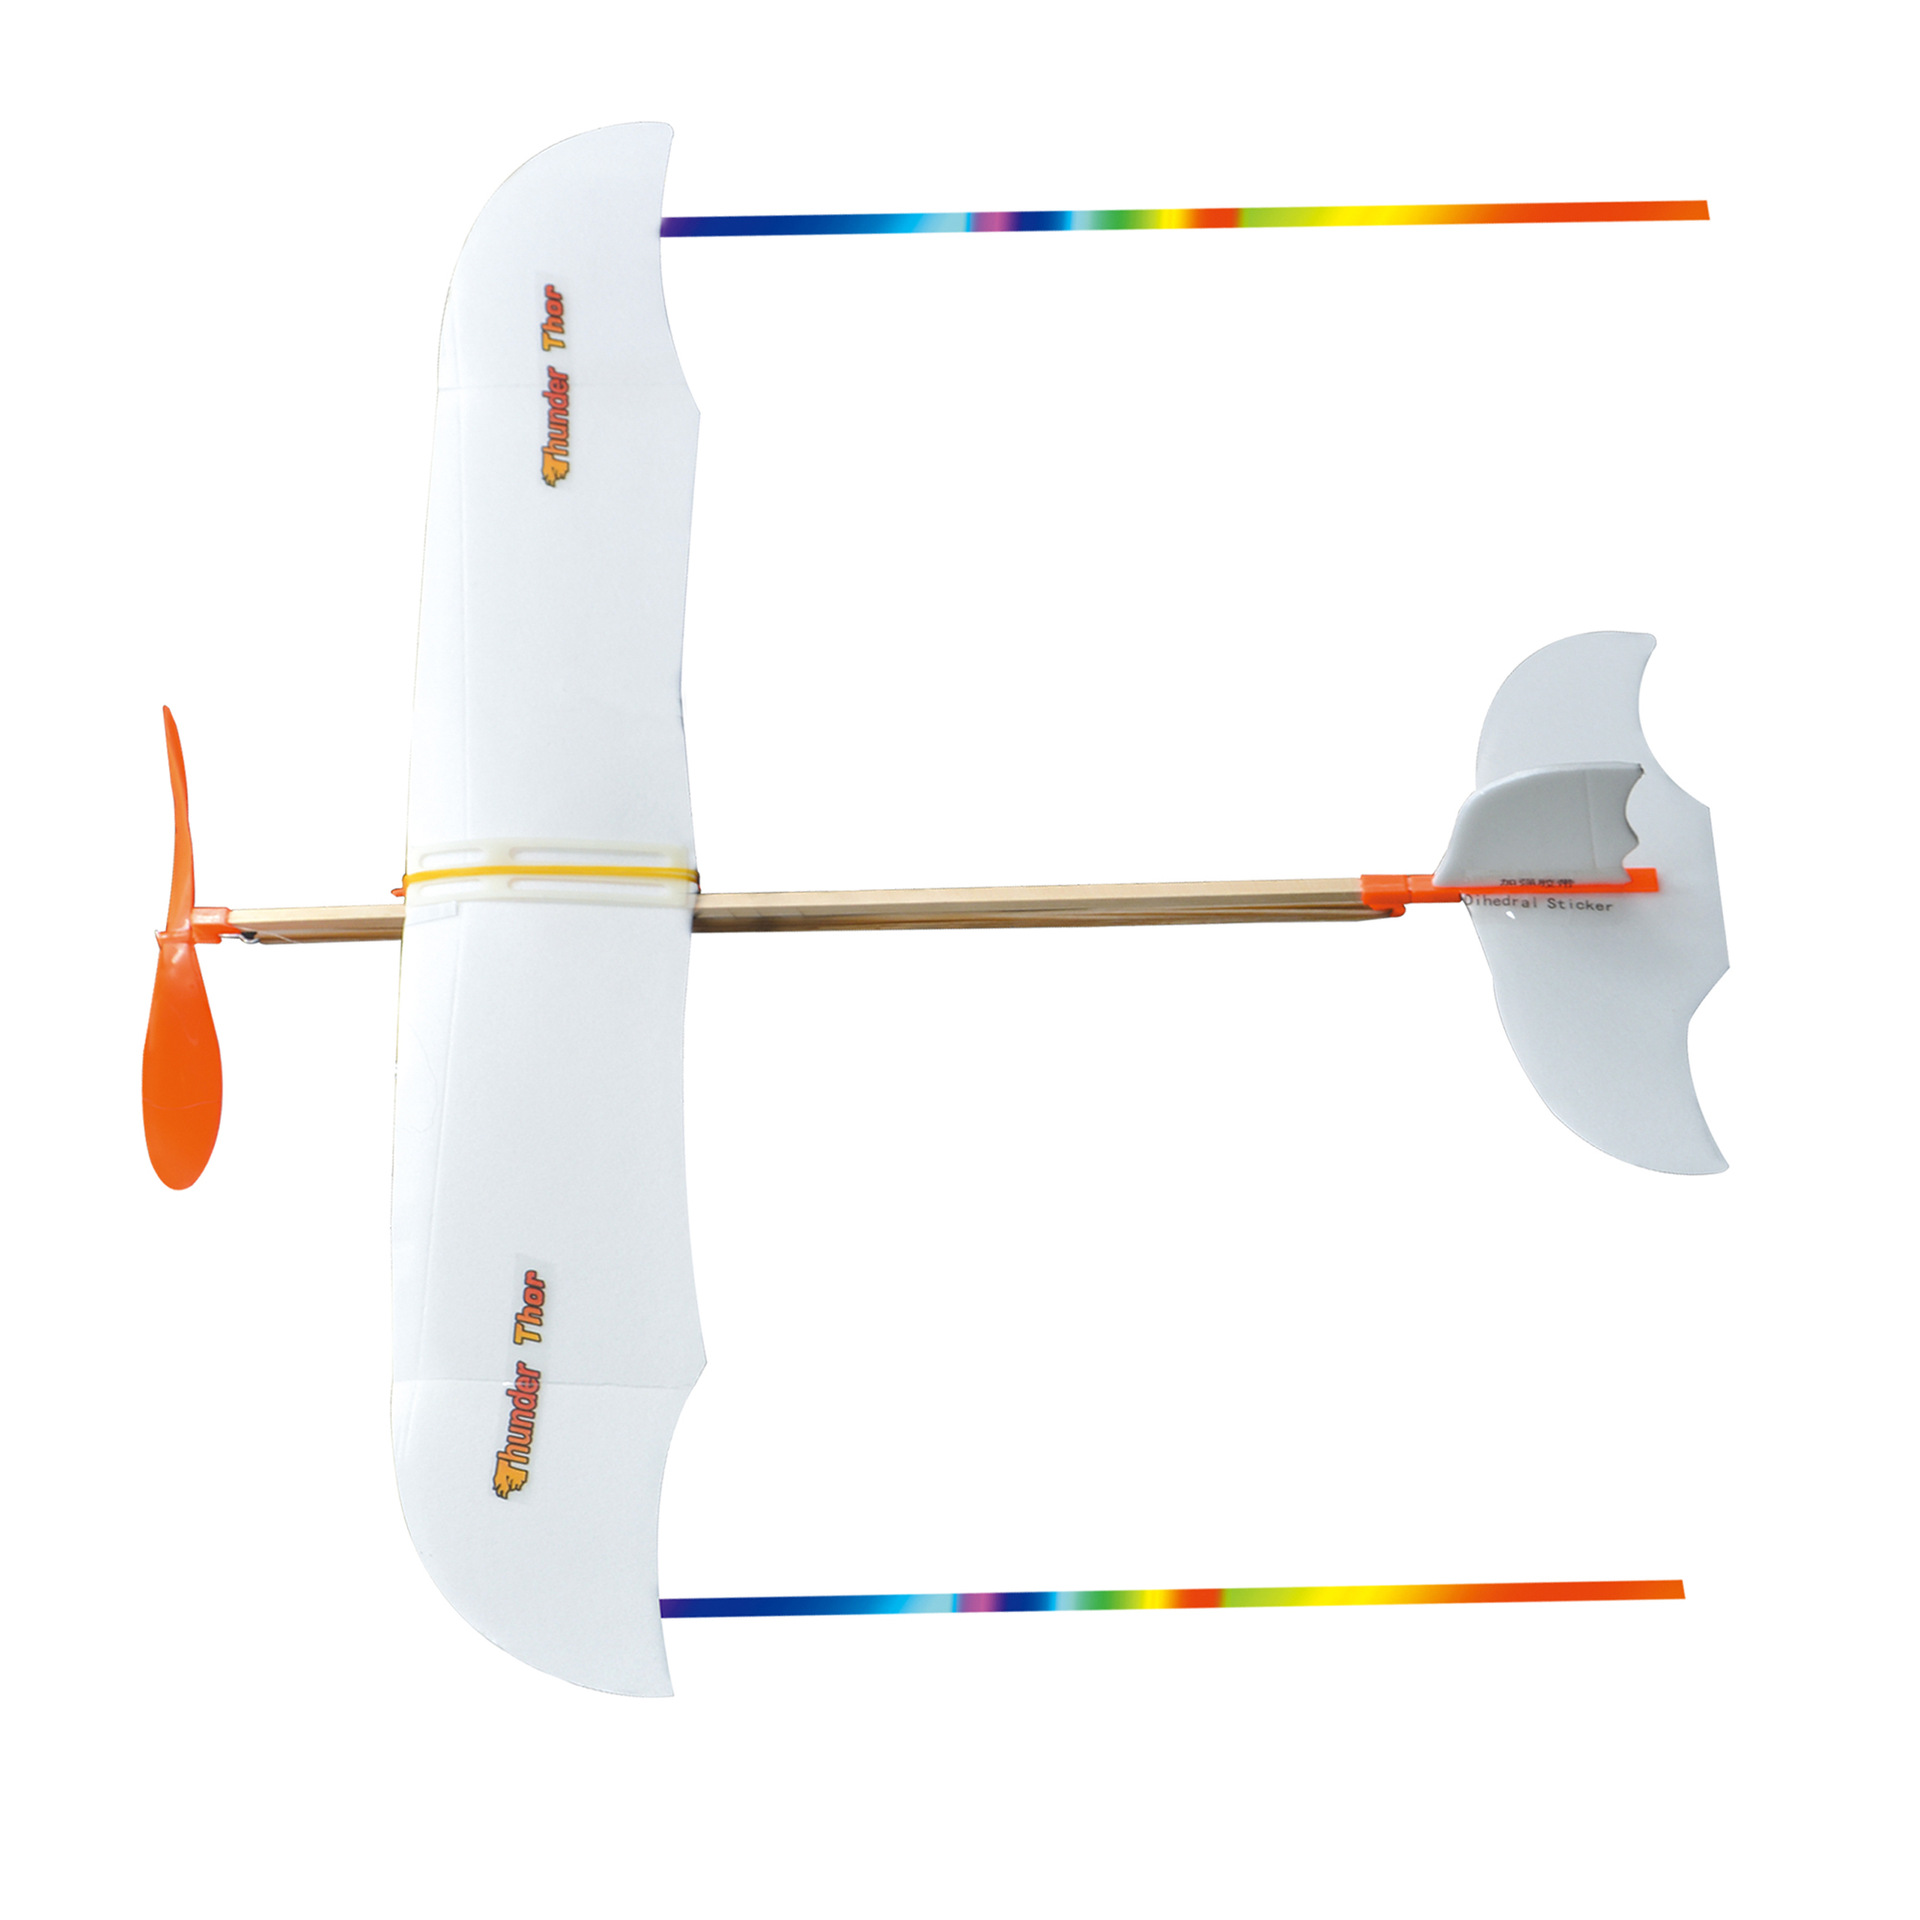
Product Name: FJ511 Paradise Bird Flashplane
Product Code: FJ511
Dimensions: Wing span 400mm, Length 500mm
Weight: About 50g
Material: EPS + rubber bands + propellers + plastic parts + electronic parts...
Color: Mixed
Is the device powered by batteries: Yes
Packing: 320pcs
Box Specification: 70*41*71mm
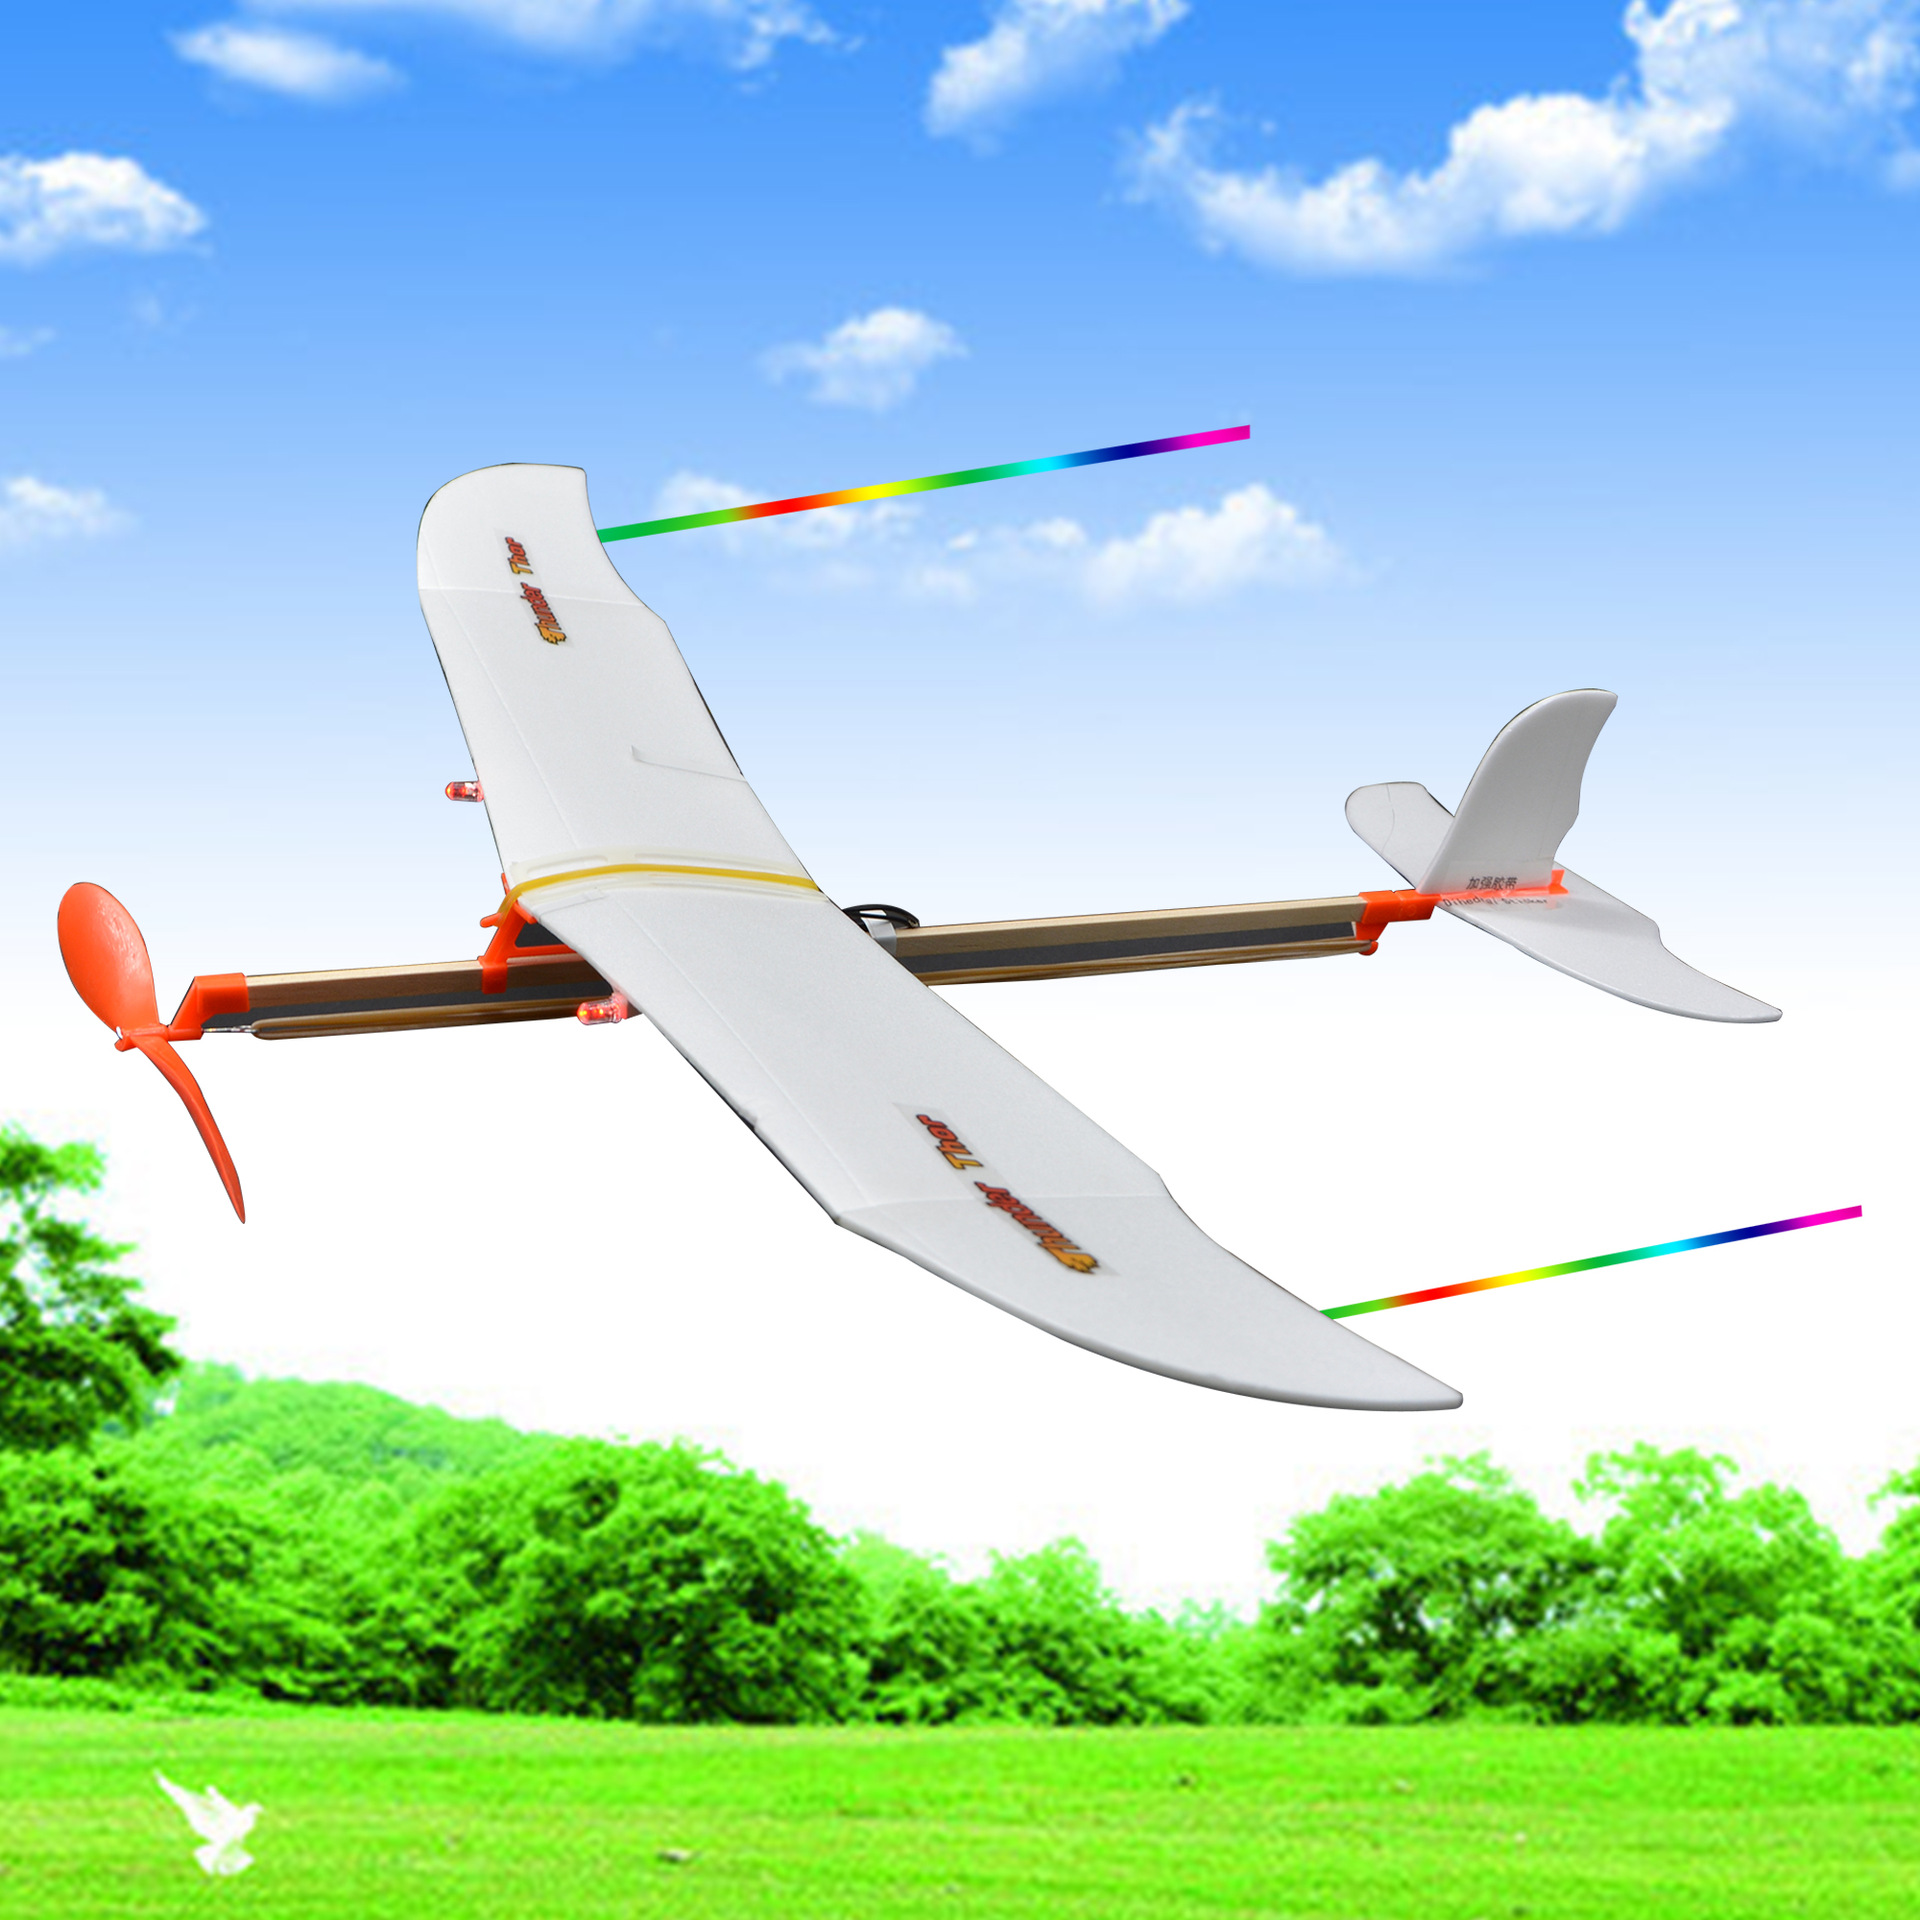
Teaching point: Understanding wing profiles and the concept of dihedral angle, an introductory aviation knowledge textbook.
Product advantages: Enlightenment in aircraft dynamics, improves hands-on ability, can fly for over 60 seconds.
Suggestion for Use:
Children over 6 years old (Parental guidance)
Students in Grade 2 or above can try to make things by themselves.
Hand-on Inquiry Ability: ★★★
Assembly difficulty level: ★★
Installation Adjustment:
The product manual provides a very detailed introduction on installation and debugging. Please read it carefully and install according to the instructions. Due to the high balance requirements of the model aircraft, installation must be carried out in accordance with the balance requirements. Below, I would like to add some personal opinions for your reference, hoping it will be helpful to you.
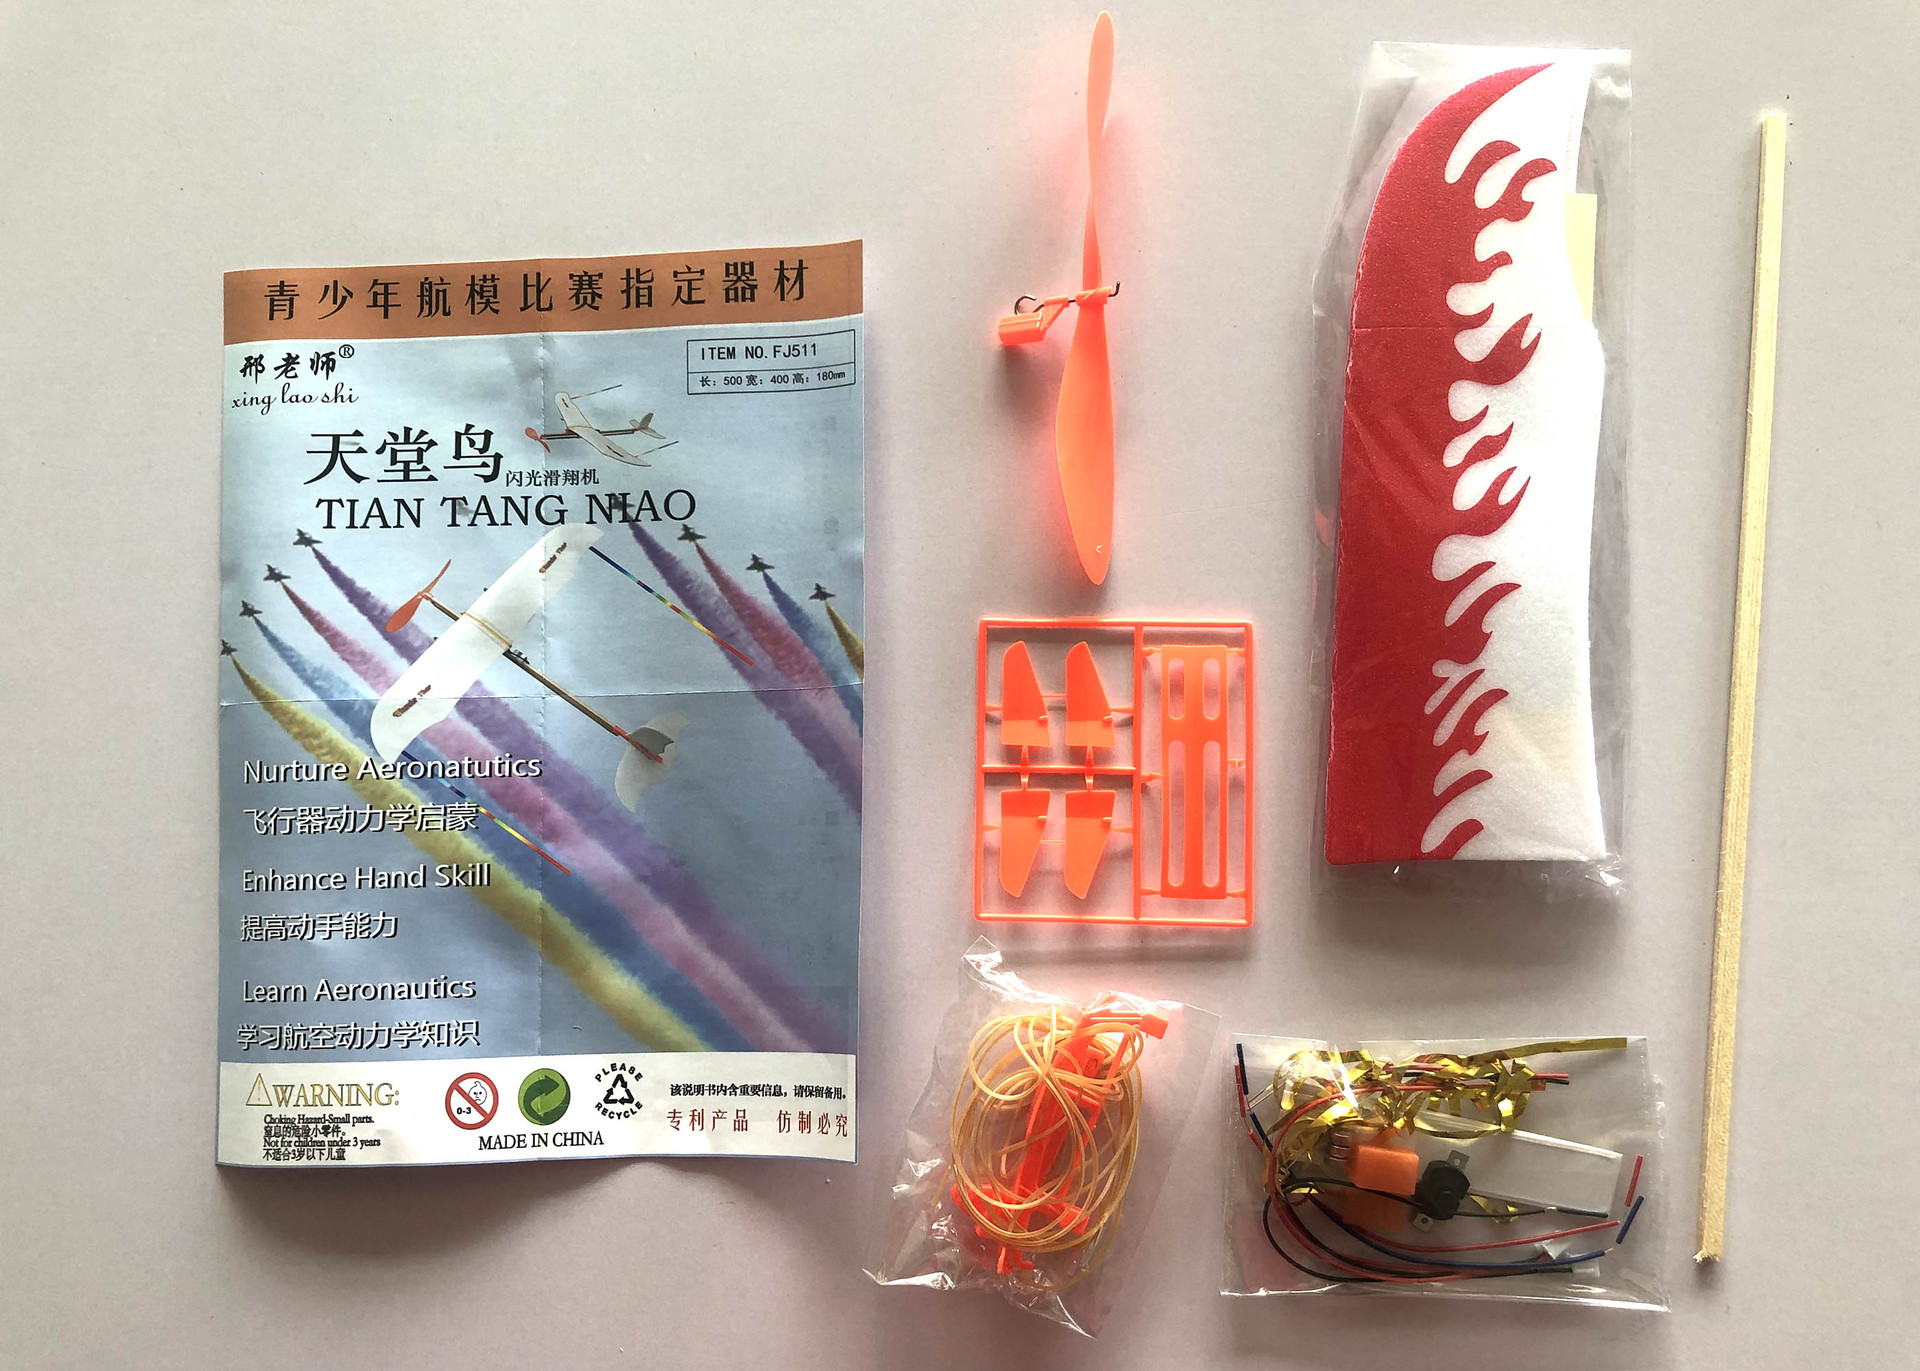
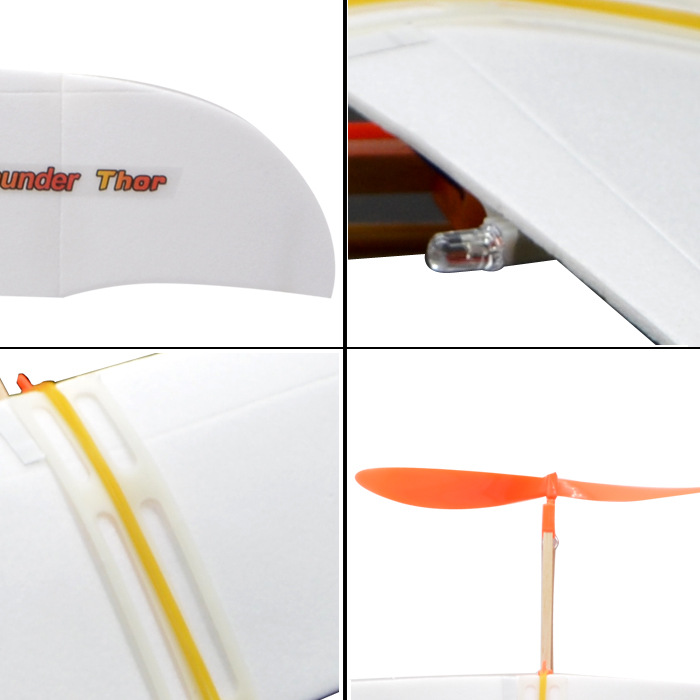
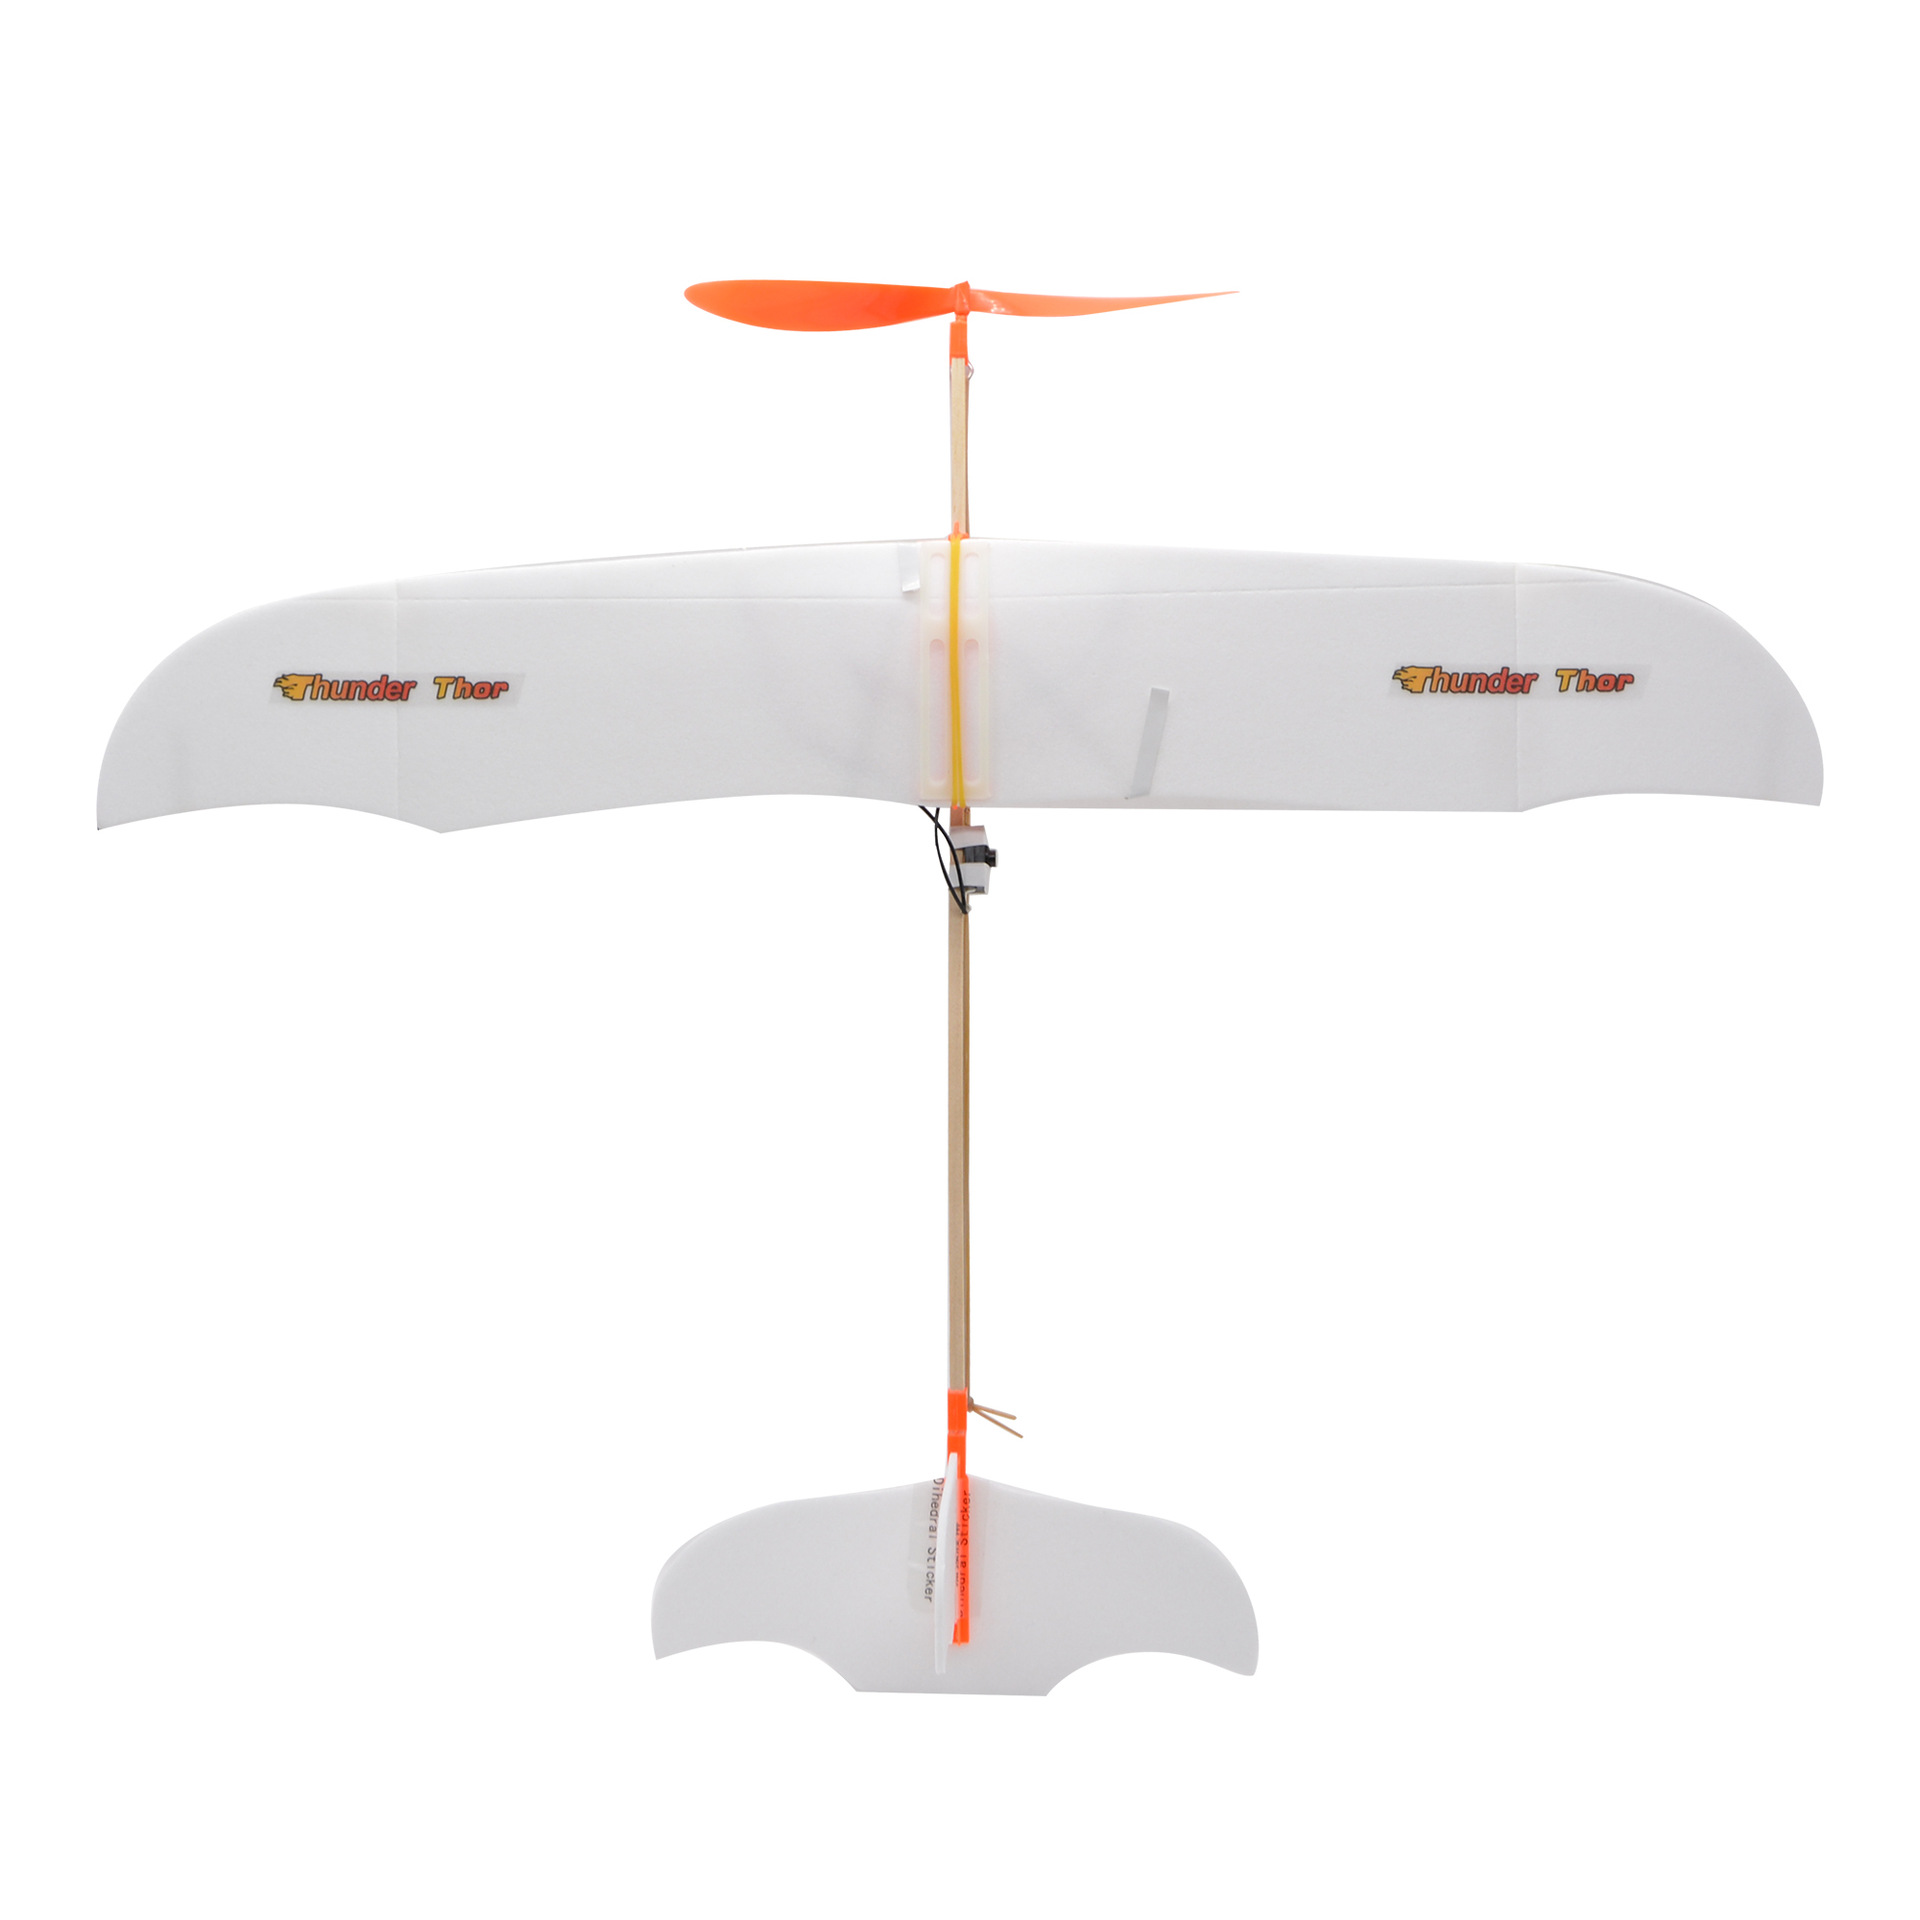
Flight Guide:
1. Inspect the model
Looking directly at the model's head, a properly installed model should not be twisted and should be symmetrical from left to right.
Section Two: Model Adjustment
In the absence of wind or with a gentle breeze, hold the center of gravity of the drone's body and gently throw the model. Adjust the distance between the wings and the tail as the model's flight posture changes. A wavy flight pattern indicates that the head is too light, and you need to move the wing forward; a downward dive indicates that the head is too heavy, and you need to move the wing rearward.
Section Three: Powered Flight
First, wind the propeller clockwise for about 15 turns, then hold the model with your right hand and support the propeller with your left hand, gently pushing it into the wind. Observe the flight trajectory, and a spiraling ascent is the best attitude. If you find that the model's spiraling radius is too small, cut a small hole at the root of the vertical tail and bend it in the opposite direction. After the flight attitude is normal, wind the rubber band 200 to 220 times for large power flight. The rubber band should basically be in a slightly relaxed straight state. Whether to oil or not, I personally think it's okay. If you oil it, it will be slightly smoother, but the life of the rubber band will be shortened.
The key issue is to adjust the center of gravity of the plane. The method is to not tighten the rubber band and to throw it directly from your hand in a calm environment. The plane should neither have obvious elevation nor obvious depression. If it elevates, add weight to the nose. Additionally, it is necessary to pay attention to the fact that the plane should not have any side tilt. If it does, adjust the wings to correct it. Generally, when competing, one should throw the plane into the wind, and the force of the hand should not be too strong. Especially when the wind is strong, if the force of the hand is too large, the plane will do a loop backward, which will shorten the time in the air.
Safety Warning:
All the accessories in this product are specially designed for student experiments. Please use them under the supervision of teachers and parents to ensure safety! Do not consume any of the products! They are not suitable for children under three years of age. Do not approach fire sources. Before assembling any batteries, please check if the circuit is clear, all parts of the circuit are complete, and all contacts are good. The + on the battery is the positive pole, and - is the negative pole. Be careful during the assembly process, and if glue is used, do not get it in your eyes or on your skin.
Update time:
TOP