
Search history
Clear allSearch by image
XDrag and drop an image here or upload an image
Max 5MB per image
UploadSign In | Join

Search history
Clear allSearch by image
XDrag and drop an image here or upload an image
Max 5MB per image
UploadSign In | Join
Chain fence mesh / Chain fence mesh
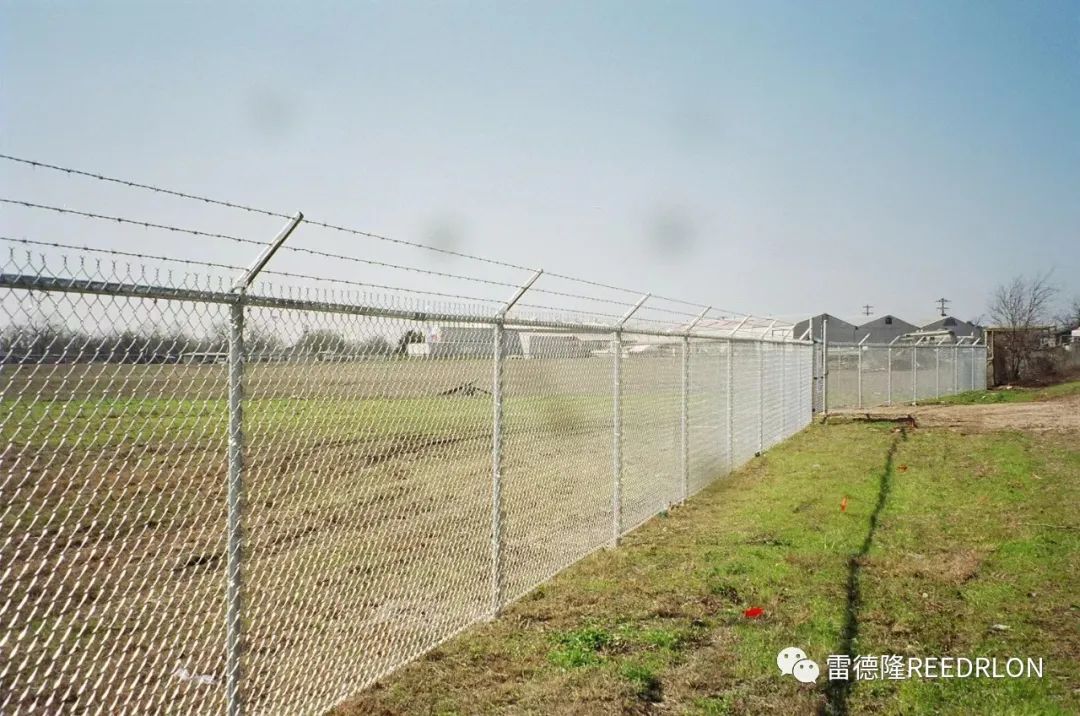

(<t_GRABBER NET SAFETY BAR>)
sticated netGuardrails are primarily made of woven netting fences, widely used in North America, Latin America, and other regions. They are easy to install, cost-effective, and visually appealing!
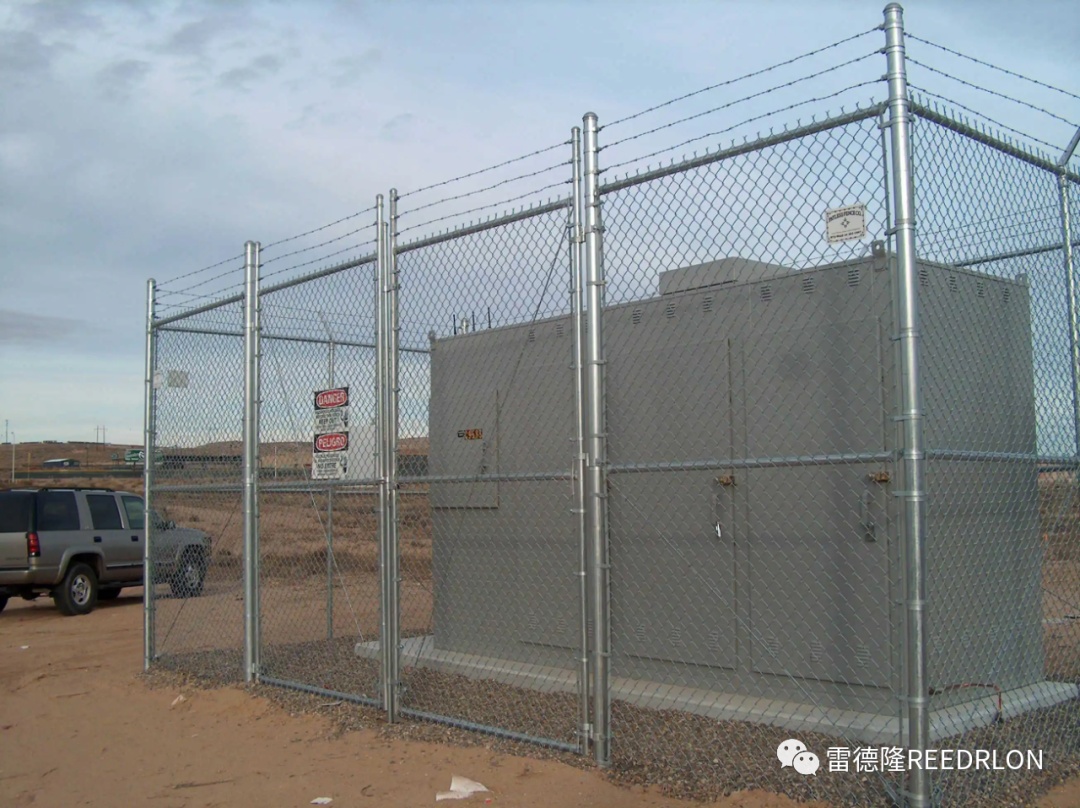
Chain fenceIt is a fence mainly made ofChainWire mesh, which is widely used in North America, Latin America, and other regions. Easy to install, affordable, and beautiful!
Just check out a few real product images:
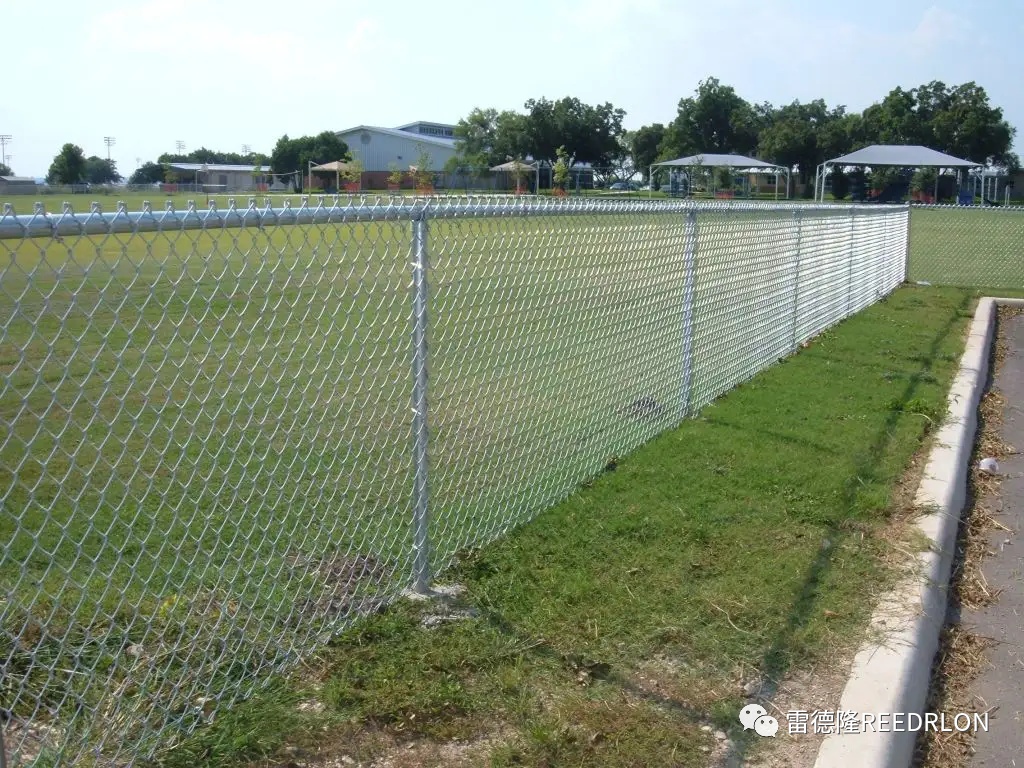
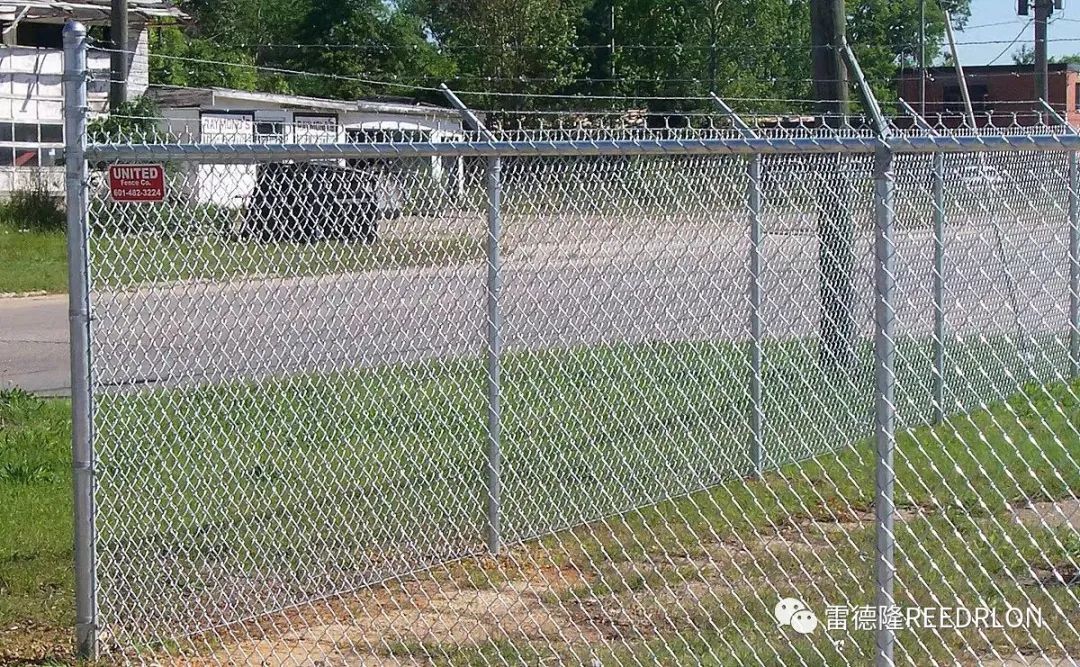
Simple styleThe columns are secured, and a crossbeam is installed on top; the net is then fixed to the crossbeam of the columns.Simple modelThe column is fixed, a beam is installed on it, and the net and the column beam can be fixed
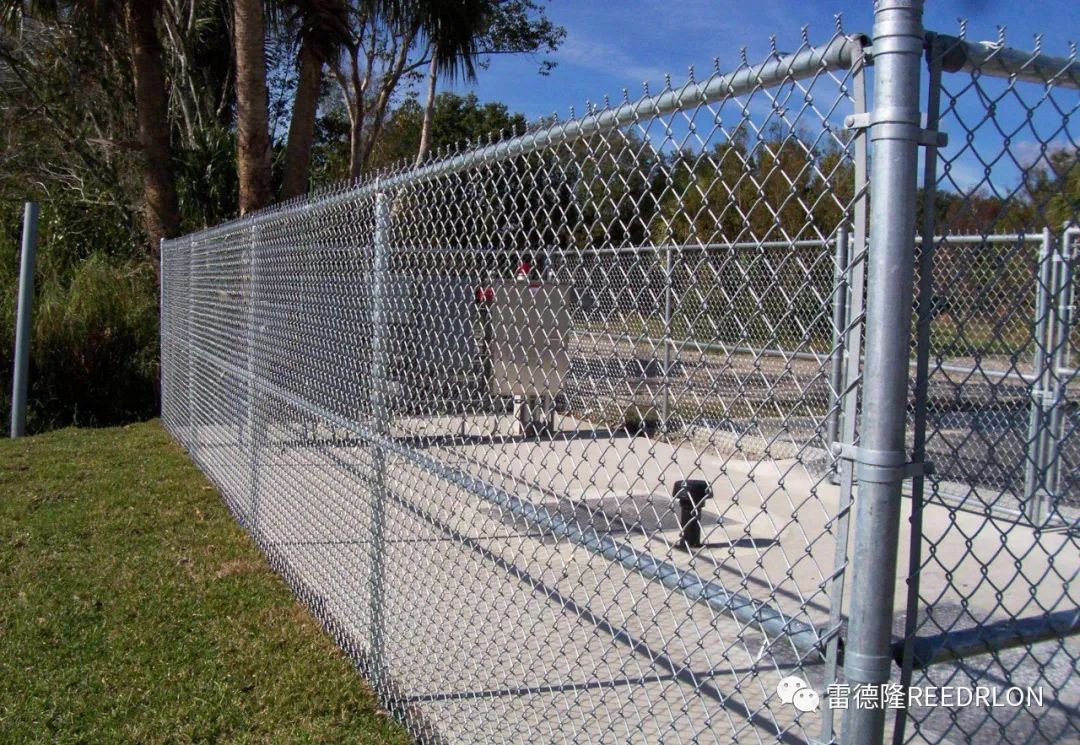
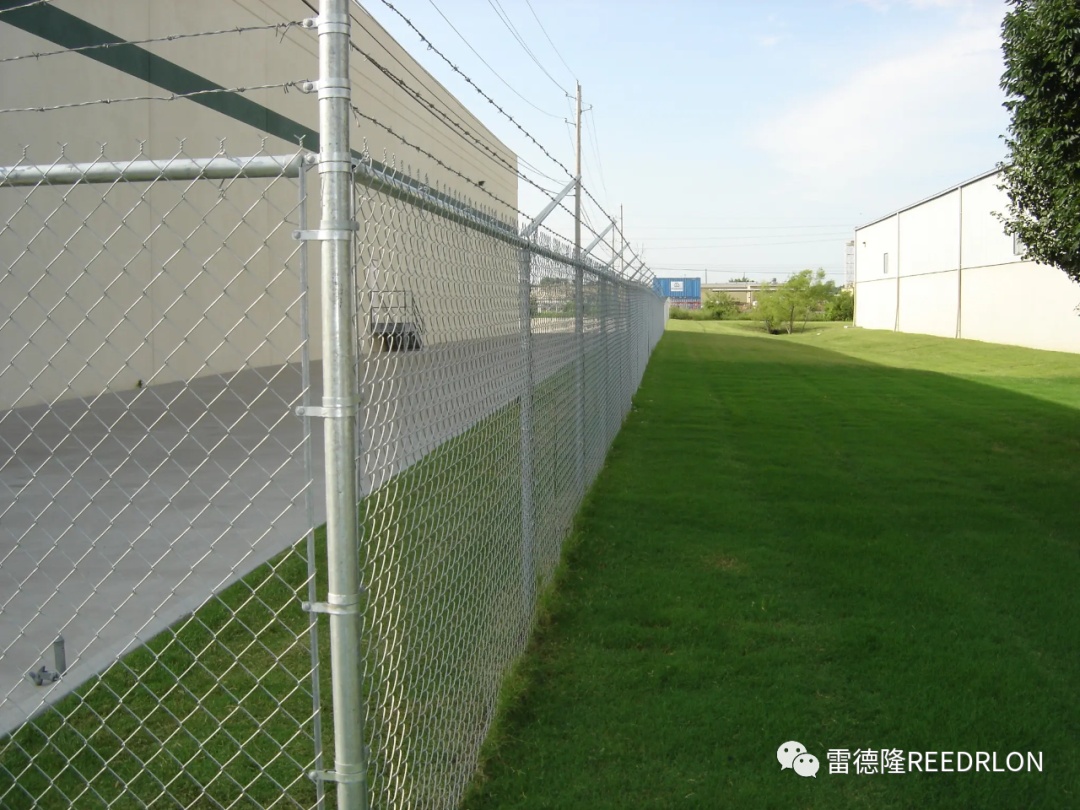
Add a crossbeam in the middleThe net surface is quite high, with a crossbeam reinforced in the middle.
The middle plus beam type features a relatively high mesh surface, with a beam reinforced at the middle.
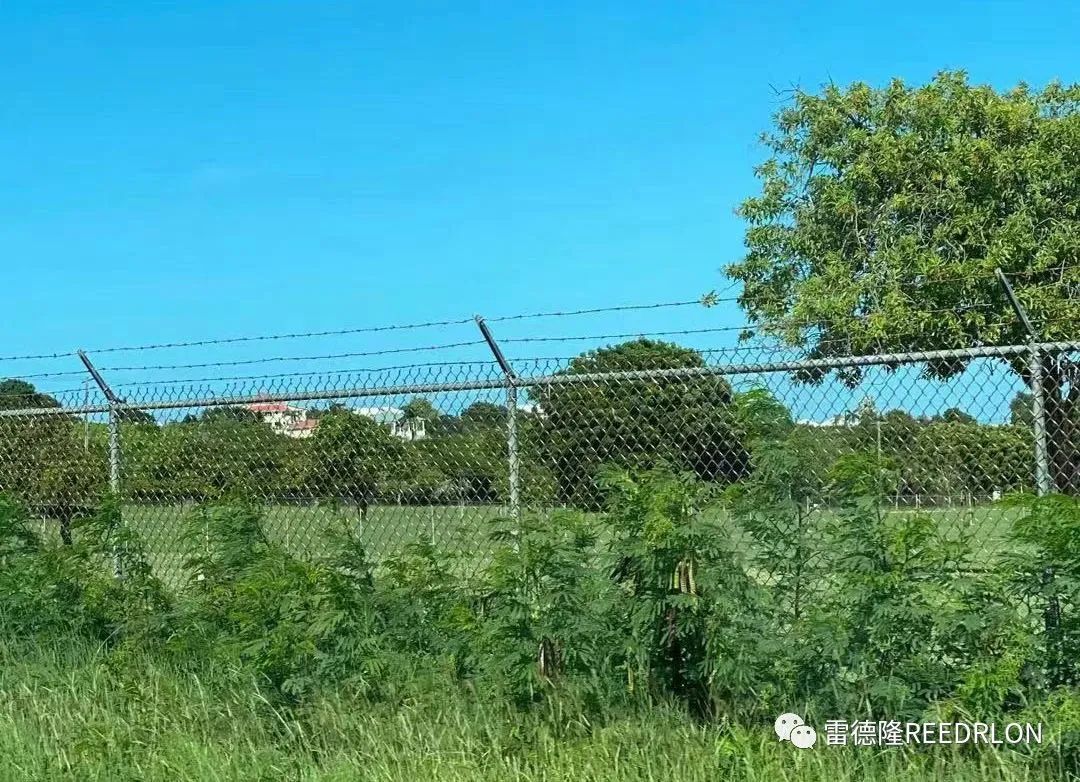
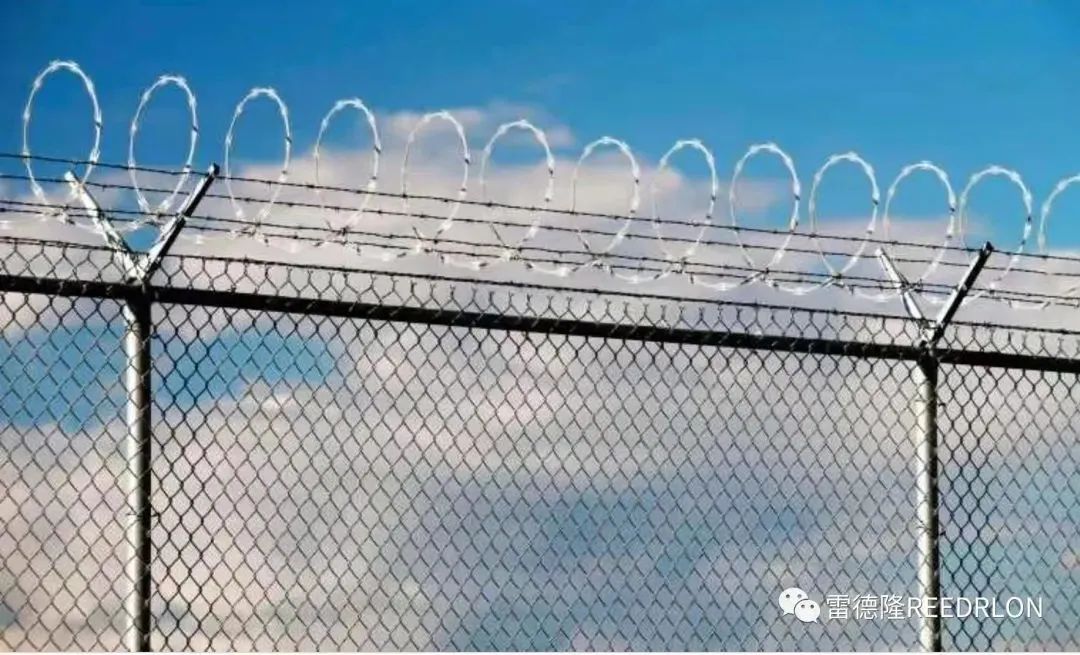
Add aboveBlade Strap, with greater deterrence, prevents climbing, making it safer!
AddRozar barbed wireAt the top of the rope, the deterrent effect is more effective; it prevents people from climbing, making it safer!
From these pictures, we can get a general understanding.sticated netGuardrails: If you think this one fits, let’s continue to the next one. I’ll provide you with detailed information. If it doesn’t work, just switch to the next model!
Through these pictures, we probably understand the check flower net guardrail. If you think it is suitable, we will continue to review it in detail and introduce it to you. If it isn’t suitable, we will directly replace the next one!
Once this is confirmed, it would be better if you answered these questions professionally.
1. Do you need it?Blade Strap,iron wire rope?
2.wire meshHow tall is required? Standard sizes are 1.5m and 1.8m.
3. How many beams are needed? Do we need them above, below, or in the middle?
4. Is the ground concrete or soil?
5. What is the required length? Do you need a door?
6. Are there any other special requirements?
This is certain, and it would be nice if you don’t answer these few questions professionally:
1. Do I needrazor wire and barbed wire,barbed wire?
2. How tall must the barbed wire be? Regular 1.5m, 1.8m
3. How many beams do you need? Above, below, in the middle, or not?
4. Is the ground concrete or soil?
5. The required length – do you need a door?
6. Are there any other special requirements?
If you don’t understand, the answers to the above questions are provided at the end, while the subsequent ones are more complex and more professional!
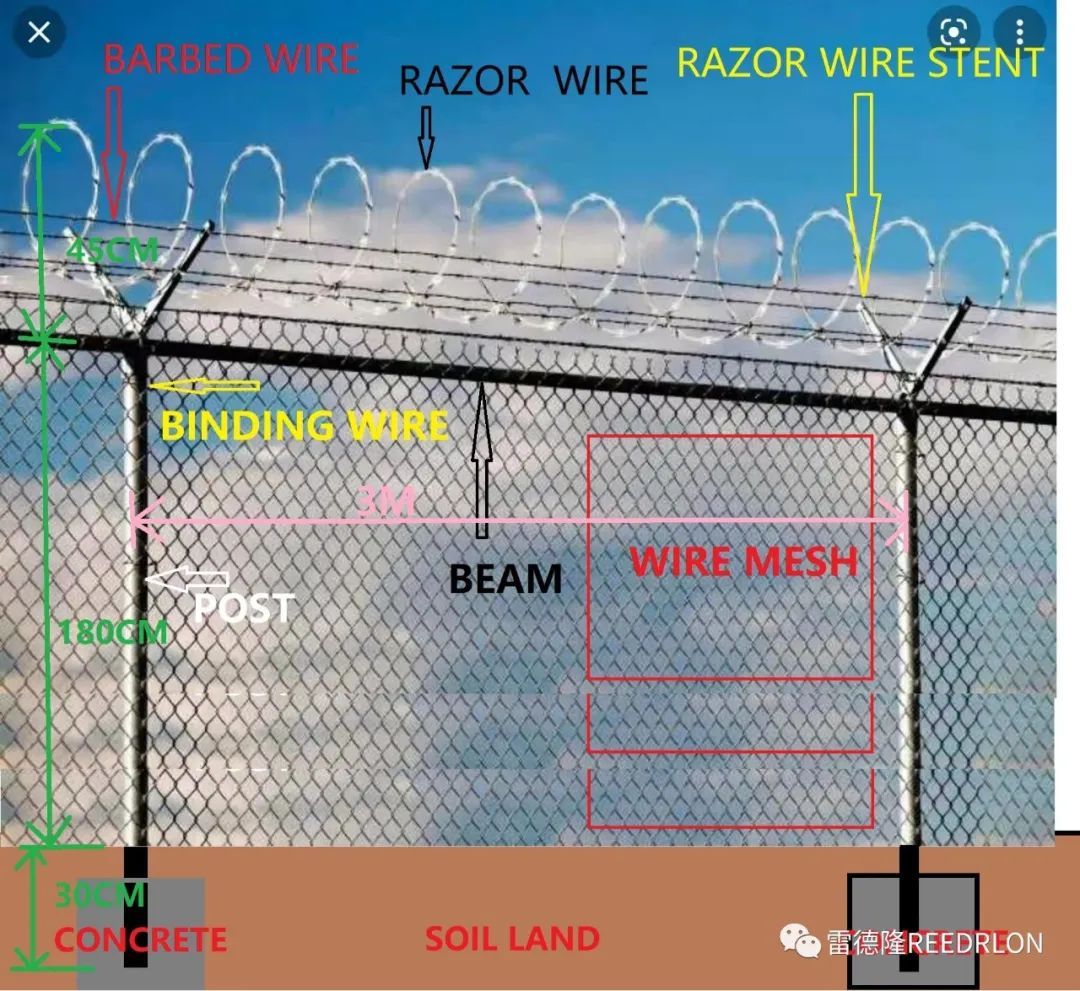
Introduction to materials and accessories for each component:
Post / Column
Crossbeam / Beam
Barbed Wire Stent
Flat iron / Strap
Flank Card Buckle
Front Card Buckle
Casing / Beam Connection Beam
Column ear / Beam connection post
Crossbeam Column Cap / Post Connection Beam
Rainproof Hat / Post Head
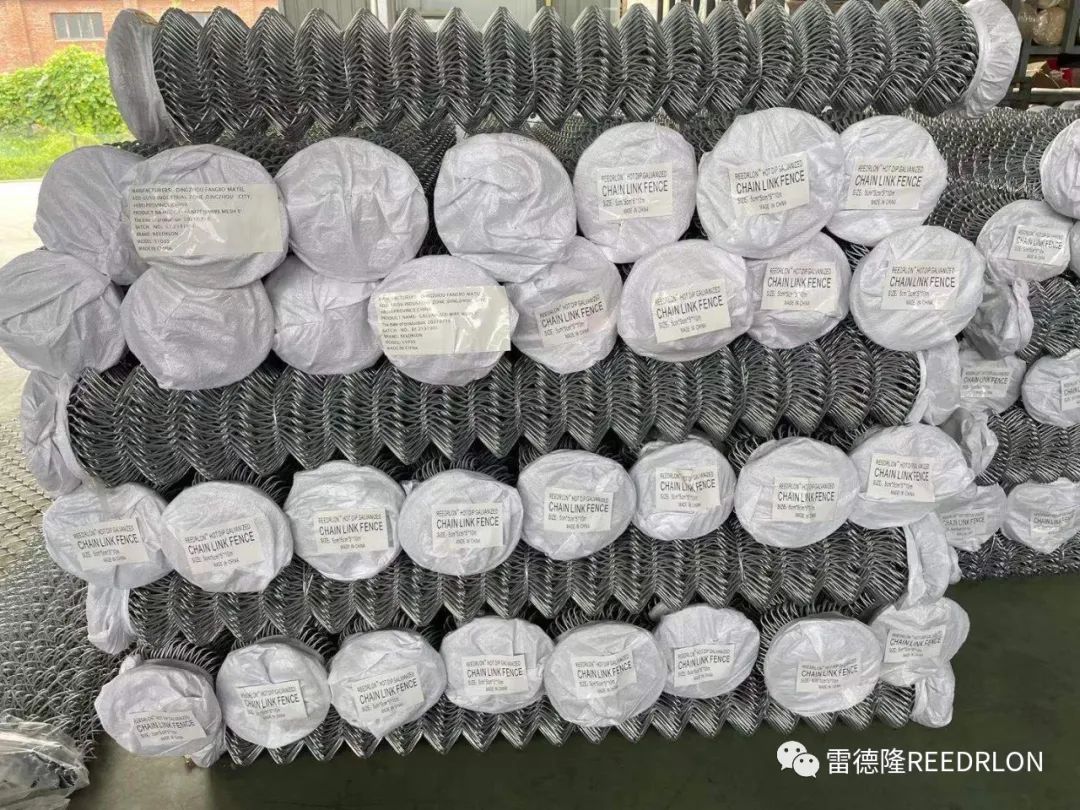
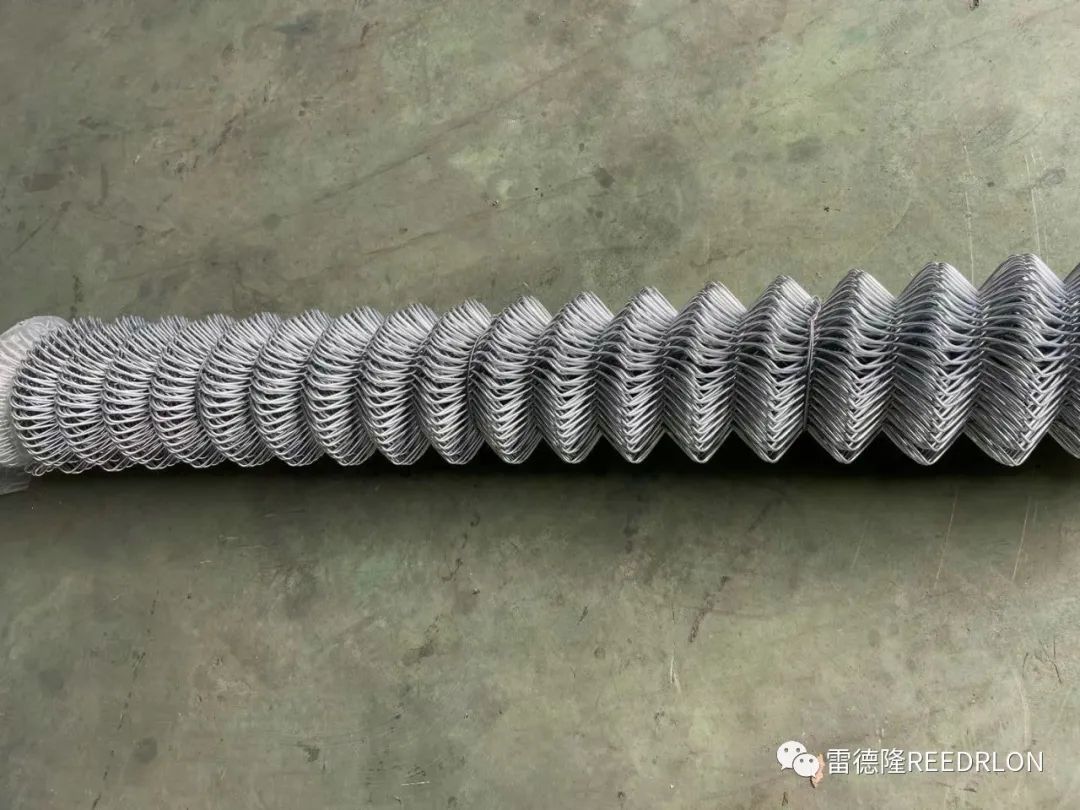
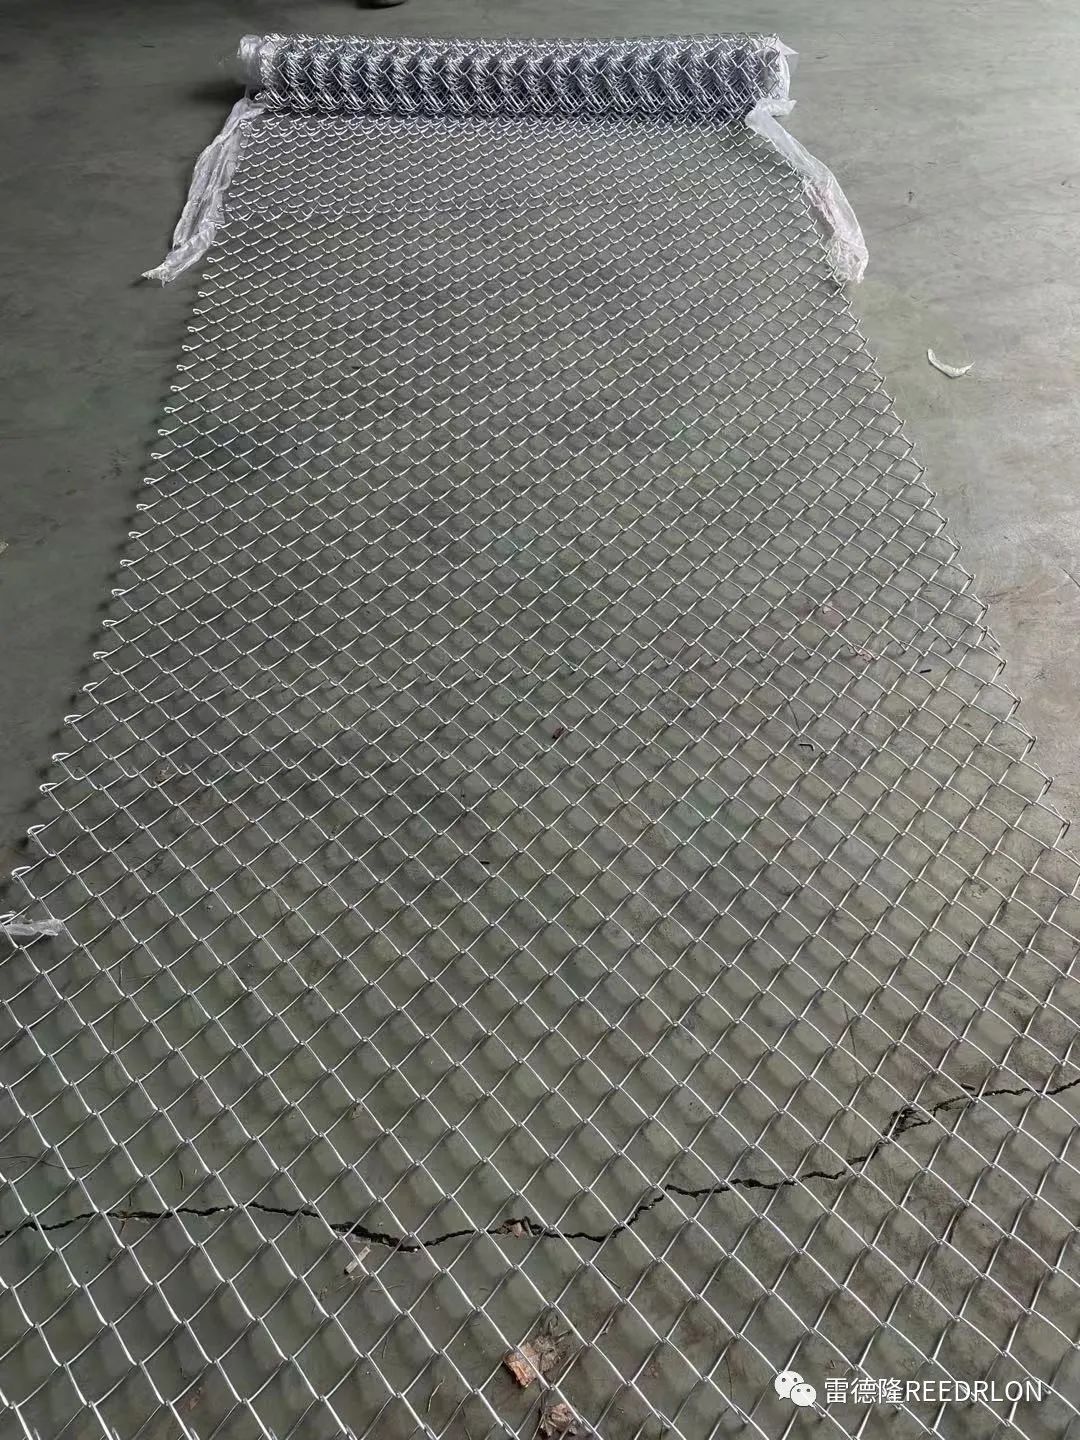
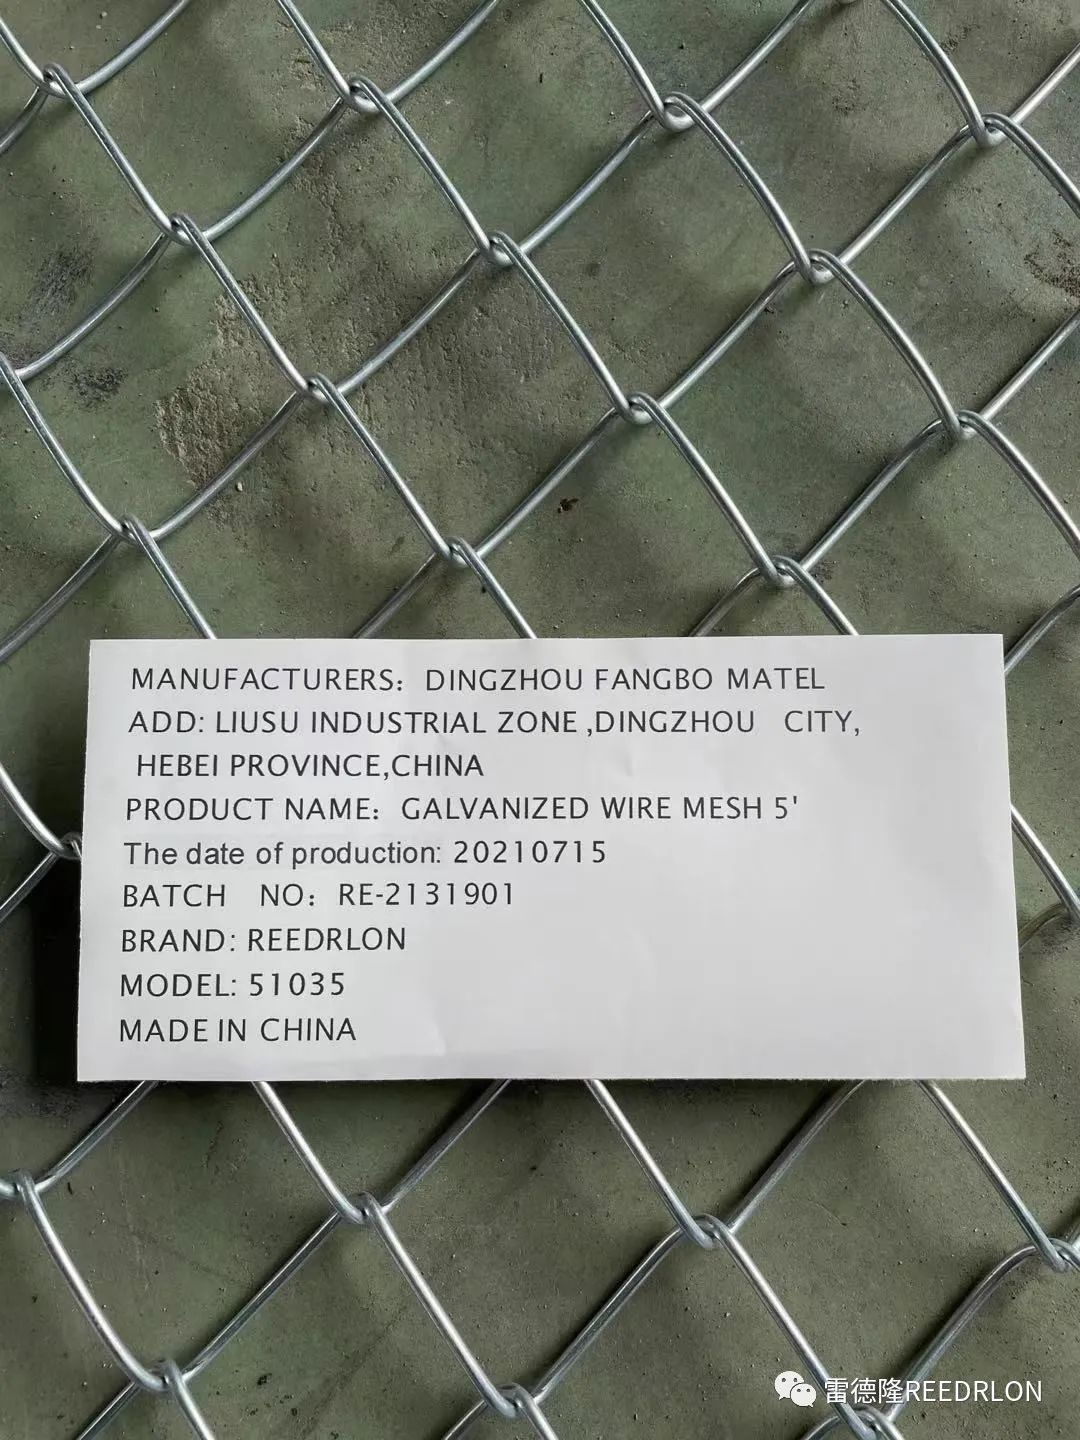
Material(<t_XXXXXXX>)<t_XXXXXXXXX> <t_XXXXXXXXX>Hot-dip galvanized iron wire, electroplated zinc iron wire, PVC iron wire
Wire thickness (Thickness): 2mm–5mm
Hole (hole)<t_XXXXXXXXX> <t_XXXXXXXXX>2” 2.5”
Width1.2 m 1.5 m 1.8 m 2 m 4 feet 5 feet 6 feet 7 feet
2. Post / Post
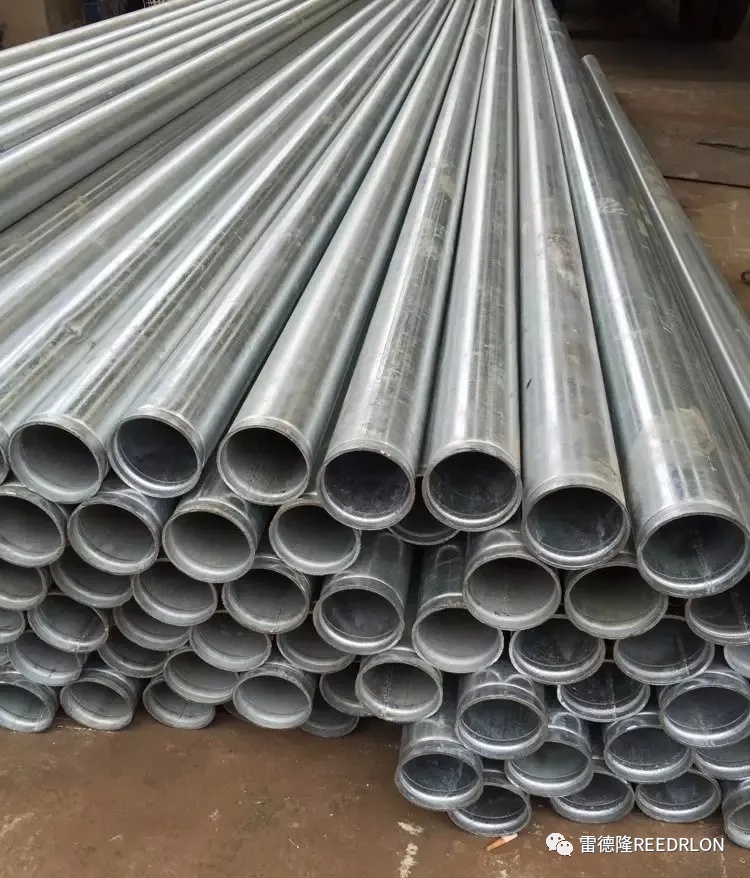
(<t)_EMBEDDED POSTS
Standard columns are typically made of 60mm galvanized circular pipes, with a spacing of usually 3m per unit. If the installation site is land, embedded columns are suitable. For embedded columns, depending on factors such as the height of the net and tensile strength, they are generally 30cm to 50cm longer than the net. When the installation site is concrete or asphalt pavement, flange base columns are commonly used, which are secured with expansion bolts!
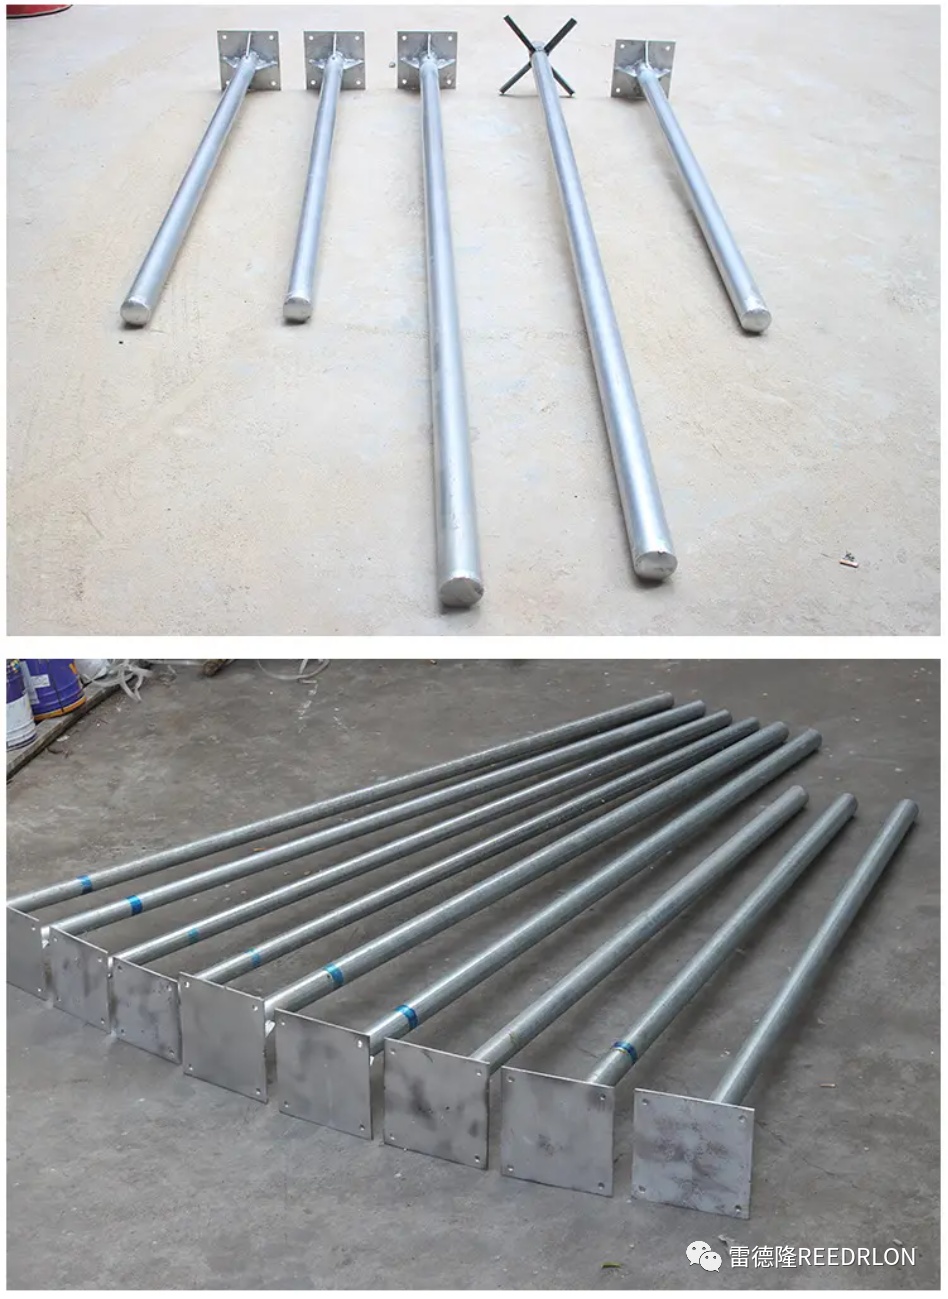 (<t_CHASSIS COLUMN>)
The columns typically use 60mm galvanized round tubes, with a spacing of generally 3m. The installation site is suitable for embedded columns, and depending on the height and net tensile strength, these embedded columns are usually longer than 30cm–50cm. The installation site may be concrete or asphalt pavement; in such cases, flange-mounted columns are used, fixed with expansion screws.
3. Beam
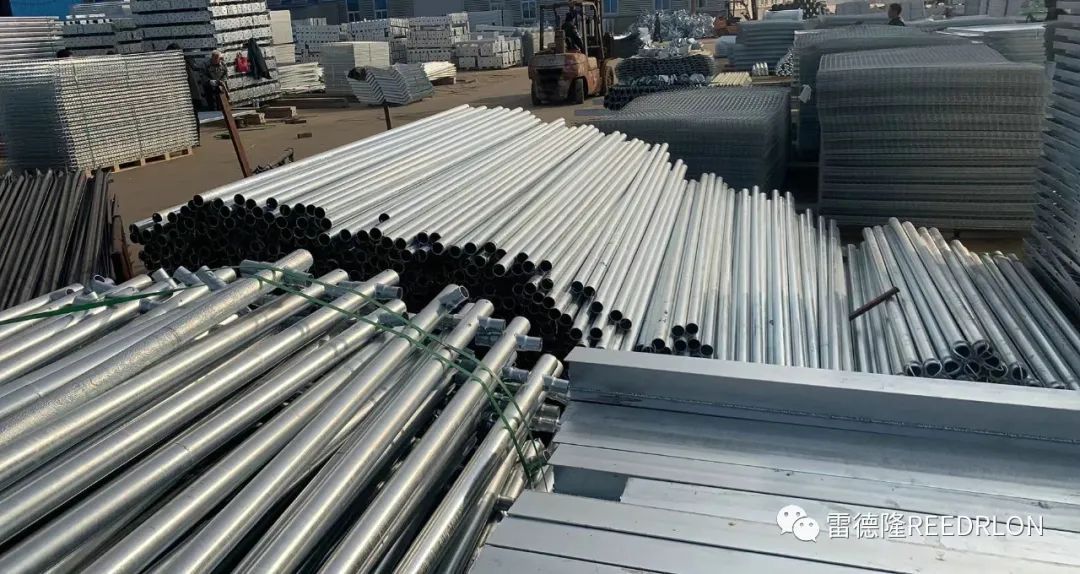
The crossbeams are typically made from 48mm galvanized circular pipes, with lengths of 6m or 3m.
The beams are typically 48mm galvanized round tubes with a length of 6m or 3m.
4. Barbed Wire Stent
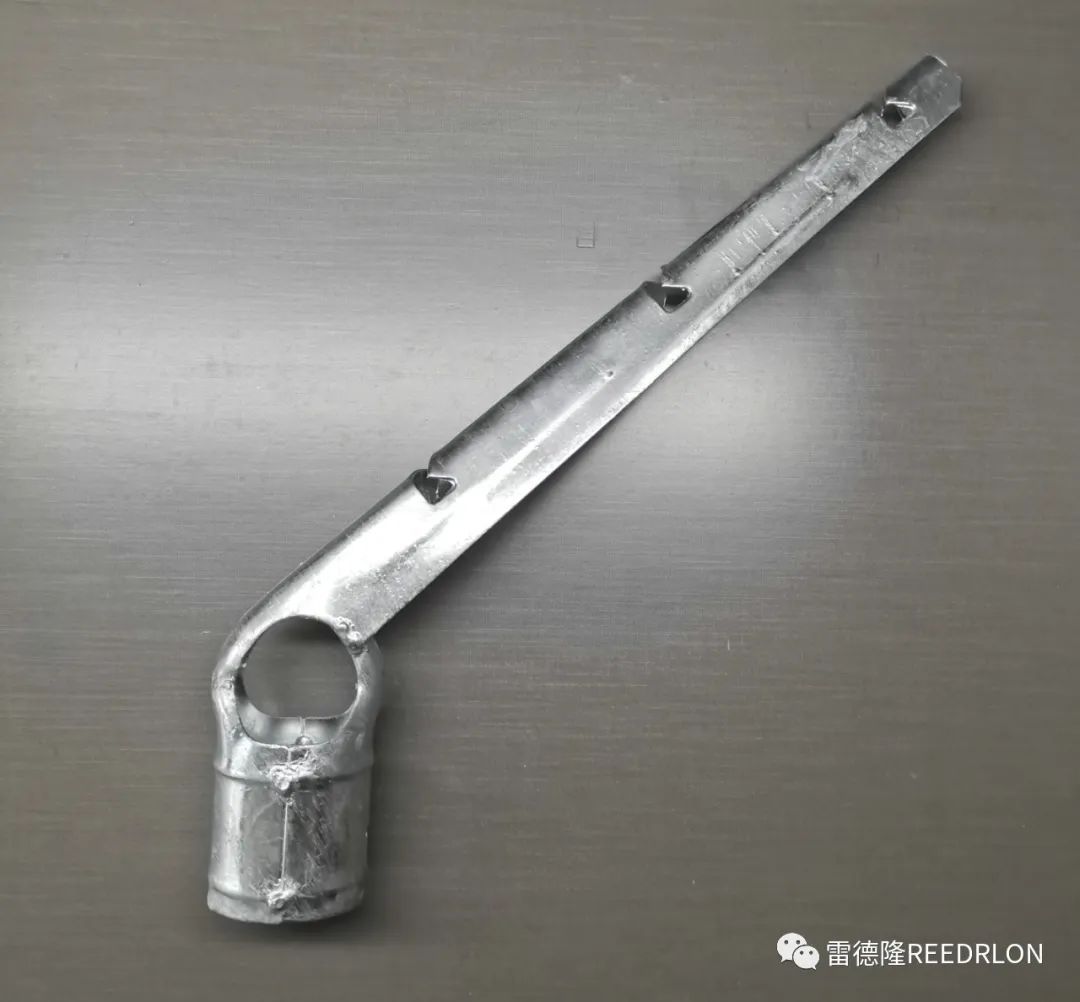 Single-arm spike rope support, fixedWire Sting Rope. Single-arm barbed rope bracket, fixedbarbed wire rope</t_XXXXXXXX>
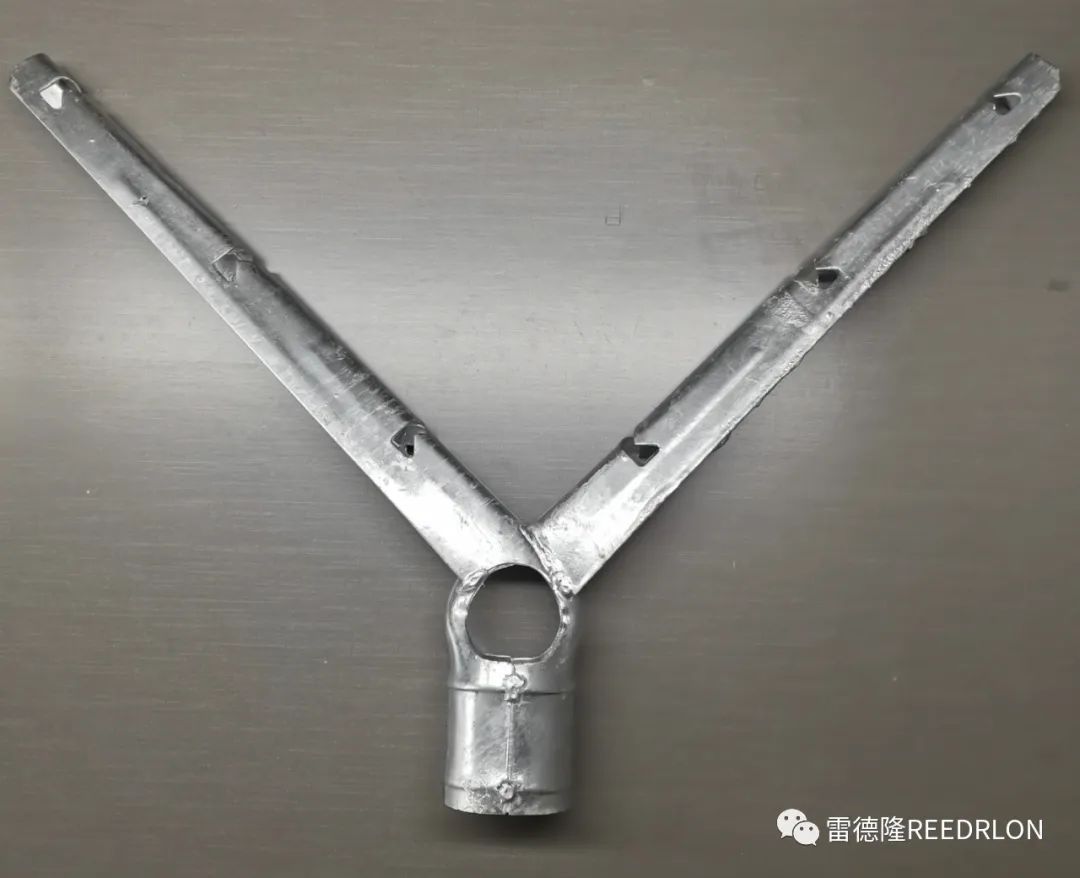 arm support with wire straps, fixing iron wire straps andBlade Strap.
Double-arm barbed rope bracket, fixed wire barbed ropebarbed rope with a blade.
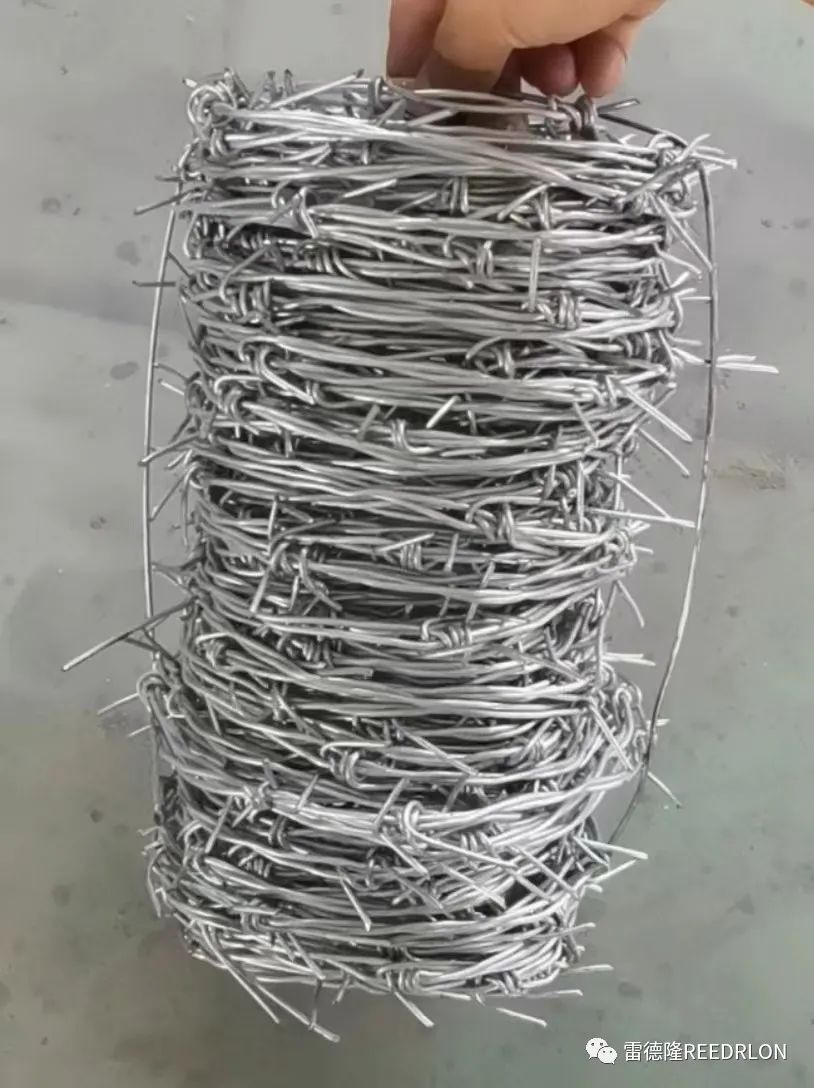
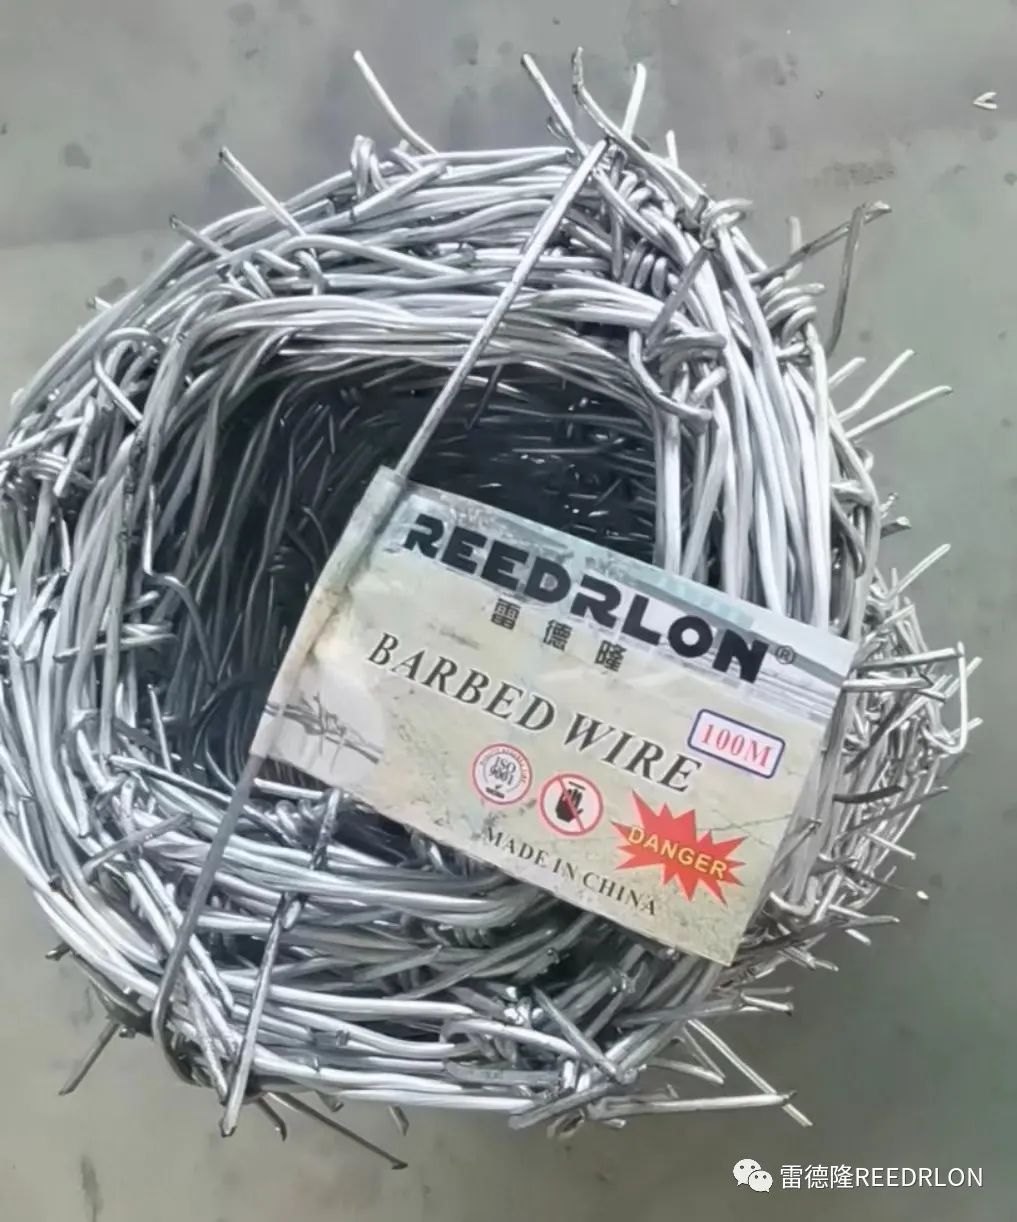
Wire Sting RopeHot-dip galvanized low-carbon steel wire, thickness 12# and 14#. Wire barbed wire Hot-dip galvanized mild steel wire, thickness 12# 14#
6. Blade barbed wire / Rozar barbed wire
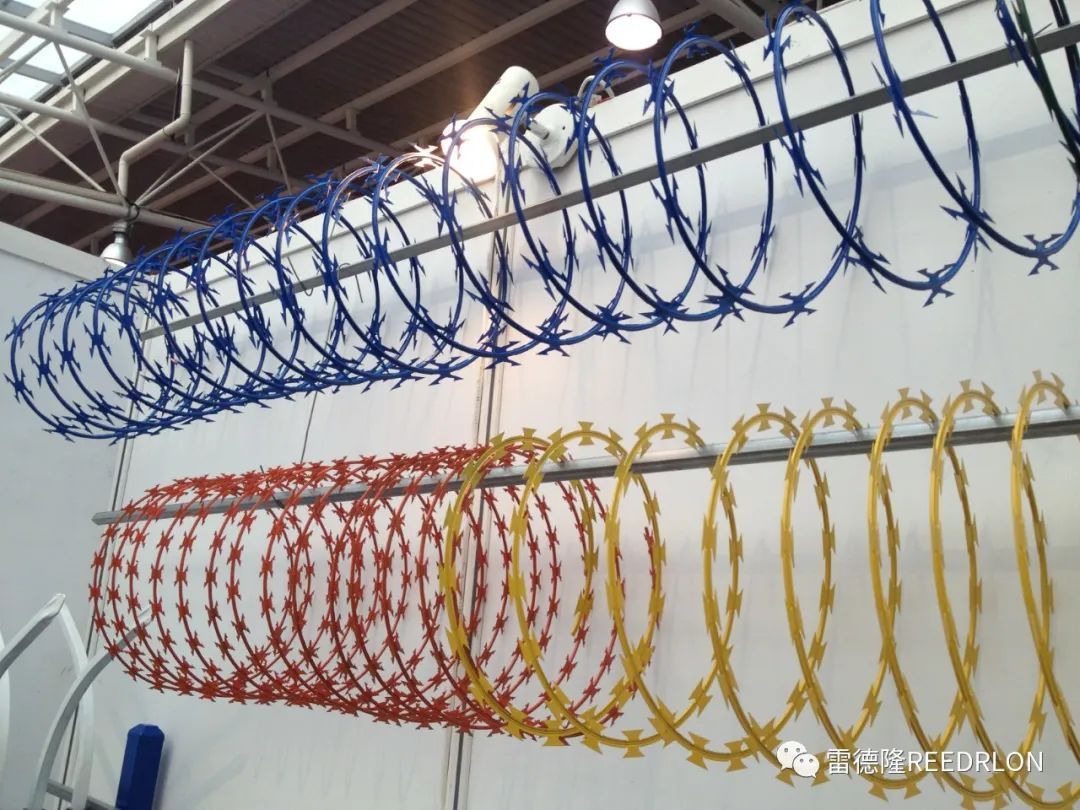 Single helixBlade Barbed Wire Single Razor Barbed Wire
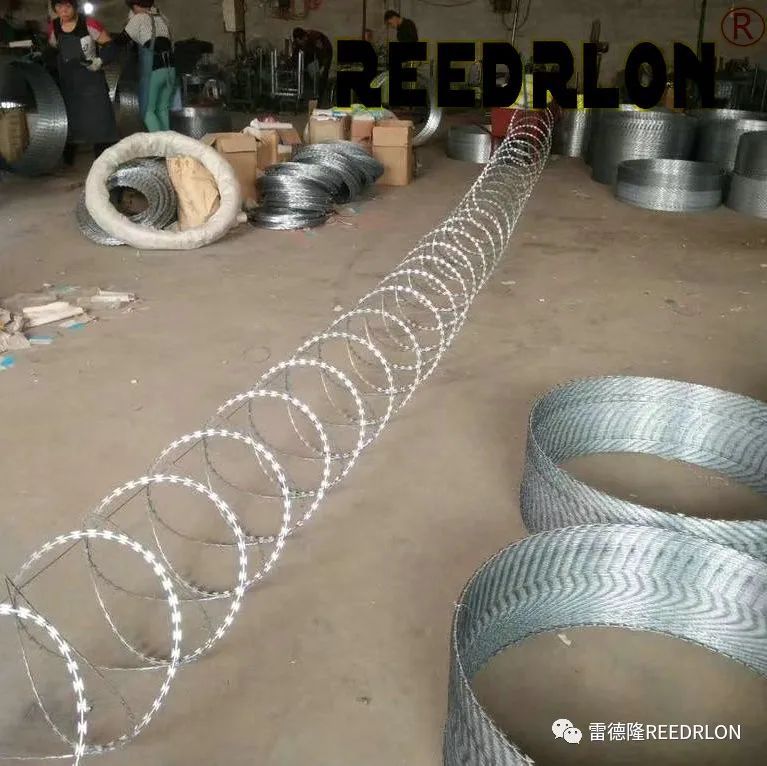 Spiral CrossingBlade Strap CRoss Razor Barbed Wire
7. Flat iron / Strap
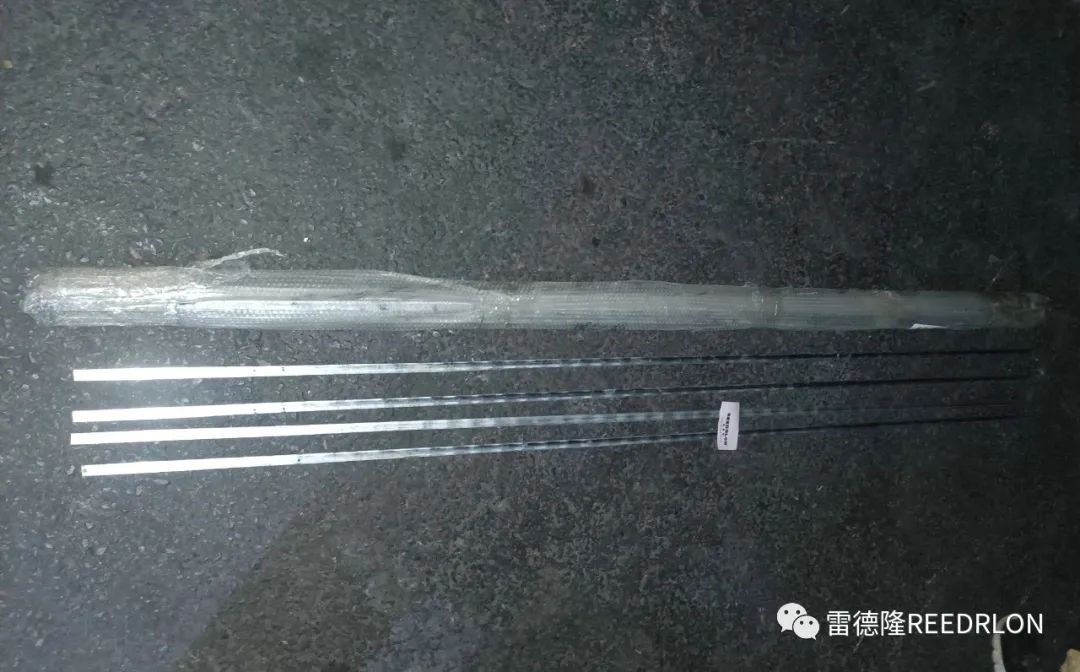
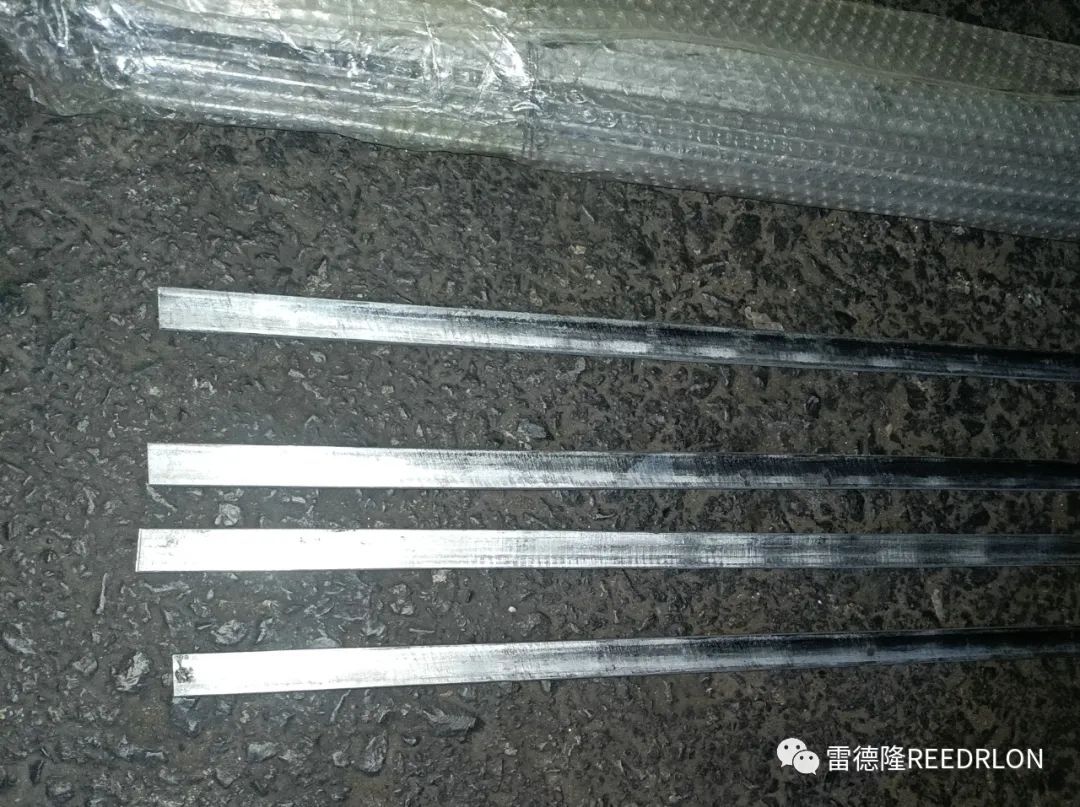
For usesticated netThe starting and ending points are connected via brackets and columns, passing throughsticated netEnsures uniform force distribution across the hook net. Used at the start and end of the hook net, connected to the column via an offset card, ensuring uniform force when the hook net moves up and down.
8. Flank Card Buckle
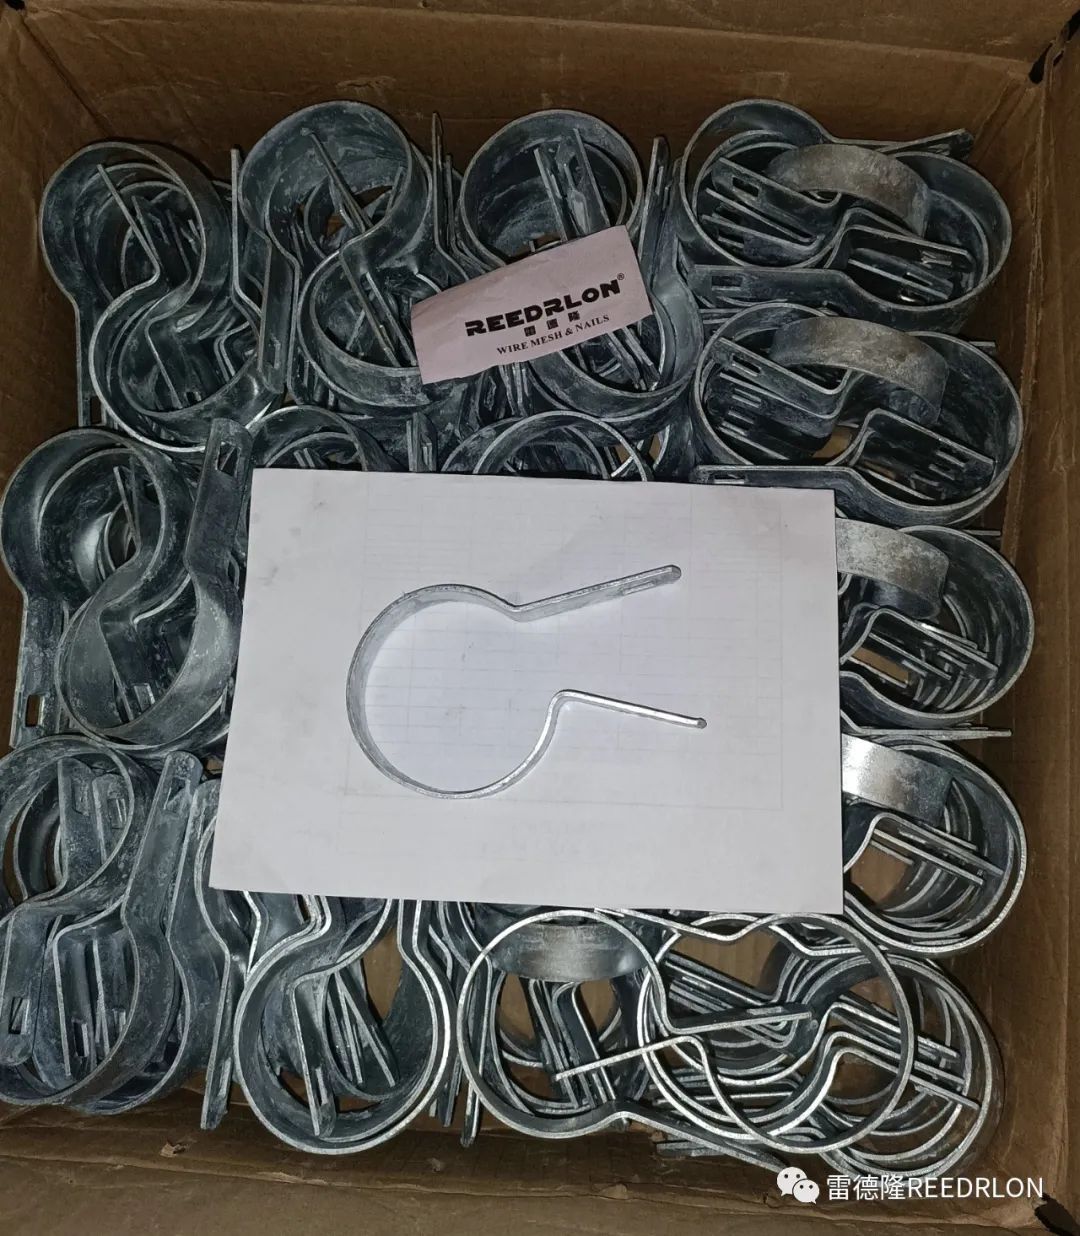
Bias card, connecting the flat iron with the column.
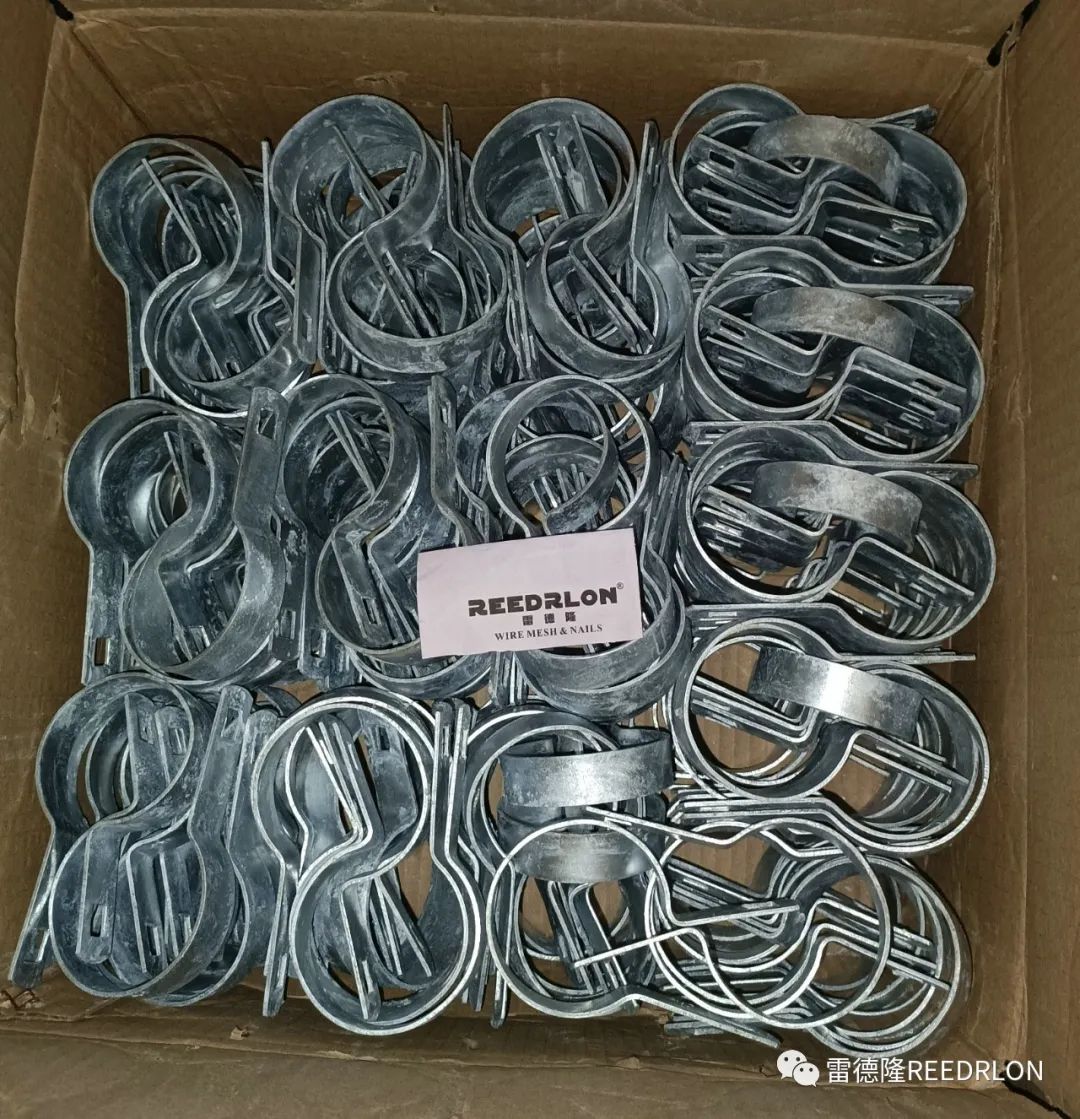
9. Front Card Buckle
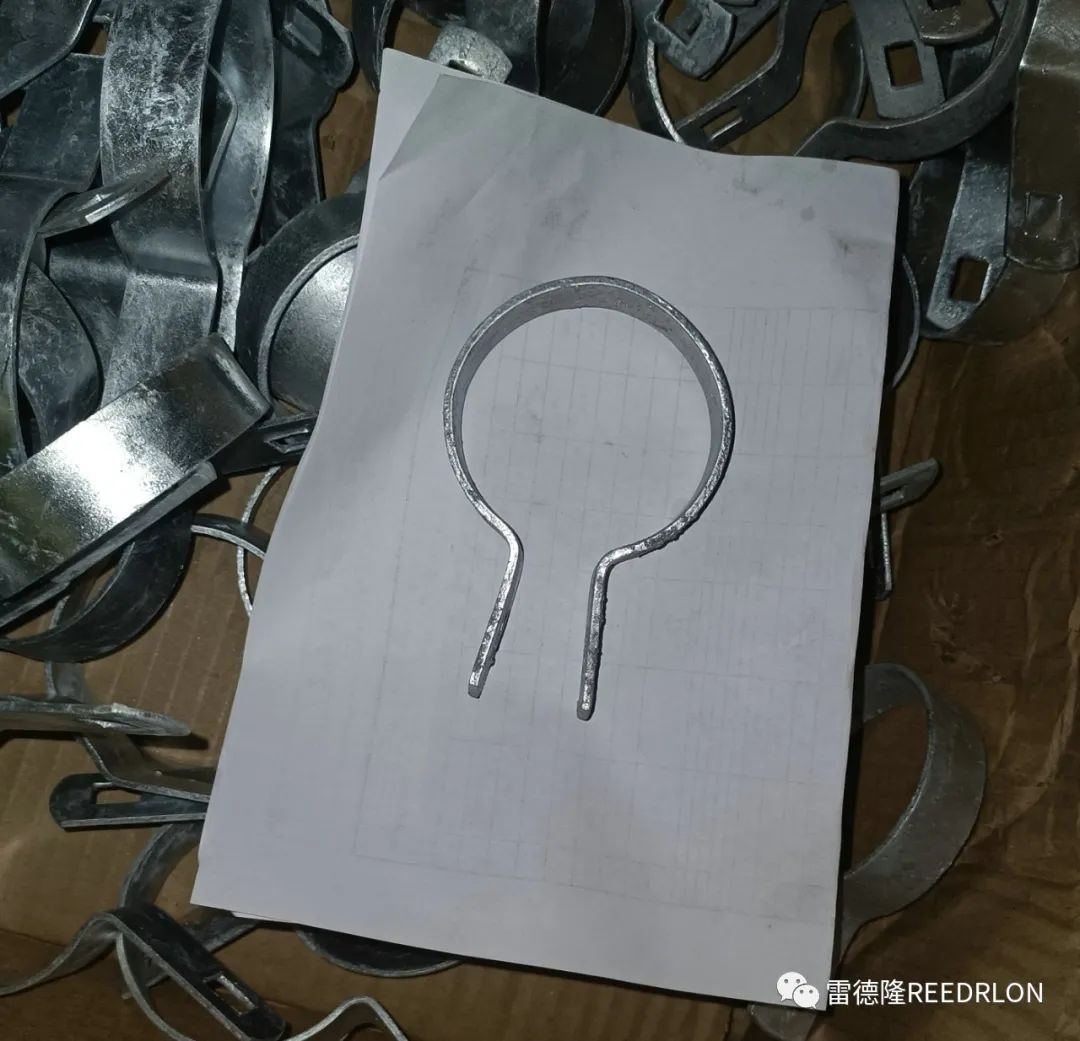
Link the column ears with the column
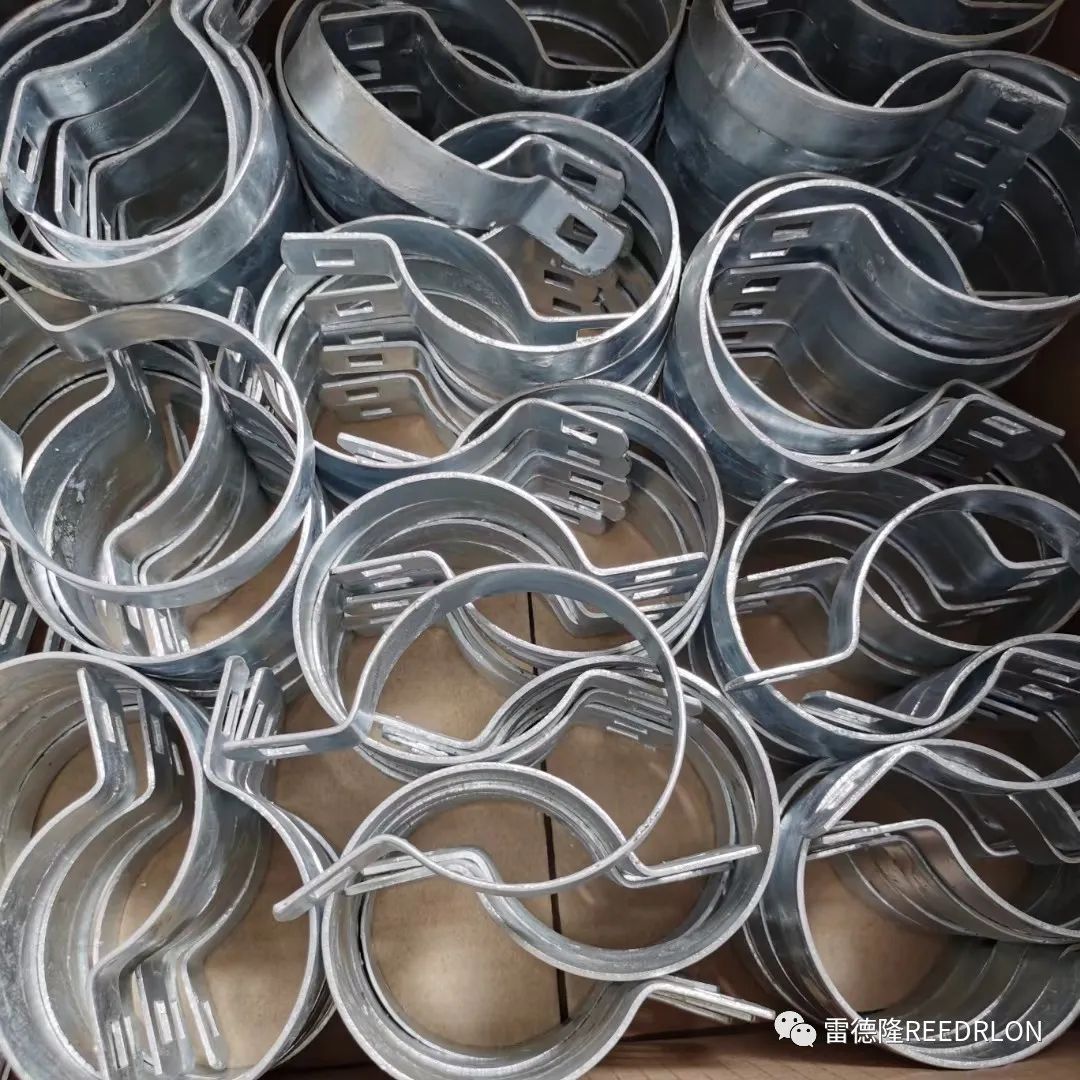
10. Casing / Beam Connection Beam
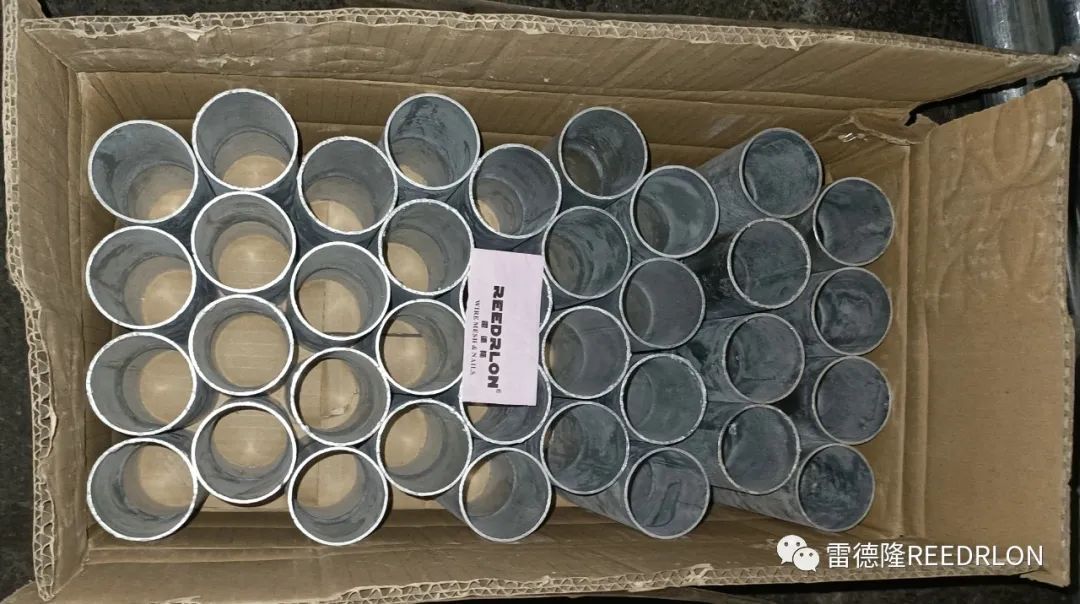
The connection between beams is just simply strapped together directly.
The connection between the beams is simply a convenient way to assemble them together.
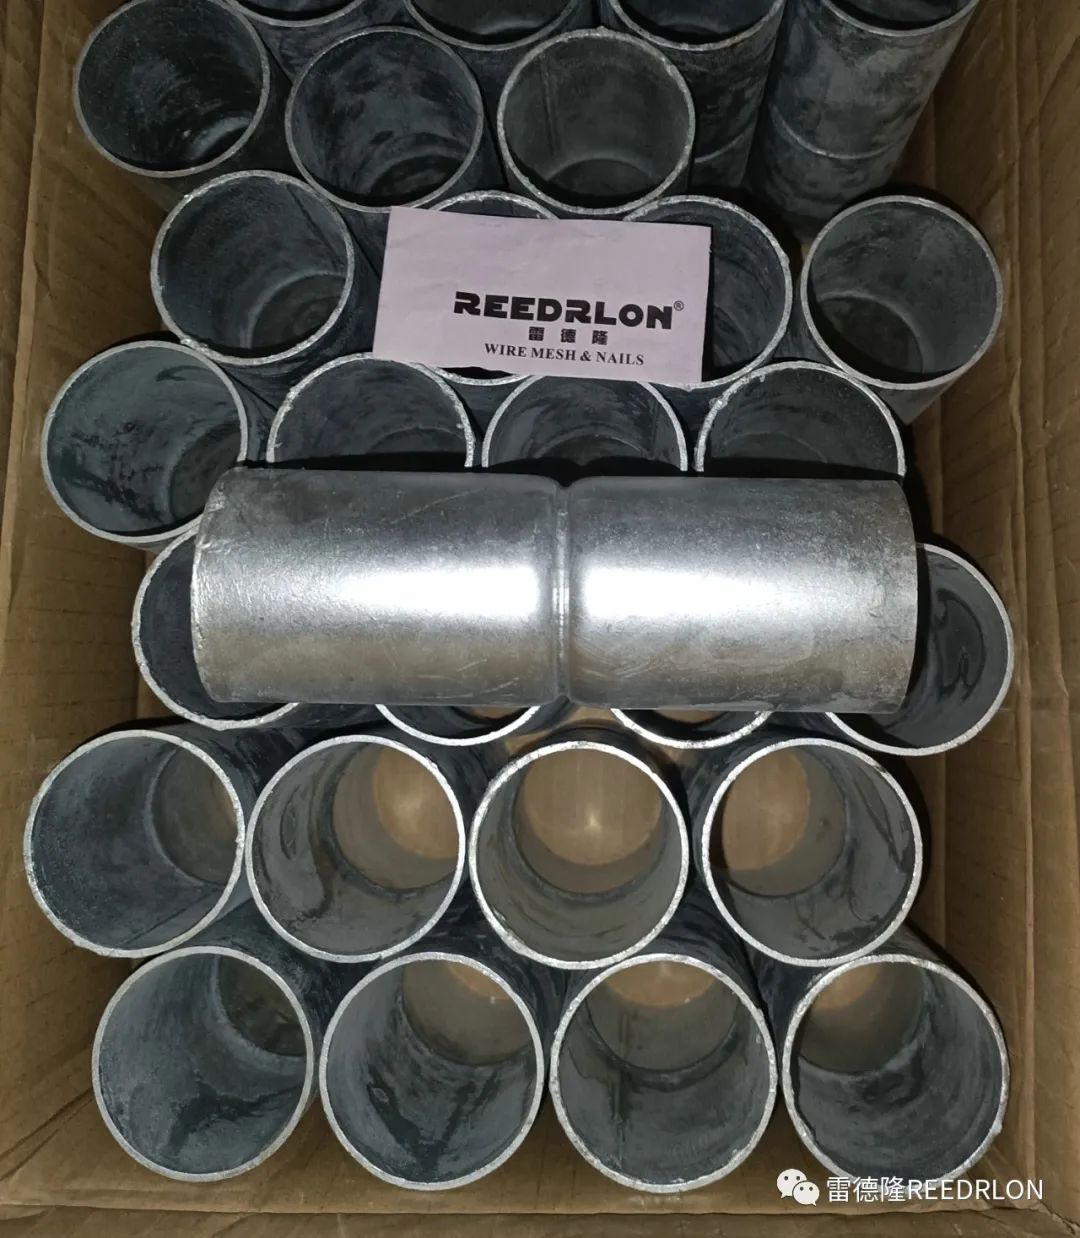
11. Beam Connection Post
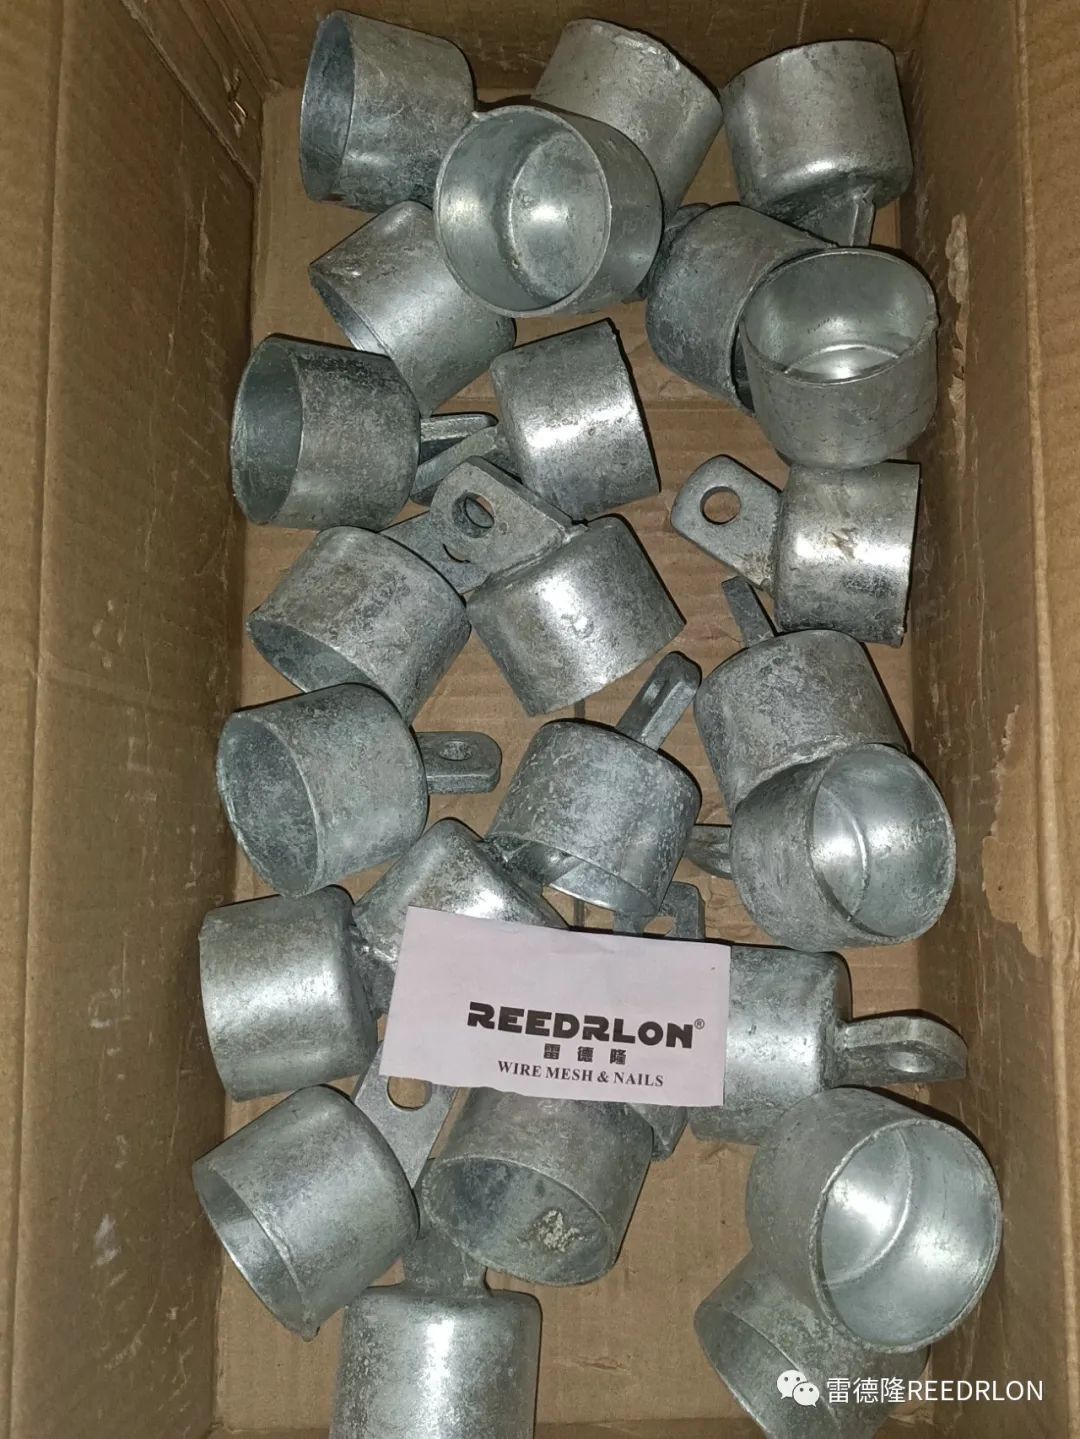
The connection between beams is simply fitted together directly. At the beginning, end, or corners of the beams, they are connected to the columns using standard clamps.
The connection between the beams is simply a convenient way to assemble them. At the beginning, end, or corners of the beams, they are connected to the columns using a positive card.
12. Crossbeam Column Cap / Post Connection Beam
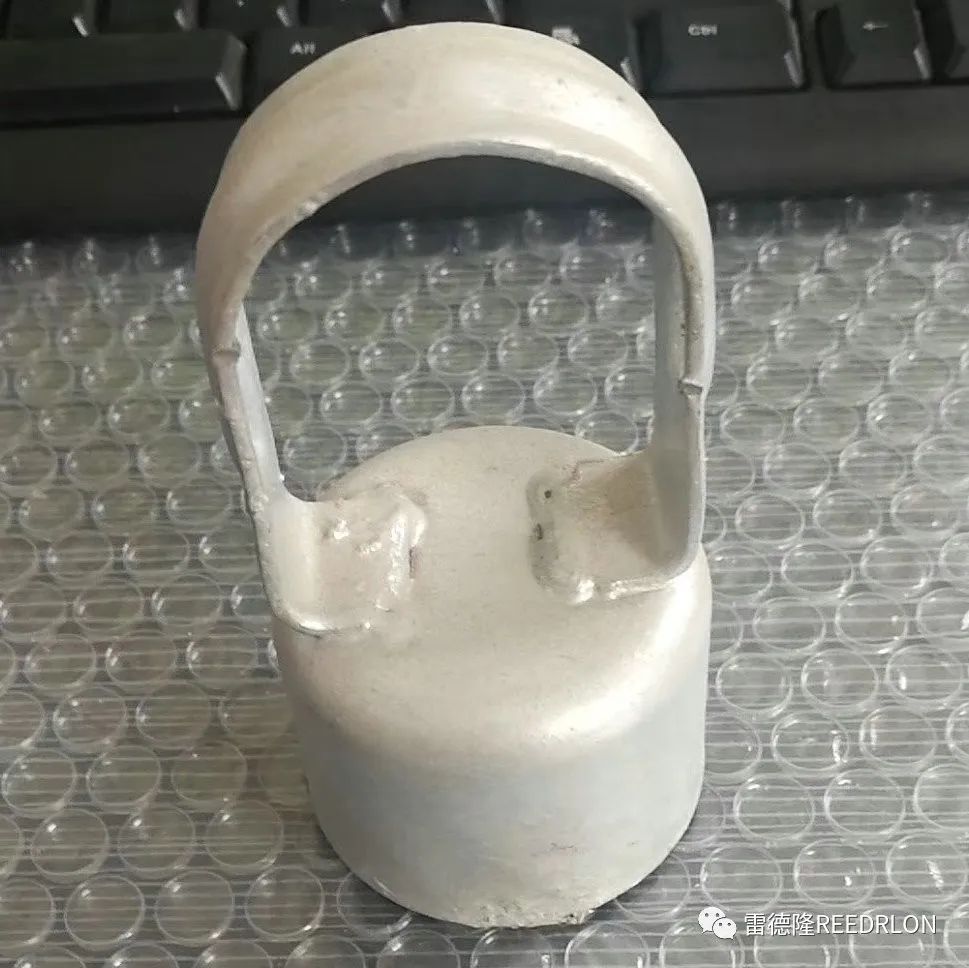
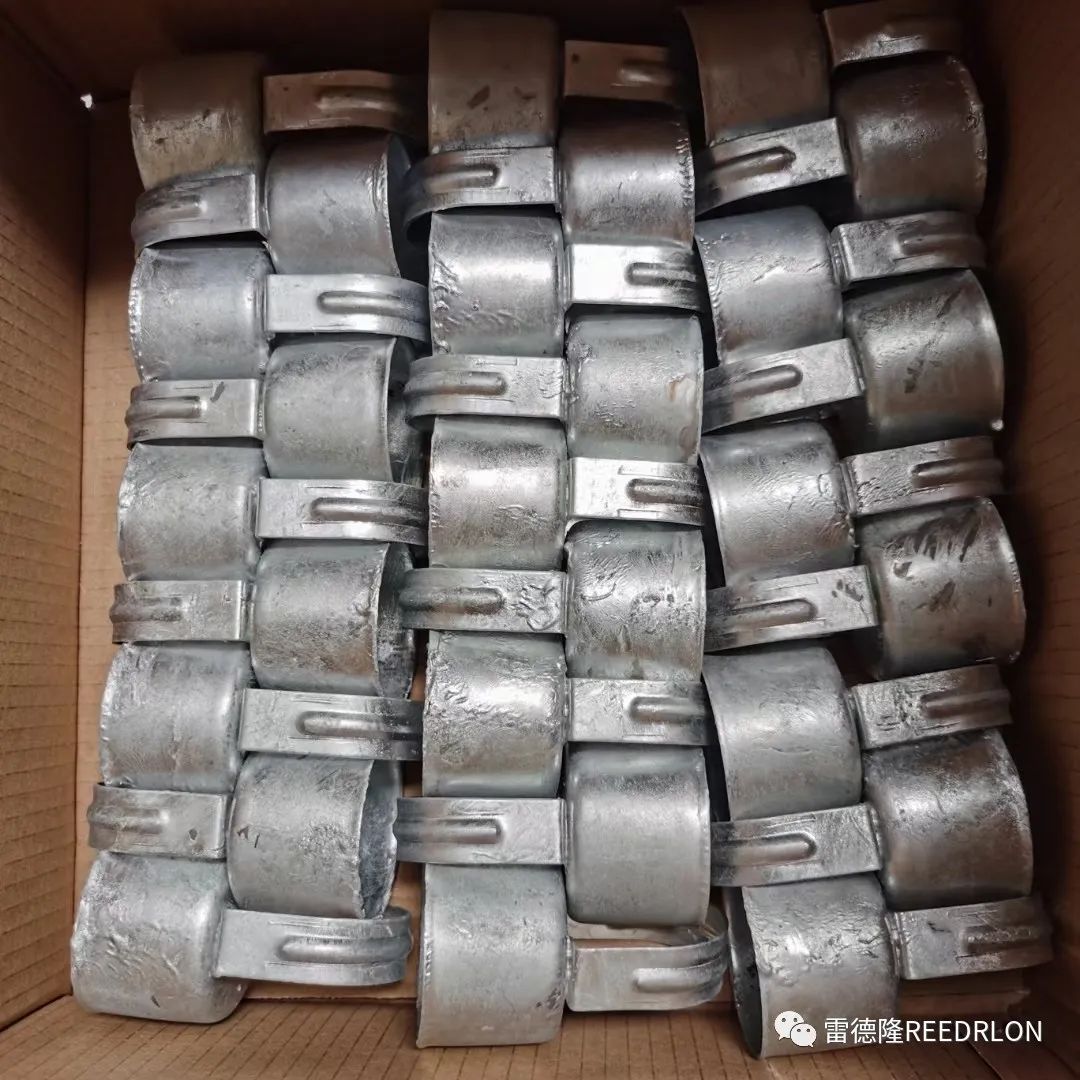
When the barbed rope bracket is not installed, it is used to measure and align the upper pole so that it can pass through it.
13.Wire Tender
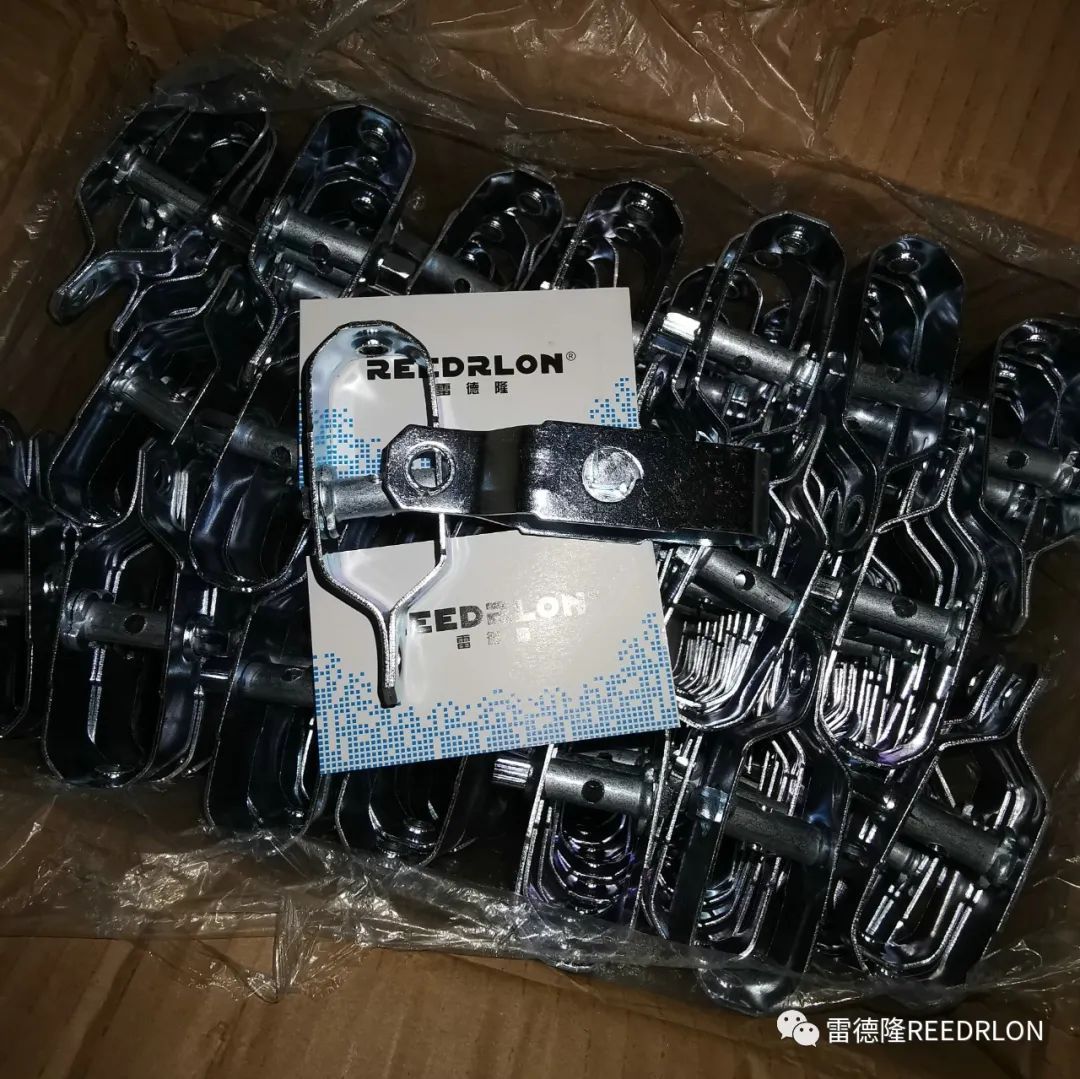 Galvanized Wire Extender / Wire Tender
14. Rainproof Hat / Post Head
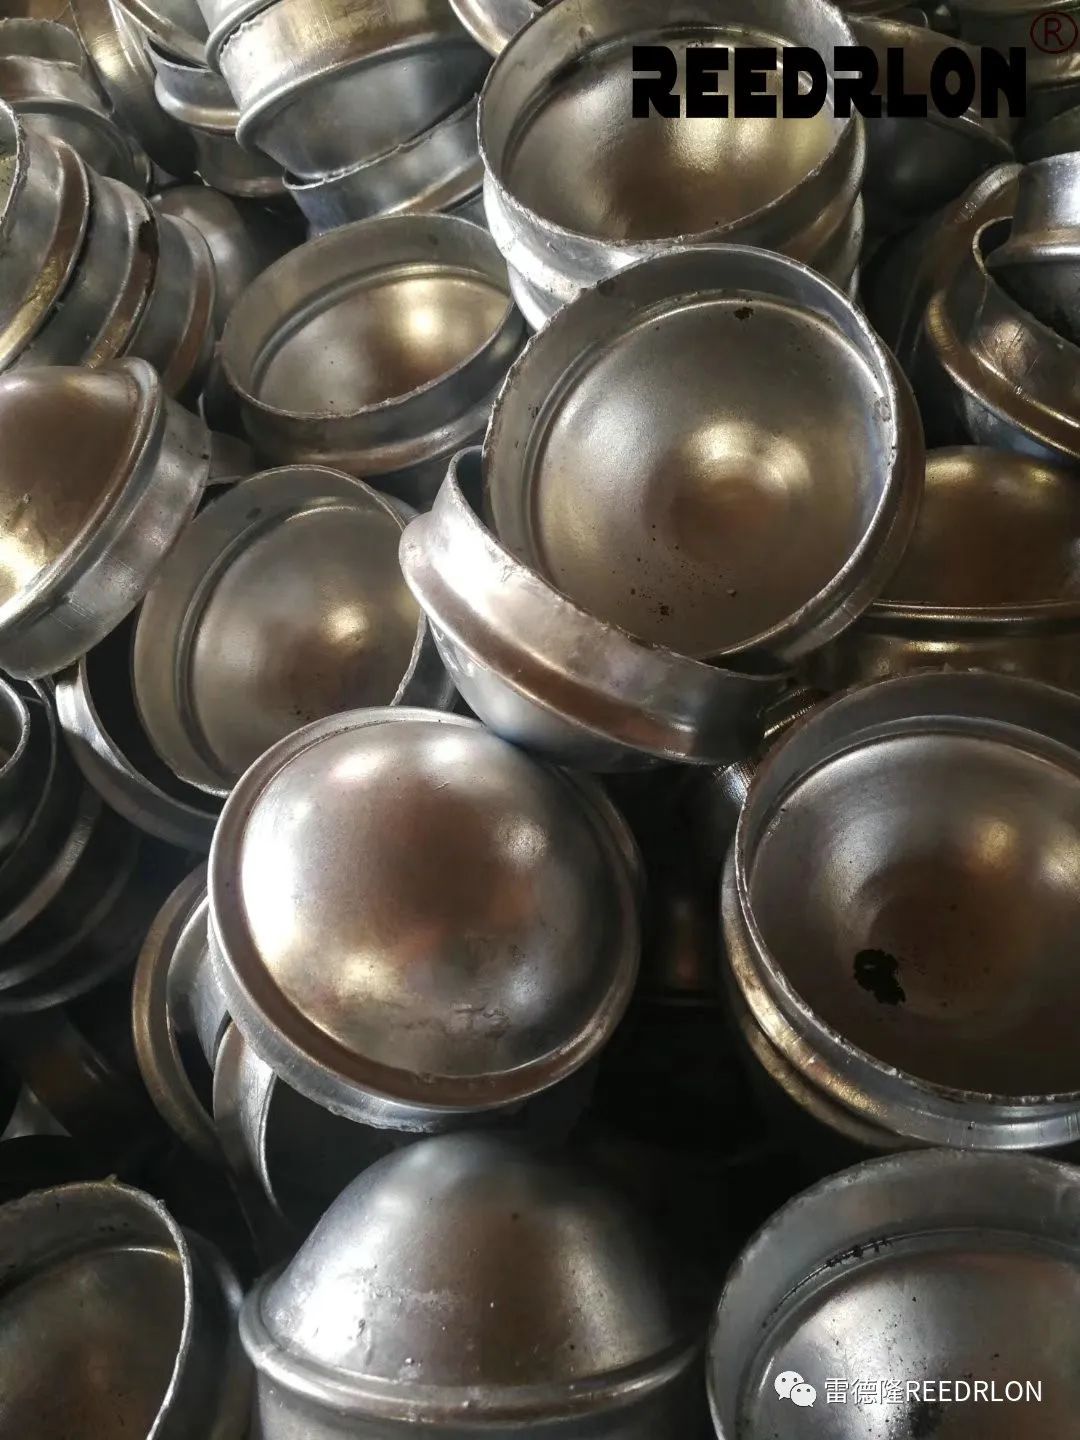
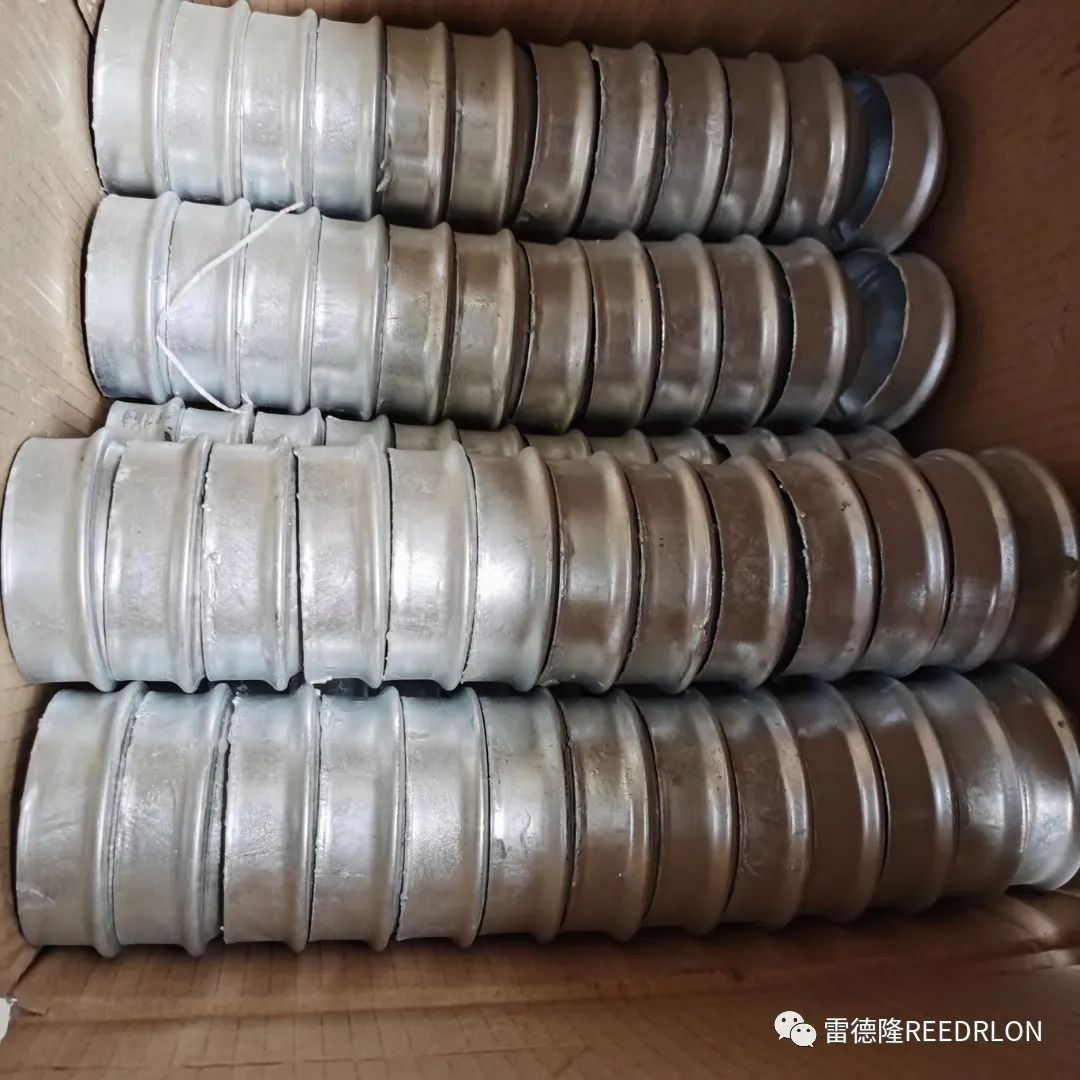
When there are no barbed rope brackets and other accessories on the top of the column, it is fastened to prevent rain from entering the column.
15.Binding Wire
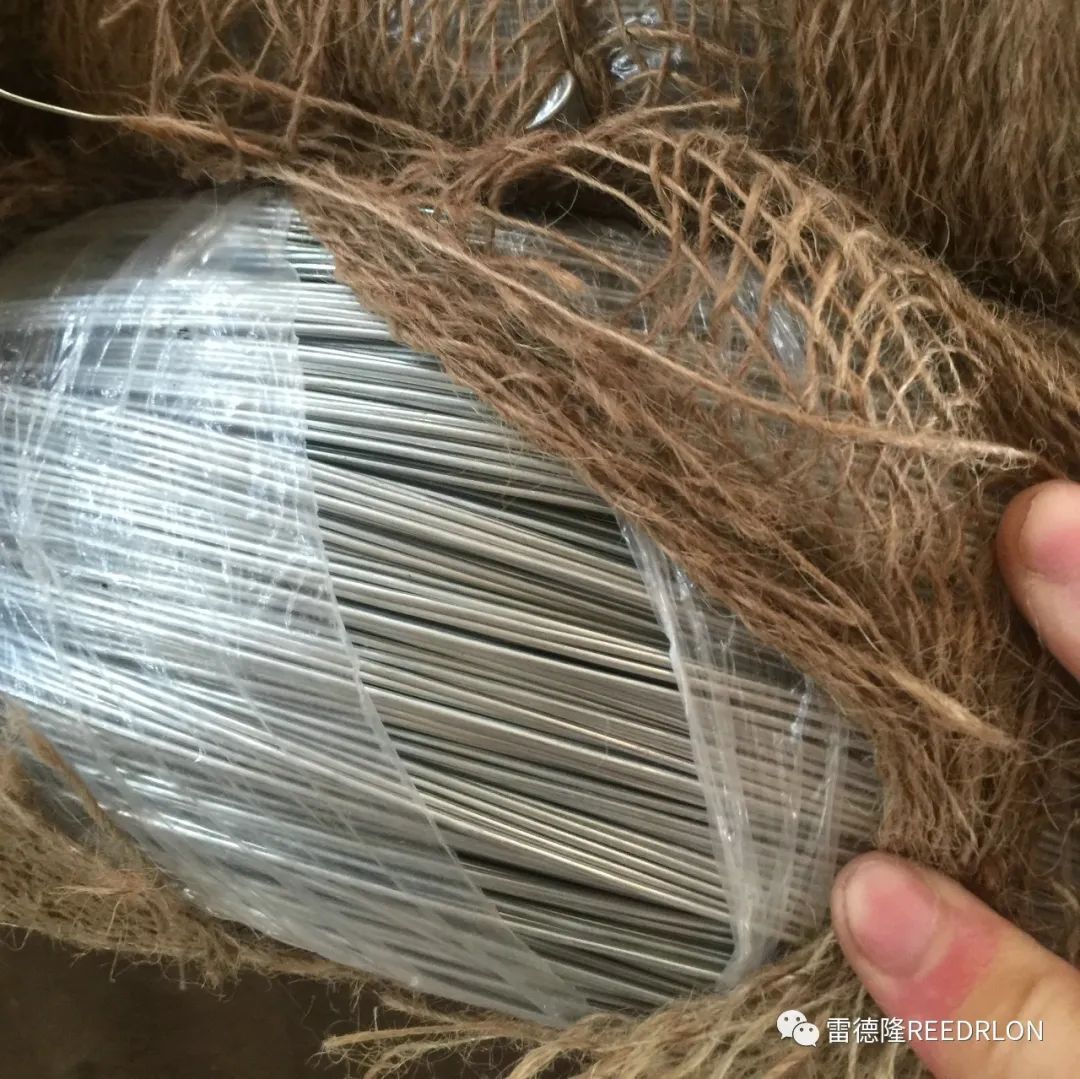
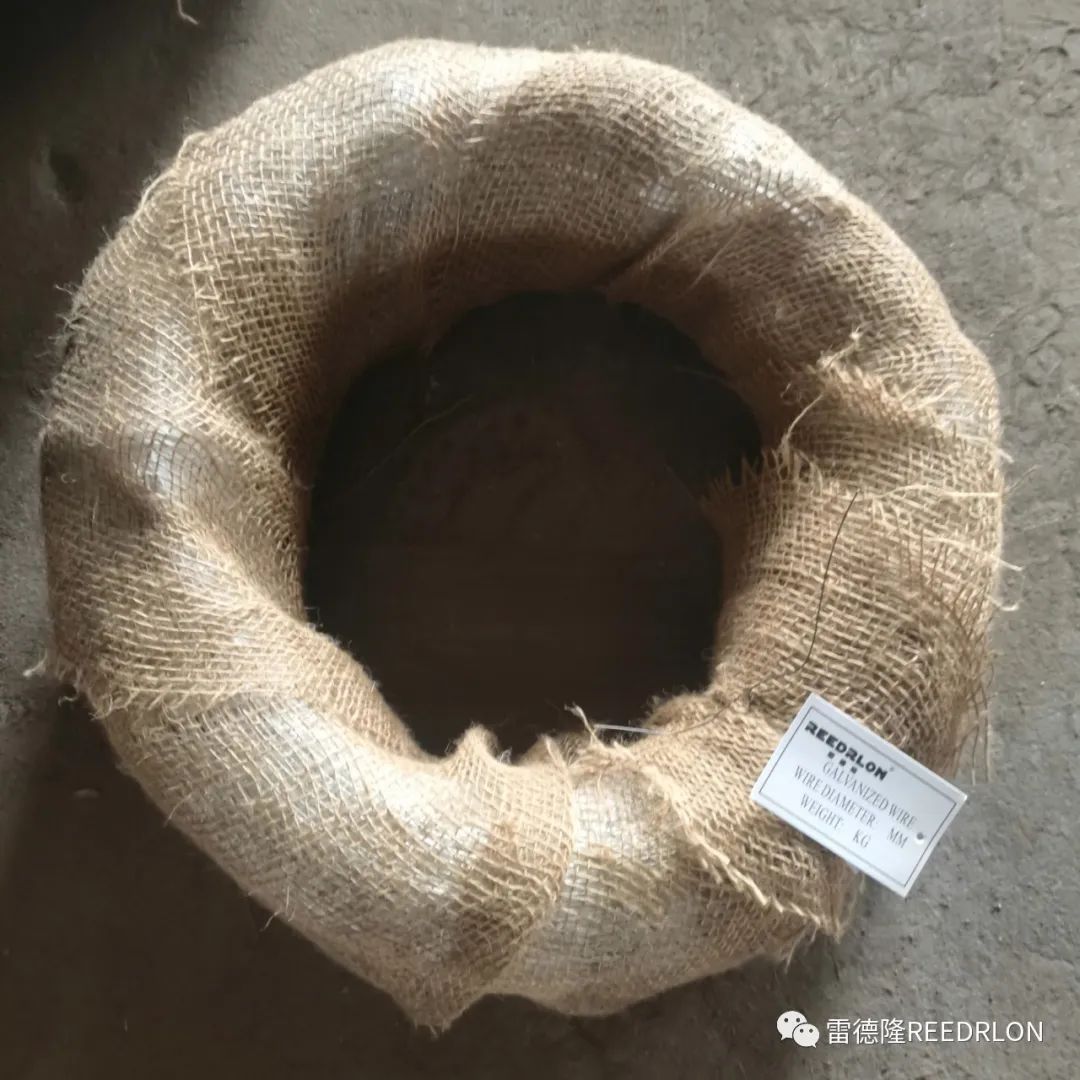
For the fixation of wire mesh and posts, the fixation between wire mesh and crossbeams, the fixation of wire spikes and spike brackets, the fixation of blade spikes and wire spikes, as well as some temporary binding during installation.
It is used for fixing barbed wire and columns, the connection between barbed wire and beams, the fixation of wire barbed rope and barbed rope brackets, the attachment of blade barbed rope and barbed wire rope, and some temporary binding during installation.
Construction and installation steps:
Construction and installation steps:
1. Determine the location and dig holes.
1. Determine the location and dig the pit
It is recommended that the pit dimensions be 30 cm wide and 30 cm long, with a depth of the height of the post minus the netting height plus 5 cm. For example, for a netting 1.8 m high and a post 2.1 m tall, a depth of 35 cm is suggested. The post should be pre-embedded at 30 cm, and the pit depth will be 5 cm. During installation, the overall height can be adjusted up or down, and adding 5 cm of concrete also enhances stability.
It is recommended that the pothole dimensions be 30 cm in width * 30 cm in length, with a depth equal to the column height minus the mesh height plus 5 cm. For example, for a 1.8 m high net and a 2.1 m column, it is advised to dig 35 cm deep. The column should be buried at 30 cm, and the pit depth of 5 cm can be adjusted up or down depending on the overall height. Additionally, adding an additional 5 cm of concrete will also enhance stability.
2. Place the columns
2. Place the POST
Fill three-quartersconcreteAfter pouring part of the columns, the entire structure is adjusted to be in a straight line at the same height. After adjustment, cement is filled into the pit, followed by further fine-tuning, before adding the remaining parts.concreteSome columns encountered during the process. Those that are not sturdy can be reinforced with support.
Fill three-quarters of the concrete, after pouring the column, adjust the entire column in a straight line to the same height, adjust the cement to fill the void, fine-tune again, and address any issues encountered during later concrete addition. Support reinforcement can be carried out if it is not strong enough.
3.Let it stand for 5-7 days to ensure the concrete is fully dry.
3. Let it stand for 5–7 days to ensure the concrete is completely dry.
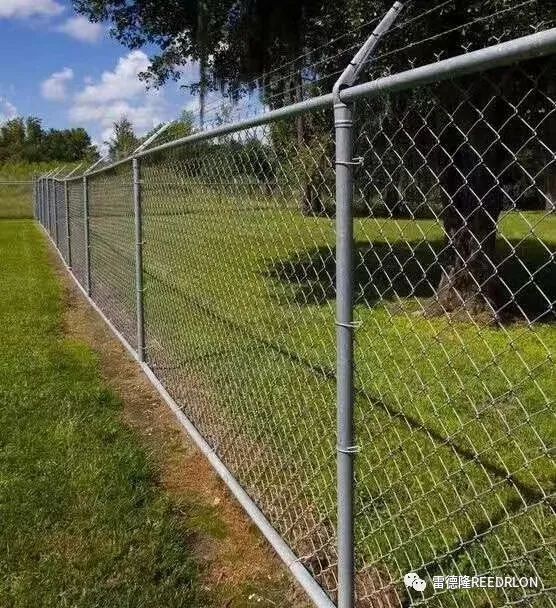
Adding beams below will make it more secure.
4.The rope support is inserted into the column, while the upper crossbeam passes through the middle of the rope support. The first crossbeam is connected to the column via a clamping post, and the subsequent crossbeams are connected using sleeves. At the bends or the last crossbeamThe beams and columns are connected to each other via the offset column ears.
The lower crossbeam and the intermediate crossbeam cannot pass through the middle of the columns. The length of each crossbeam is equal to the distance between two columns, and the connection method involves one column with a partial clamping, while another column’s ear is fixed to one end of the crossbeam.
4.The barbed rope bracket is inserted into the column, and the upper beam passes through the middle of the barbed rope bracket. The first beam and the column are connected to the column via the bias card column ear. The back beam is connected to the beams by a casing, and the bend or the last beam and the column are connected to the column using the bias card column ear and the column.
The lower beam and the middle beam cannot pass through the middle of the column; the length of the beam is the distance between the two columns. The connection method involves using a column, a bias card, and fixing the column ear with one end of the beam.
5. Install wire mesh
5. Install the wire mesh
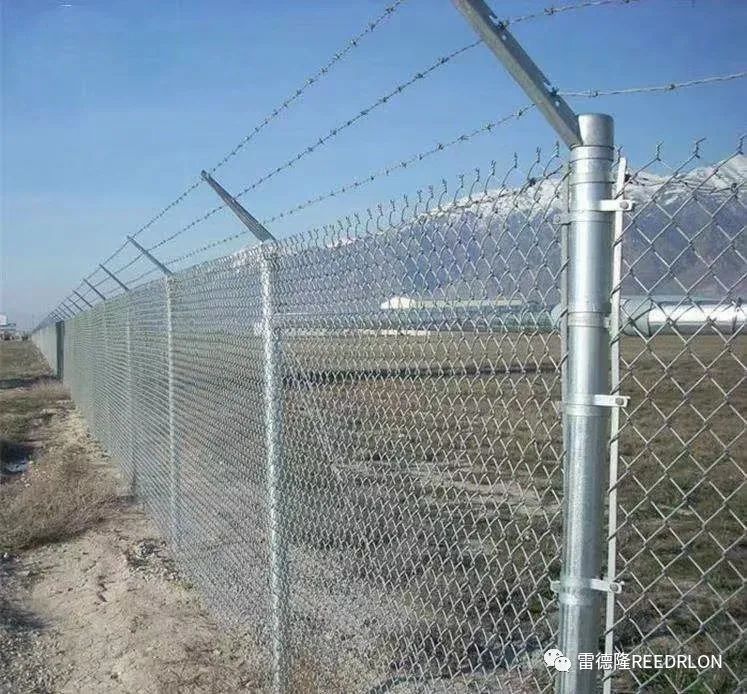
The barbed wire is stretched taut. The flat iron rod is passed through the barbed wire from one end to the other, connected to the pillar using clamps, and then the barbed wire is pulled tight (ensure that the poured concrete is fully dry and solid before this step; otherwise, all previous work will be in vain). Identify which bar of barbed wire at the end after tensioning is close to the nearby pillar, then pass the flat iron rod through that bar and remove the excess barbed wire. If the length is insufficient, manual extension is required. Use clamps to secure the flat iron rod and the pillar. The barbed wire must be tightly stretched; if not, the stability decreases and the appearance becomes unappealing. A wire puller can be used for contraction.
The barbed wire is opened. The flat iron passes through the barbed wire as a whole, is connected to the column via a bias card, and then the barbed wire is tightened (before this step, ensure that the previously poured concrete has dried completely; otherwise, the previous work must be abandoned). Check which wire at the end of the tightened barbed wire is close to the adjacent column, and then the flat iron passes through the wire to remove any excess barbed wire. If the length is insufficient, it must be manually extended. A bias card is used to secure the flat iron and the column. The barbed wire must be tightened; if not, its strength will decrease and it will not look good. Shrinkage can be corrected using a wire tensioner.
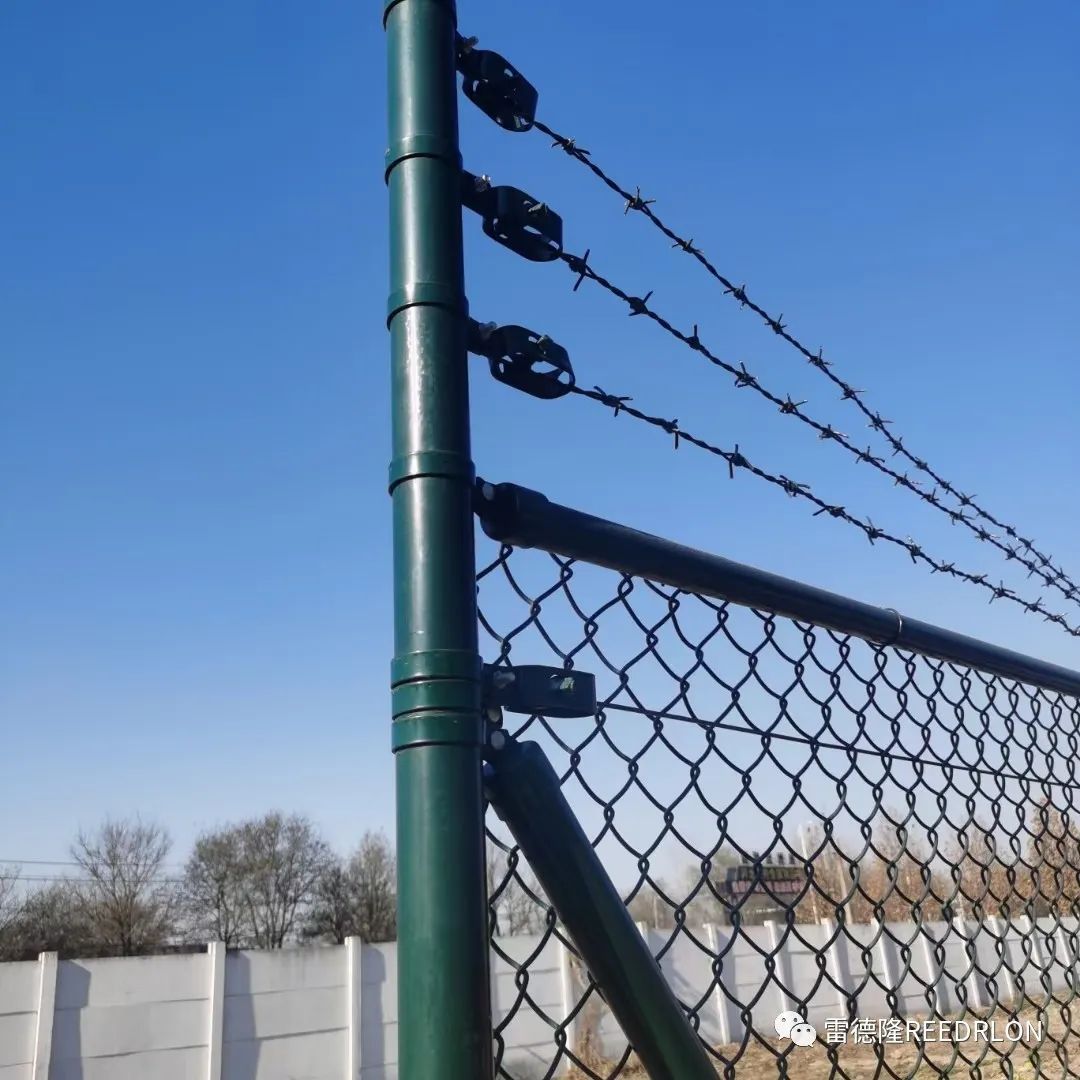
6. Reinforce the barbed wire
6. Reinforced barbed wire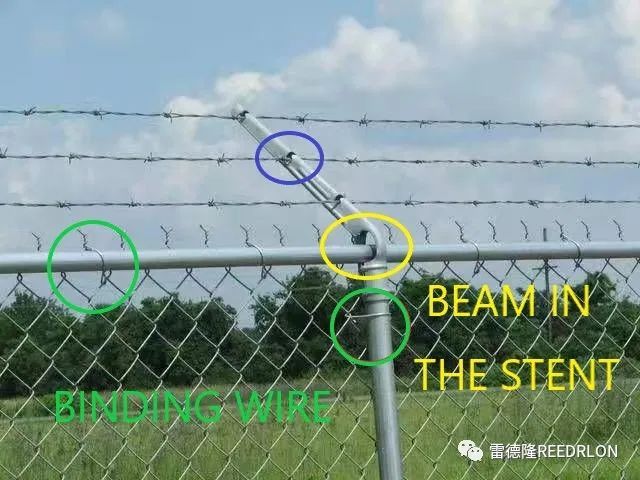
UtilizeThreading ThreadsWillwire fenceBound together with the upper beam, when binding, the upper beam must be tied at the intersection where it crosses the mesh of the lower beam by half or one unit of wire mesh. This creates a pulling force with the wire mesh to ensure the beam does not slide, while also leveling the surface of the wire mesh. When binding the lower beamTo be tied at the intersection where it crosses the wire mesh openings half or one grid above the lower crossbeam. In the middlewire meshThere is no flat iron or column fixation; simply bind wires to secure the wire mesh and columns.
The wire is used to tie the barbed wire and the beam together. During bundling, the upper beam should be tied using the lower upper beam half or one section of the barbed wire mesh intersection, so that the barbed wire exerts a pulling force, ensuring the beam does not slide while also flattening the barbed wire mesh. The lower beam is bundled at the intersection of the barbed wire mesh half or one section above the lower beam. The middle barbed wire mesh does not have a flat iron for fixing the column; it is sufficient to directly tie the wire to secure both the barbed wire and the column.
7. Installing the spike rope
7. Install the barbed rope
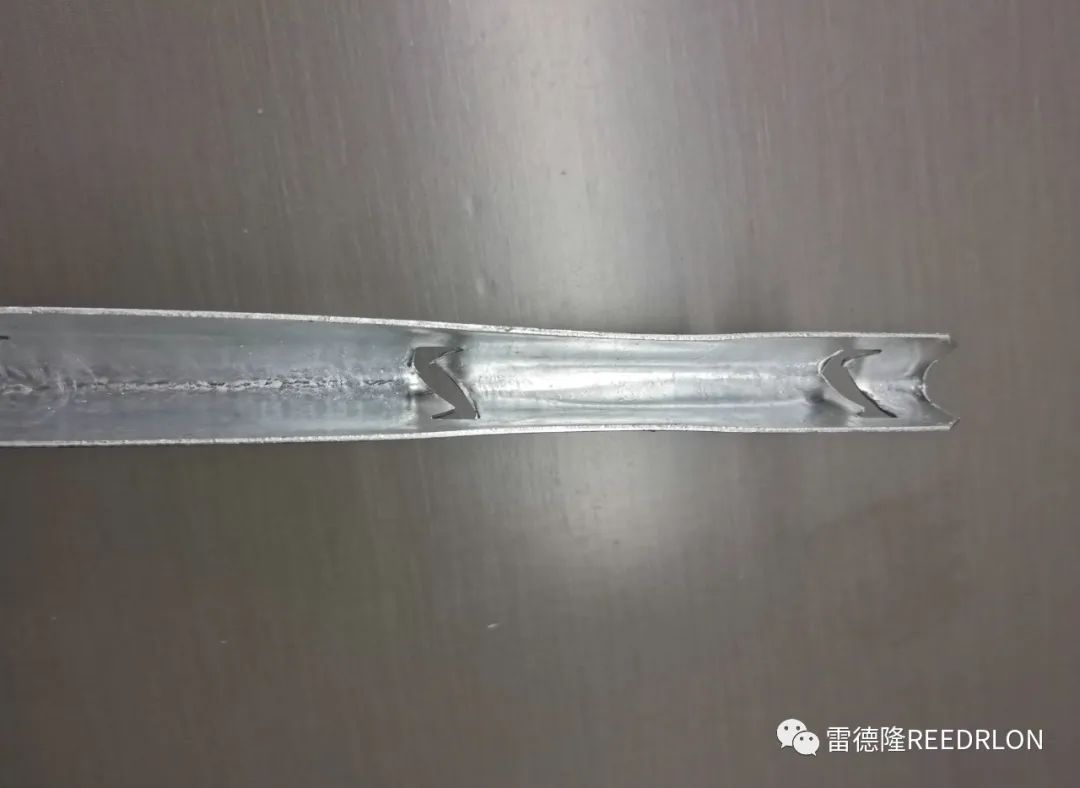
The Z-shaped opening sticks directly in place, making it difficult to remove, and easy to install.
You must wear gloves properly, preferably leather gloves, to prevent stings and cuts. Don’t underestimate the power of this thorny cord.Redron Tie RopeIt is very sharp. The surface of the wire fence contains chemical residues from galvanizing, and minor wounds also cause significant pain. Unfold the wire fence, secure one end, and then proceed in sequence.Wire Sting RopeStuck at the Z-shaped notch in the spike rod support, until the last one is secured.iron wire ropeAfter all the installations are completed, open the blade and wire straps, place them above the iron wire straps, and secure them together with binding threads in sequence.Blade Strapiron wire ropeFix it together with the rope support.
This must be worn with gloves, preferably leather gloves, to prevent punctures and cuts. Do not underestimate the power of this thorn rope—Ledron thorn rope is very sharp. The surface of the thorn rope contains chemical residues from the galvanizing process, and even a small wound causes significant pain. The wire barbed rope is opened, secured at one end, and then the wire barbed rope is inserted into the Z-shaped opening of the rope holder until the end is fixed. After all the wire barbs are installed, open the blade barb rope, place it on top of the barbed wire barbed rope, and fix both the blade barb rope and the wire barbed rope using the wire, then secure the blade barb rope together with the barbed rope bracket.
8. Door installation
8. Door installation
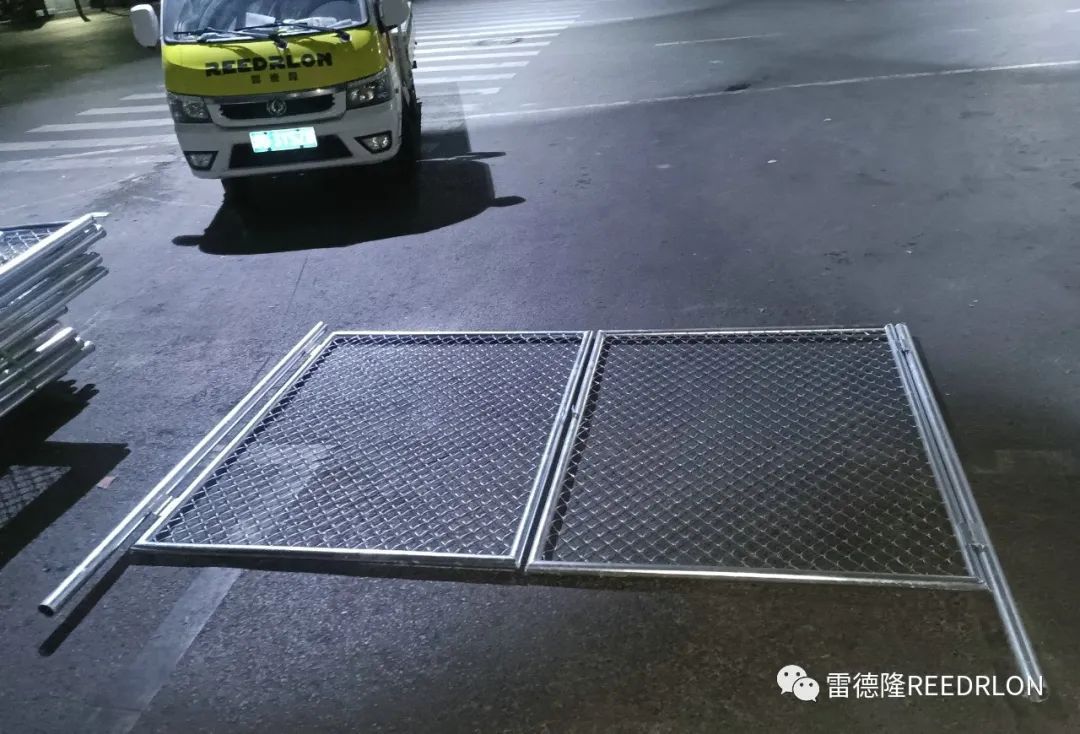
(<t_DOOR OPENING> 2m 3m 4m)
The installation of the door mainly involves placing the prepared door on the ground to measure its actual width, marking the positions for the two posts, and then digging a hole to embed and pour concrete directly. Wire or spike ropes can be stretched above the posts, with blades or spikes placed there, just like with other walls. If there are high vehicles passing through, no spikes should be installed on them.
The installation of the door involves measuring the actual width by placing the door on the ground, ensuring proper positioning on both sides of the column, and then directly pouring the pit concrete. A wire barbed rope can be placed on both sides of the column above to secure it, and for other wall positions, if there is frequent entry and exit, do not install the barbed rope on the top.
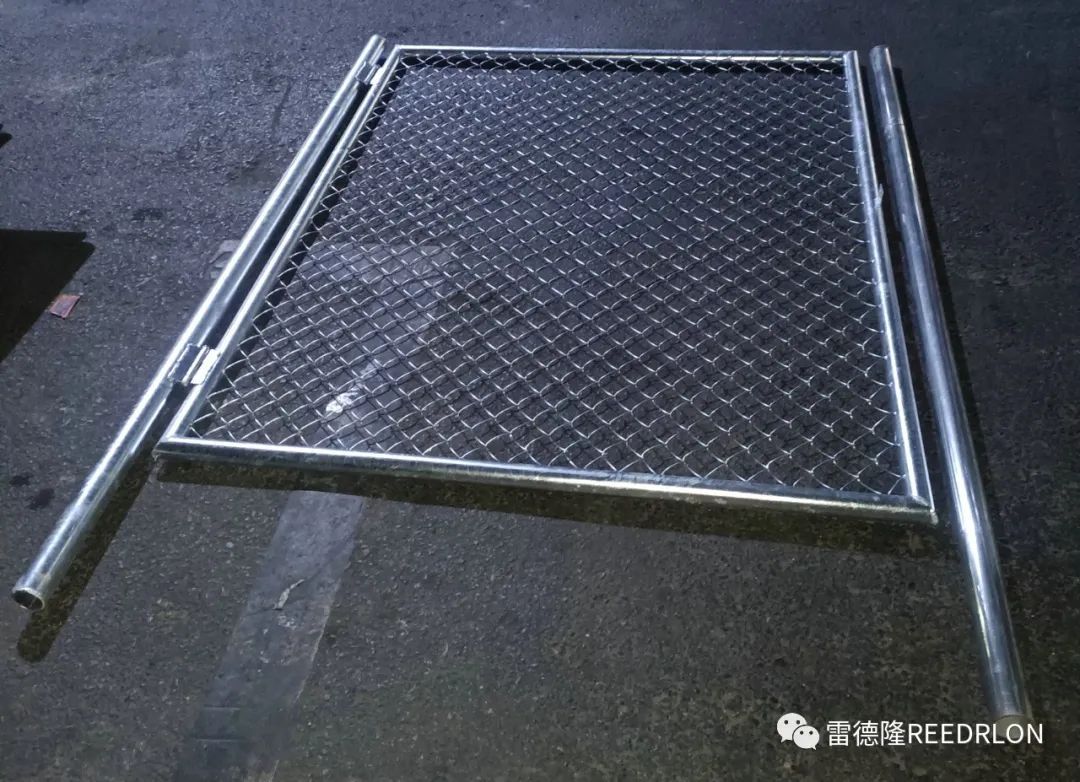 (<t_single door 1m 1.5m 2m>)
9. Finalization
The columns without rope supports should be fitted with rain covers. Once installed, conduct final checks, dispose of waste materials, and clean up the area. The work was done beautifully; the finishing too, just as expected.
9. END
The column without the brackets bends the rain cap. After installation, post-inspection, scraping, and hygiene cleaning. The work is done beautifully, and the finish should be beautiful—what is it, what does it feel like to do well, or what is it?
 Believe in the power of professionalism!
We take丝网 production very seriously!
mesh screenPlease select Redron!
Redron is with you!!!
Believe in the power of professionalism!
We are committed to producing wire mesh!
Goodwiremeshwiremesh,Please choose REEDRLON!
REEDRLON with you toghter! !!
Update time:


TOP


