X Email Mobile
| EXW Price: |
|
|
Rainbow LTD 3yr. |
|
| Main Products: |
cotton sock, make up brush, makeup kit, clock, shisha, feather, rack, led, man, tag |
| Contacts: | AnnaChat |
| Mobile: | 86-13735686420 |
| WhatsApp: | +8613735686420 |
| WeChat: | 13735686420 |
| Address: | Yiwu,Jinhua City,Zhejiang Province |
Packaging information
CTN Size: 41 × 37 × 31 cm
G.W./CTN:15 kg
QTY/CTN:268 table/carton
A box of 200 pieces specification: 65*45*25CM, weight: 18kg
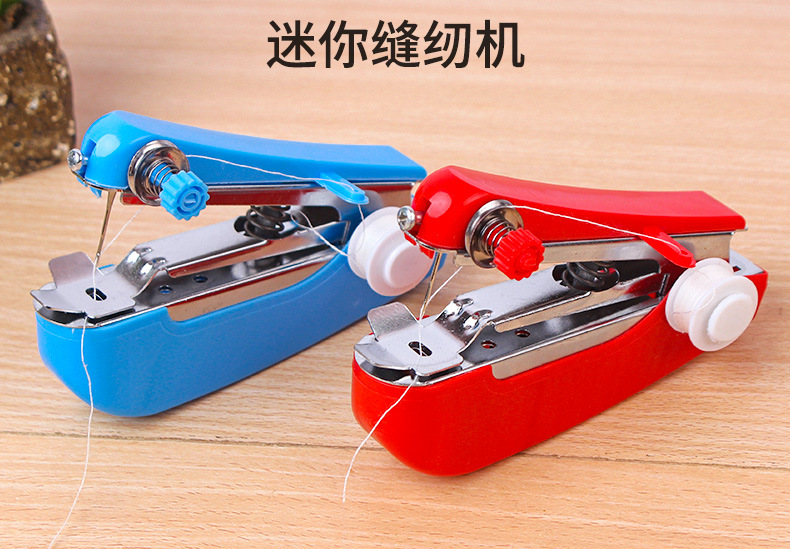
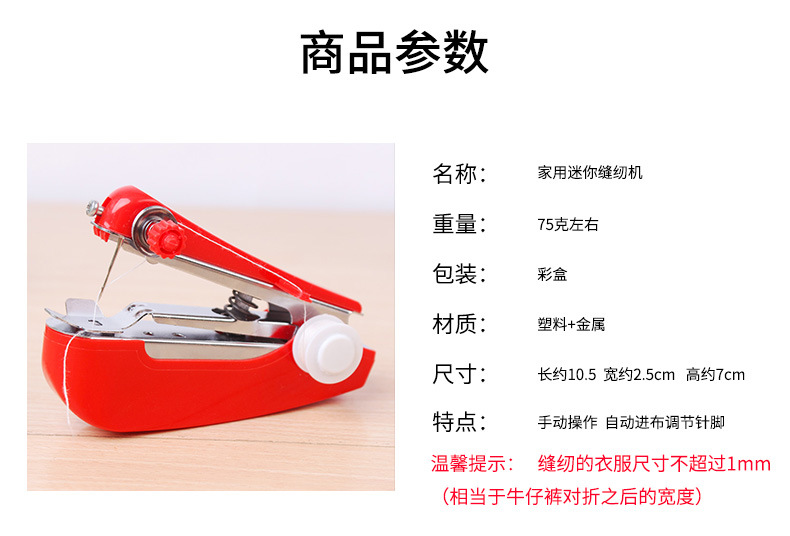
【Product Name】Miniature Manual Sewing Machine (Patent Product)
Specification: 4*6*12 CM
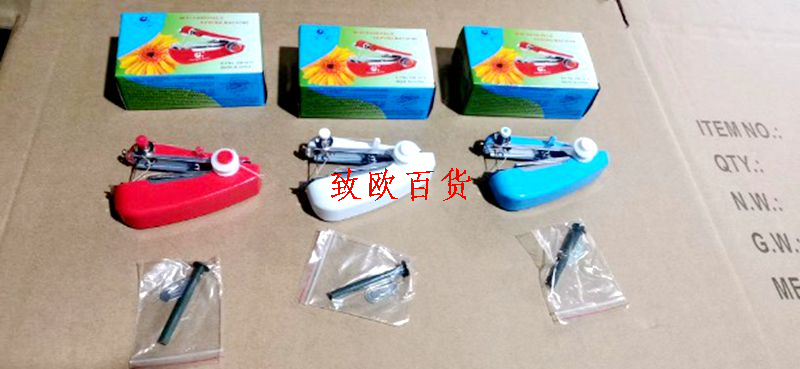
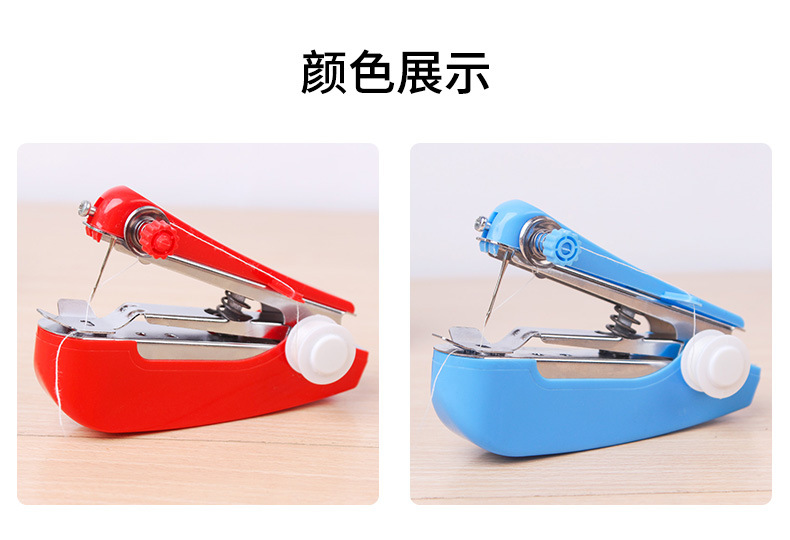
【Color】Shipped randomly based on the manufacturer's batch
【Material】PVC + Metal
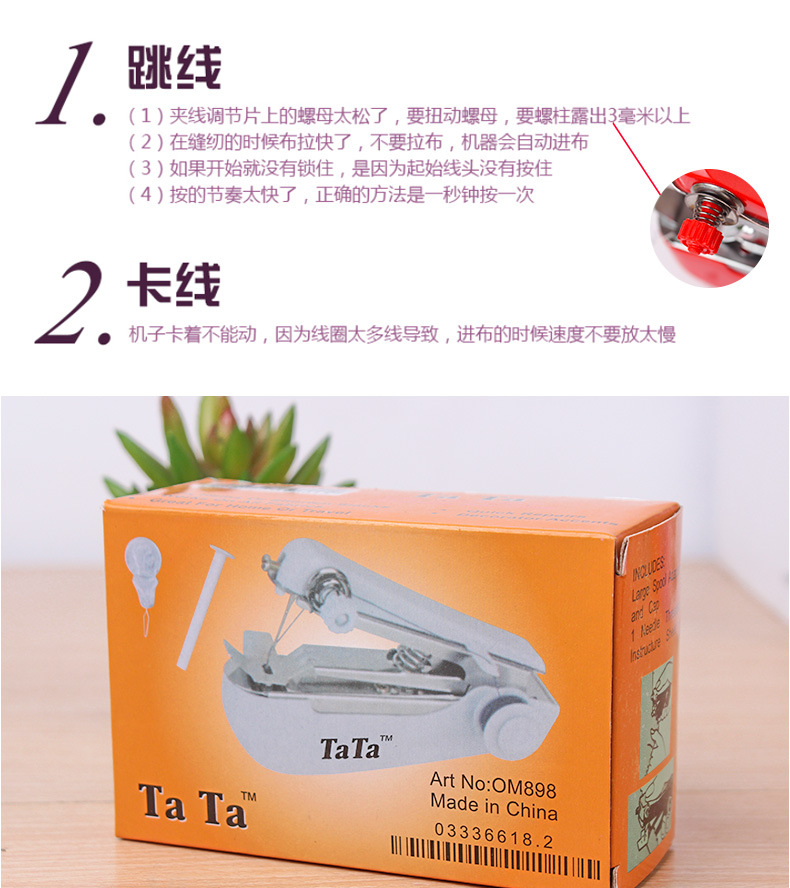
【Packing】Color box packaging, one mini sewing machine, one replacement rod, one threading tool.
【Origin】Shengshan, China
【Other Description】: This miniature sewing machine is operated manually and features automatic threading and adjustable tension between stitches, achieving professional results. The product is packaged in a beautiful colored gift box, making it not only ideal for daily household use but also suitable as a gift or conference giveaways.
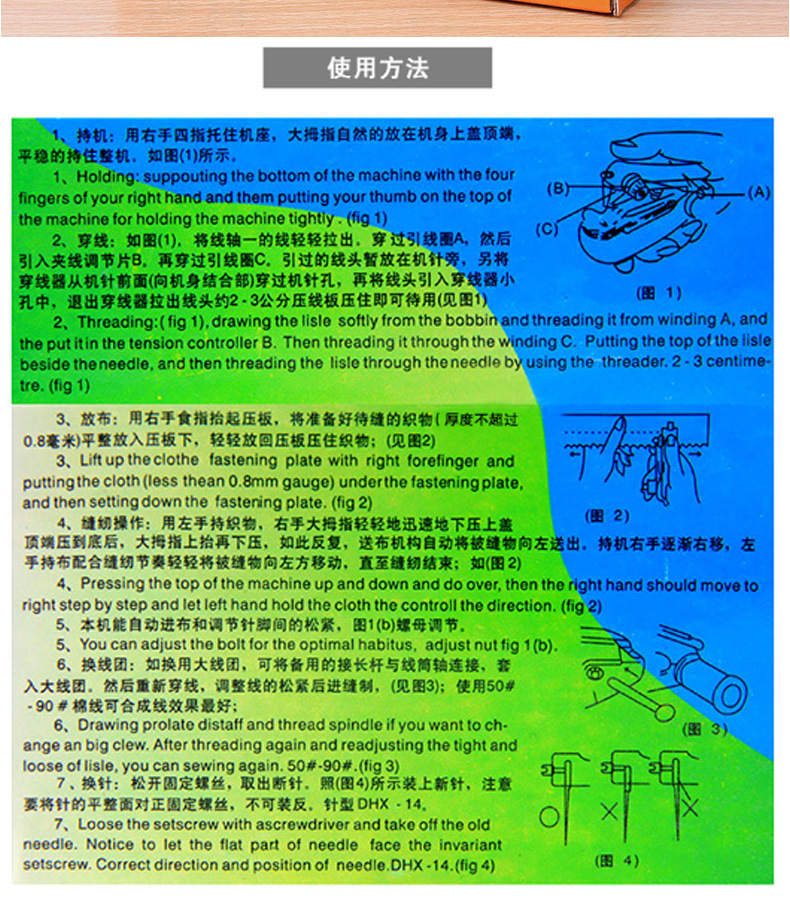
Instructions:
1. Standby: Use the four fingers of your right hand to support the base, and place your thumb naturally on the top of the body cover, holding the entire machine smoothly.
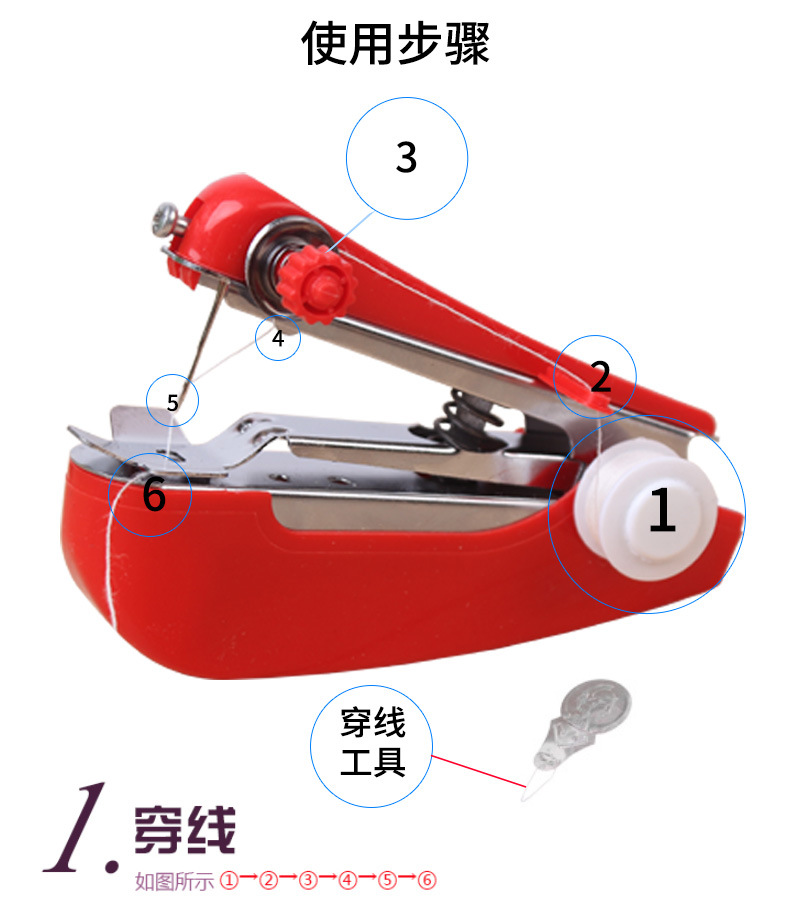
2. Thread insertion: As shown in Figure (1). Gently pull the thread from the spool one and pass it through the guide coil A. Then lead it into the thread clamping adjustment piece B. After passing through the guide coil C, temporarily place the thread head next to the needle. Then, pass the threader through the needle hole from the front of the needle (towards the body junction). Then, lead the thread head into the small hole of the threader, and then pull out the thread head about 2-3 cm. Press the threading plate to hold it in place for use.
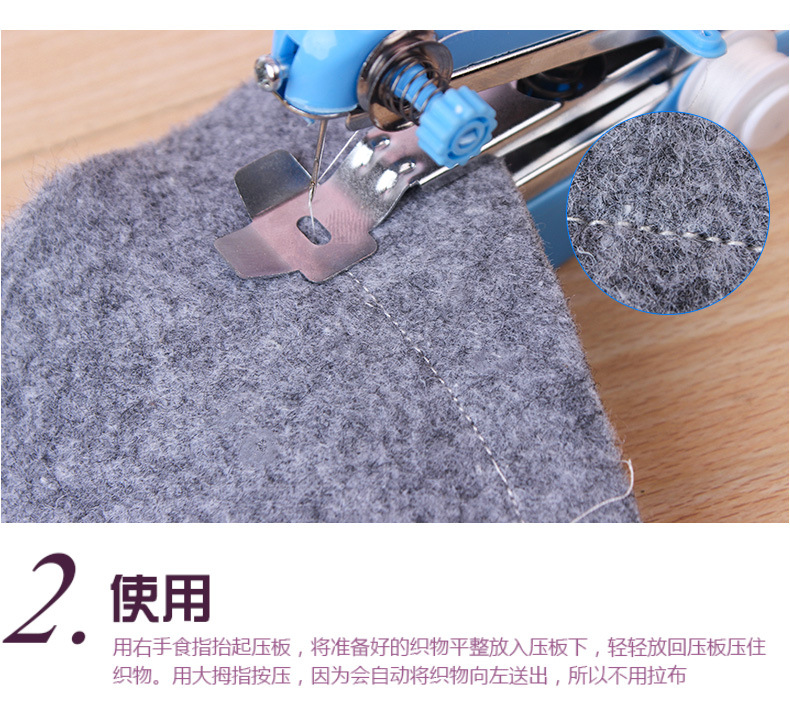
3. Release the fabric: Lift the press plate with the index finger of your right hand, place the prepared fabric to be stitched flat under the press plate, and gently replace the press plate to press the fabric.
4. Sewing Operation: Hold the fabric with your left hand, and with your right thumb, press down the top of the cover quickly and firmly to the bottom. Then, raise the thumb and press down again. Repeat this process, and the feeding mechanism will automatically move the sewn item to the left. As the machine is held in your right hand, gradually move to the right, and the fabric held in your left hand should be moved gently to the left in sync with the sewing rhythm until the sewing is complete. After cutting the thread on the press plate, lift the press plate, and gently pull the fabric out to tighten it. (Note: Since this machine uses only one spool of thread, the thread under the press plate does not need to be cut; it can be pulled out, otherwise, the fabric cannot be tightened.)
5. This function can automatically advance the fabric and adjust the tension between the stitches. Figure 1(b) shows the adjustment of the nut.
6. Change the thread group: If changing to a larger thread group, you can connect the spare extension rod to the thread tube shaft, insert the larger thread group, and then re-thread the needle. After adjusting the tightness of the thread, proceed with the stitching. See Figure (3).
7. Change the needle: Loosen the fixed screw, remove the broken needle, install the new needle, and ensure that the smooth side of the needle is aligned with the fixed screw. Do not install the needle in the wrong direction. The needle type DHX=14.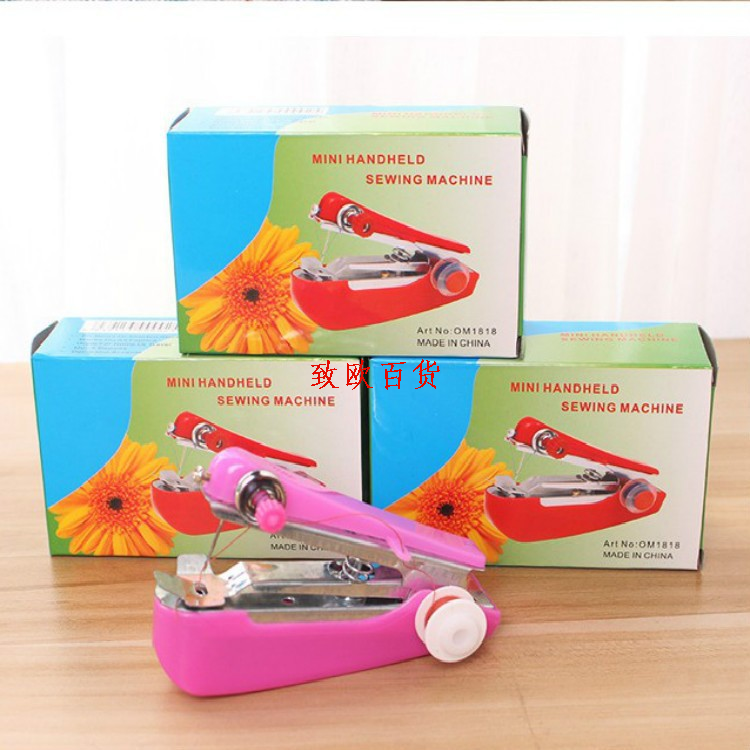

TOP
Items have been added to the Inquiry Basket
There are items in the inquiry basket